Slow Cooked Pork Roast

WP_20140813_17_47_15_Pro

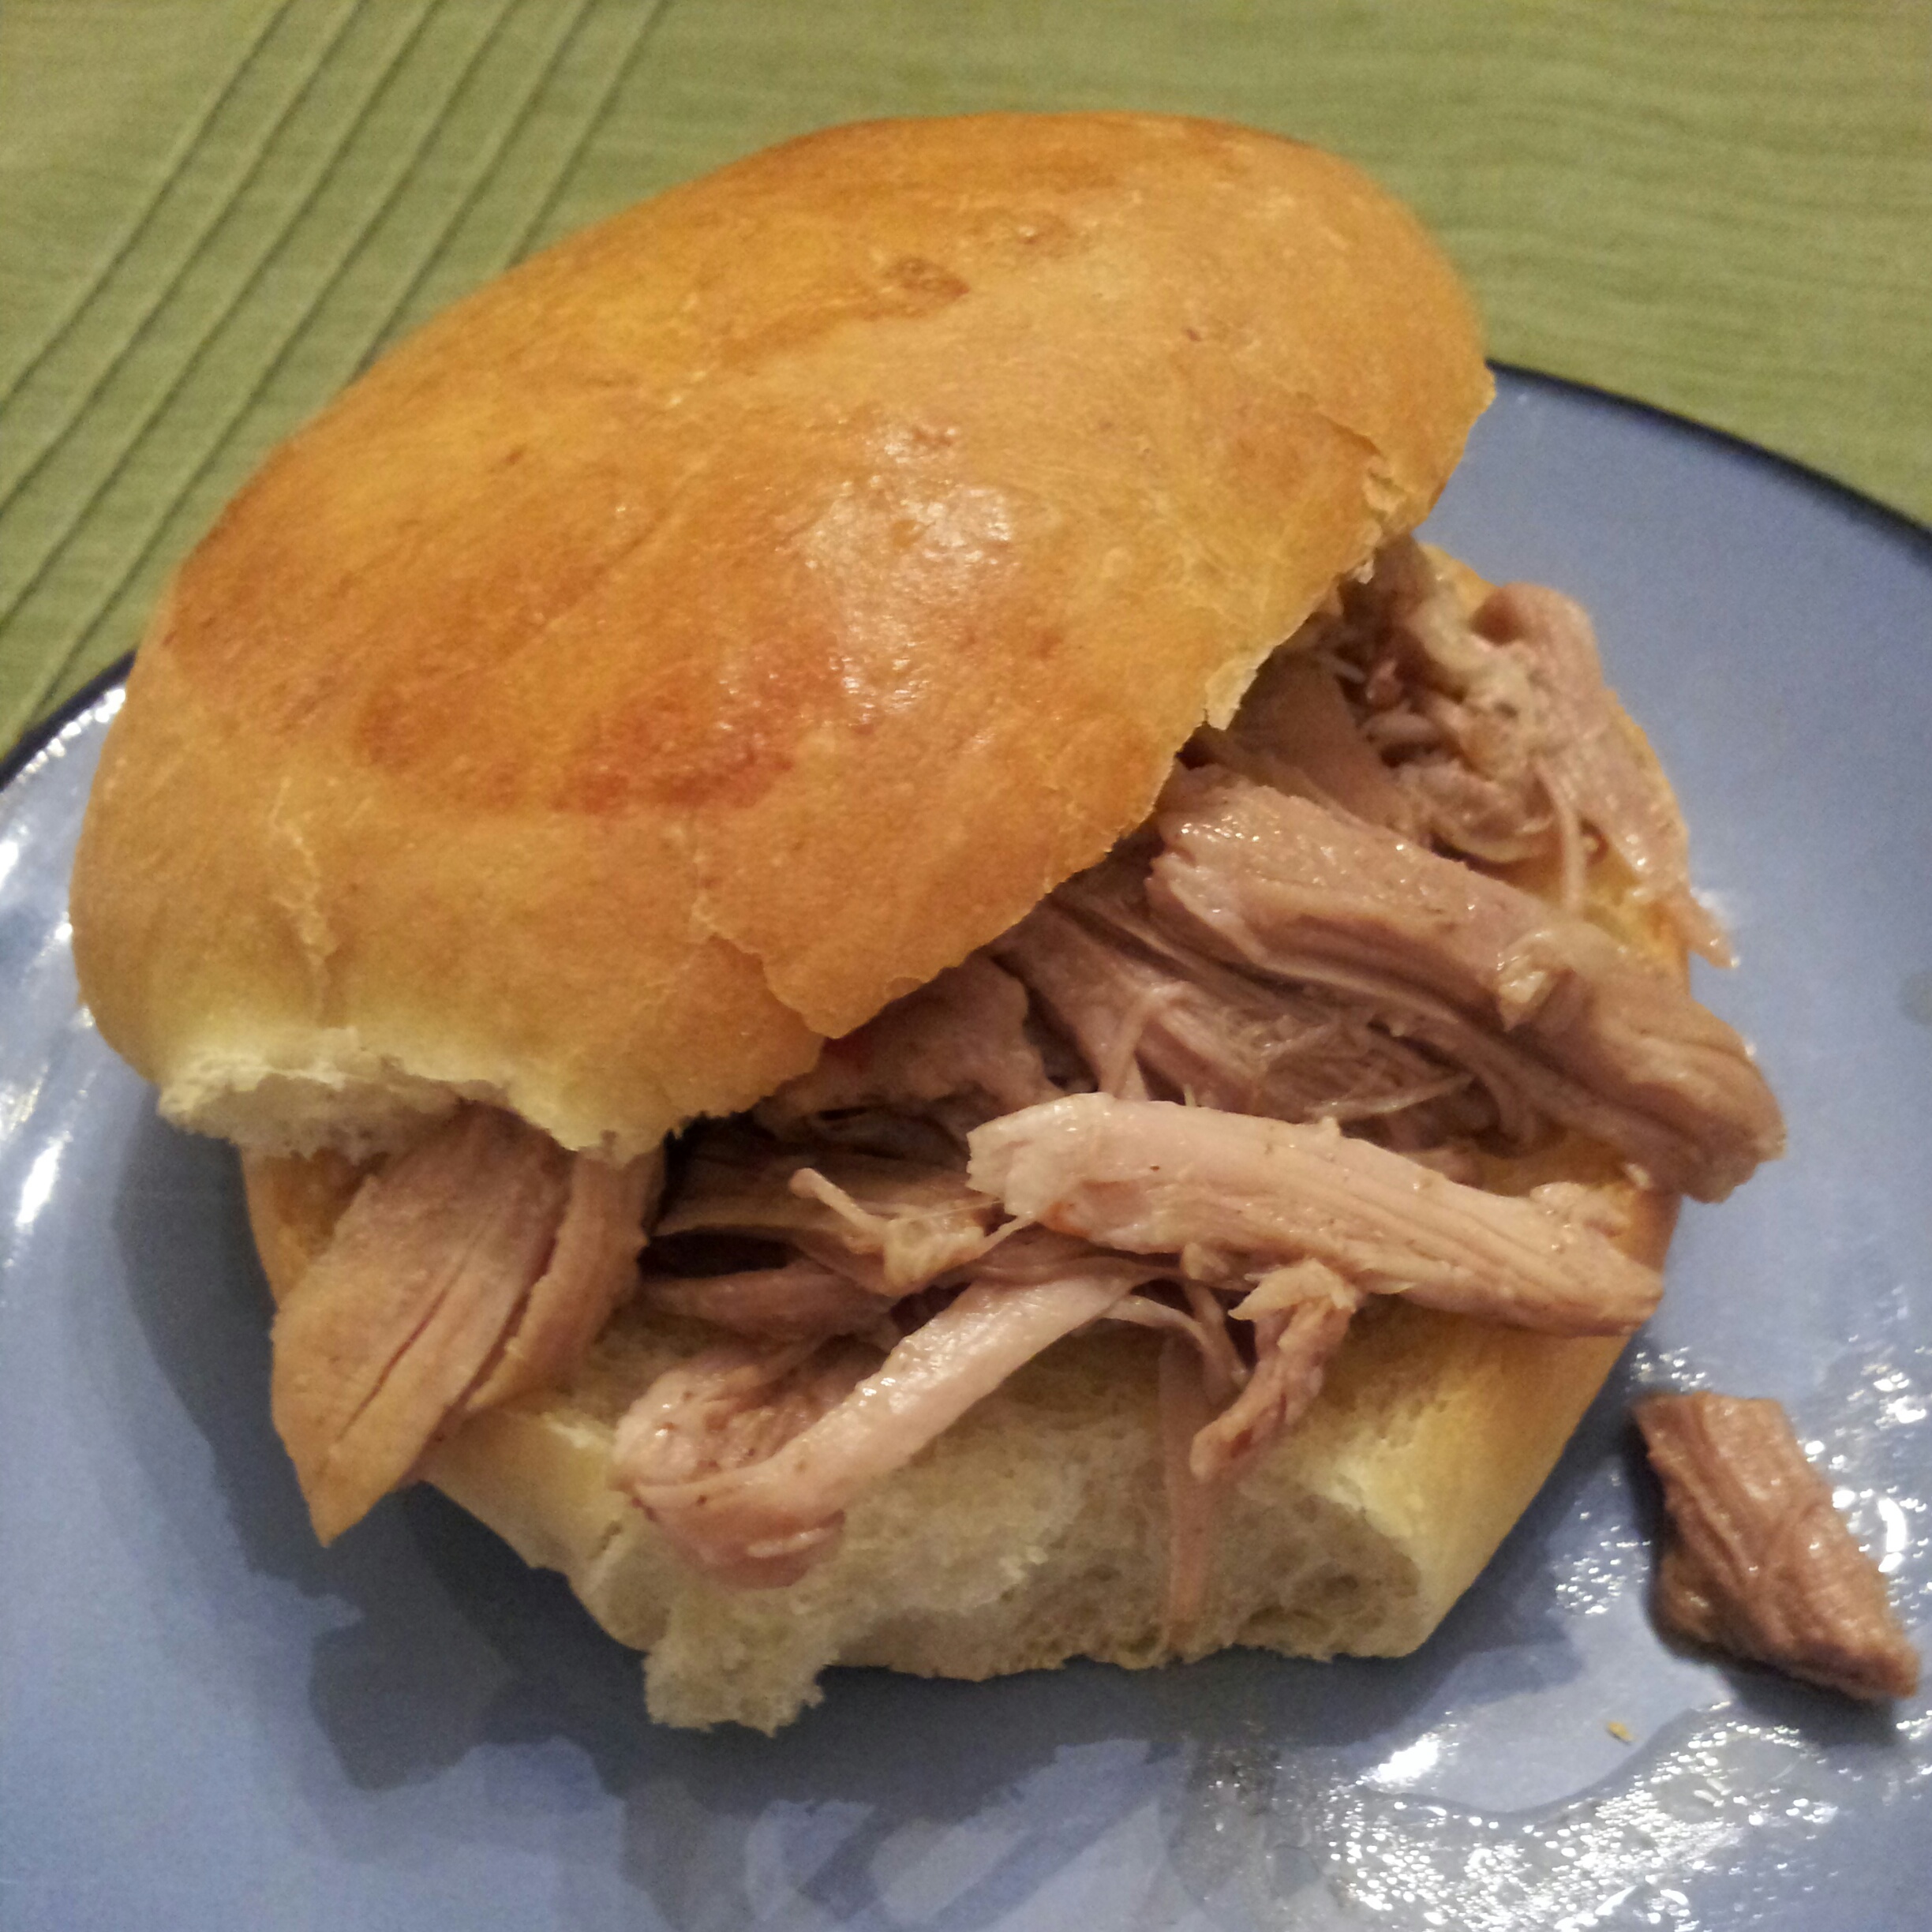
This was so simple and flavorful, makes a big batch and it’s so versatile. We’re using this pork for BBQ pulled pork sandwiches, but you could use some in one of my favorite macaroni dishes or these amazing taquitos. I don’t cook pork often enough, but after trying this recipe out, I’m sure add it to the rotation. If you follow the recipe link, you’ll see that there are a few different ways to season this up, but I chose the “plain” version so the leftovers would be easier to use. Thanks for reading, enjoy!

WP_20140813_18_42_56_Pro

**Potato Bun Recipe Here and Creamed Corn Recipe Here**

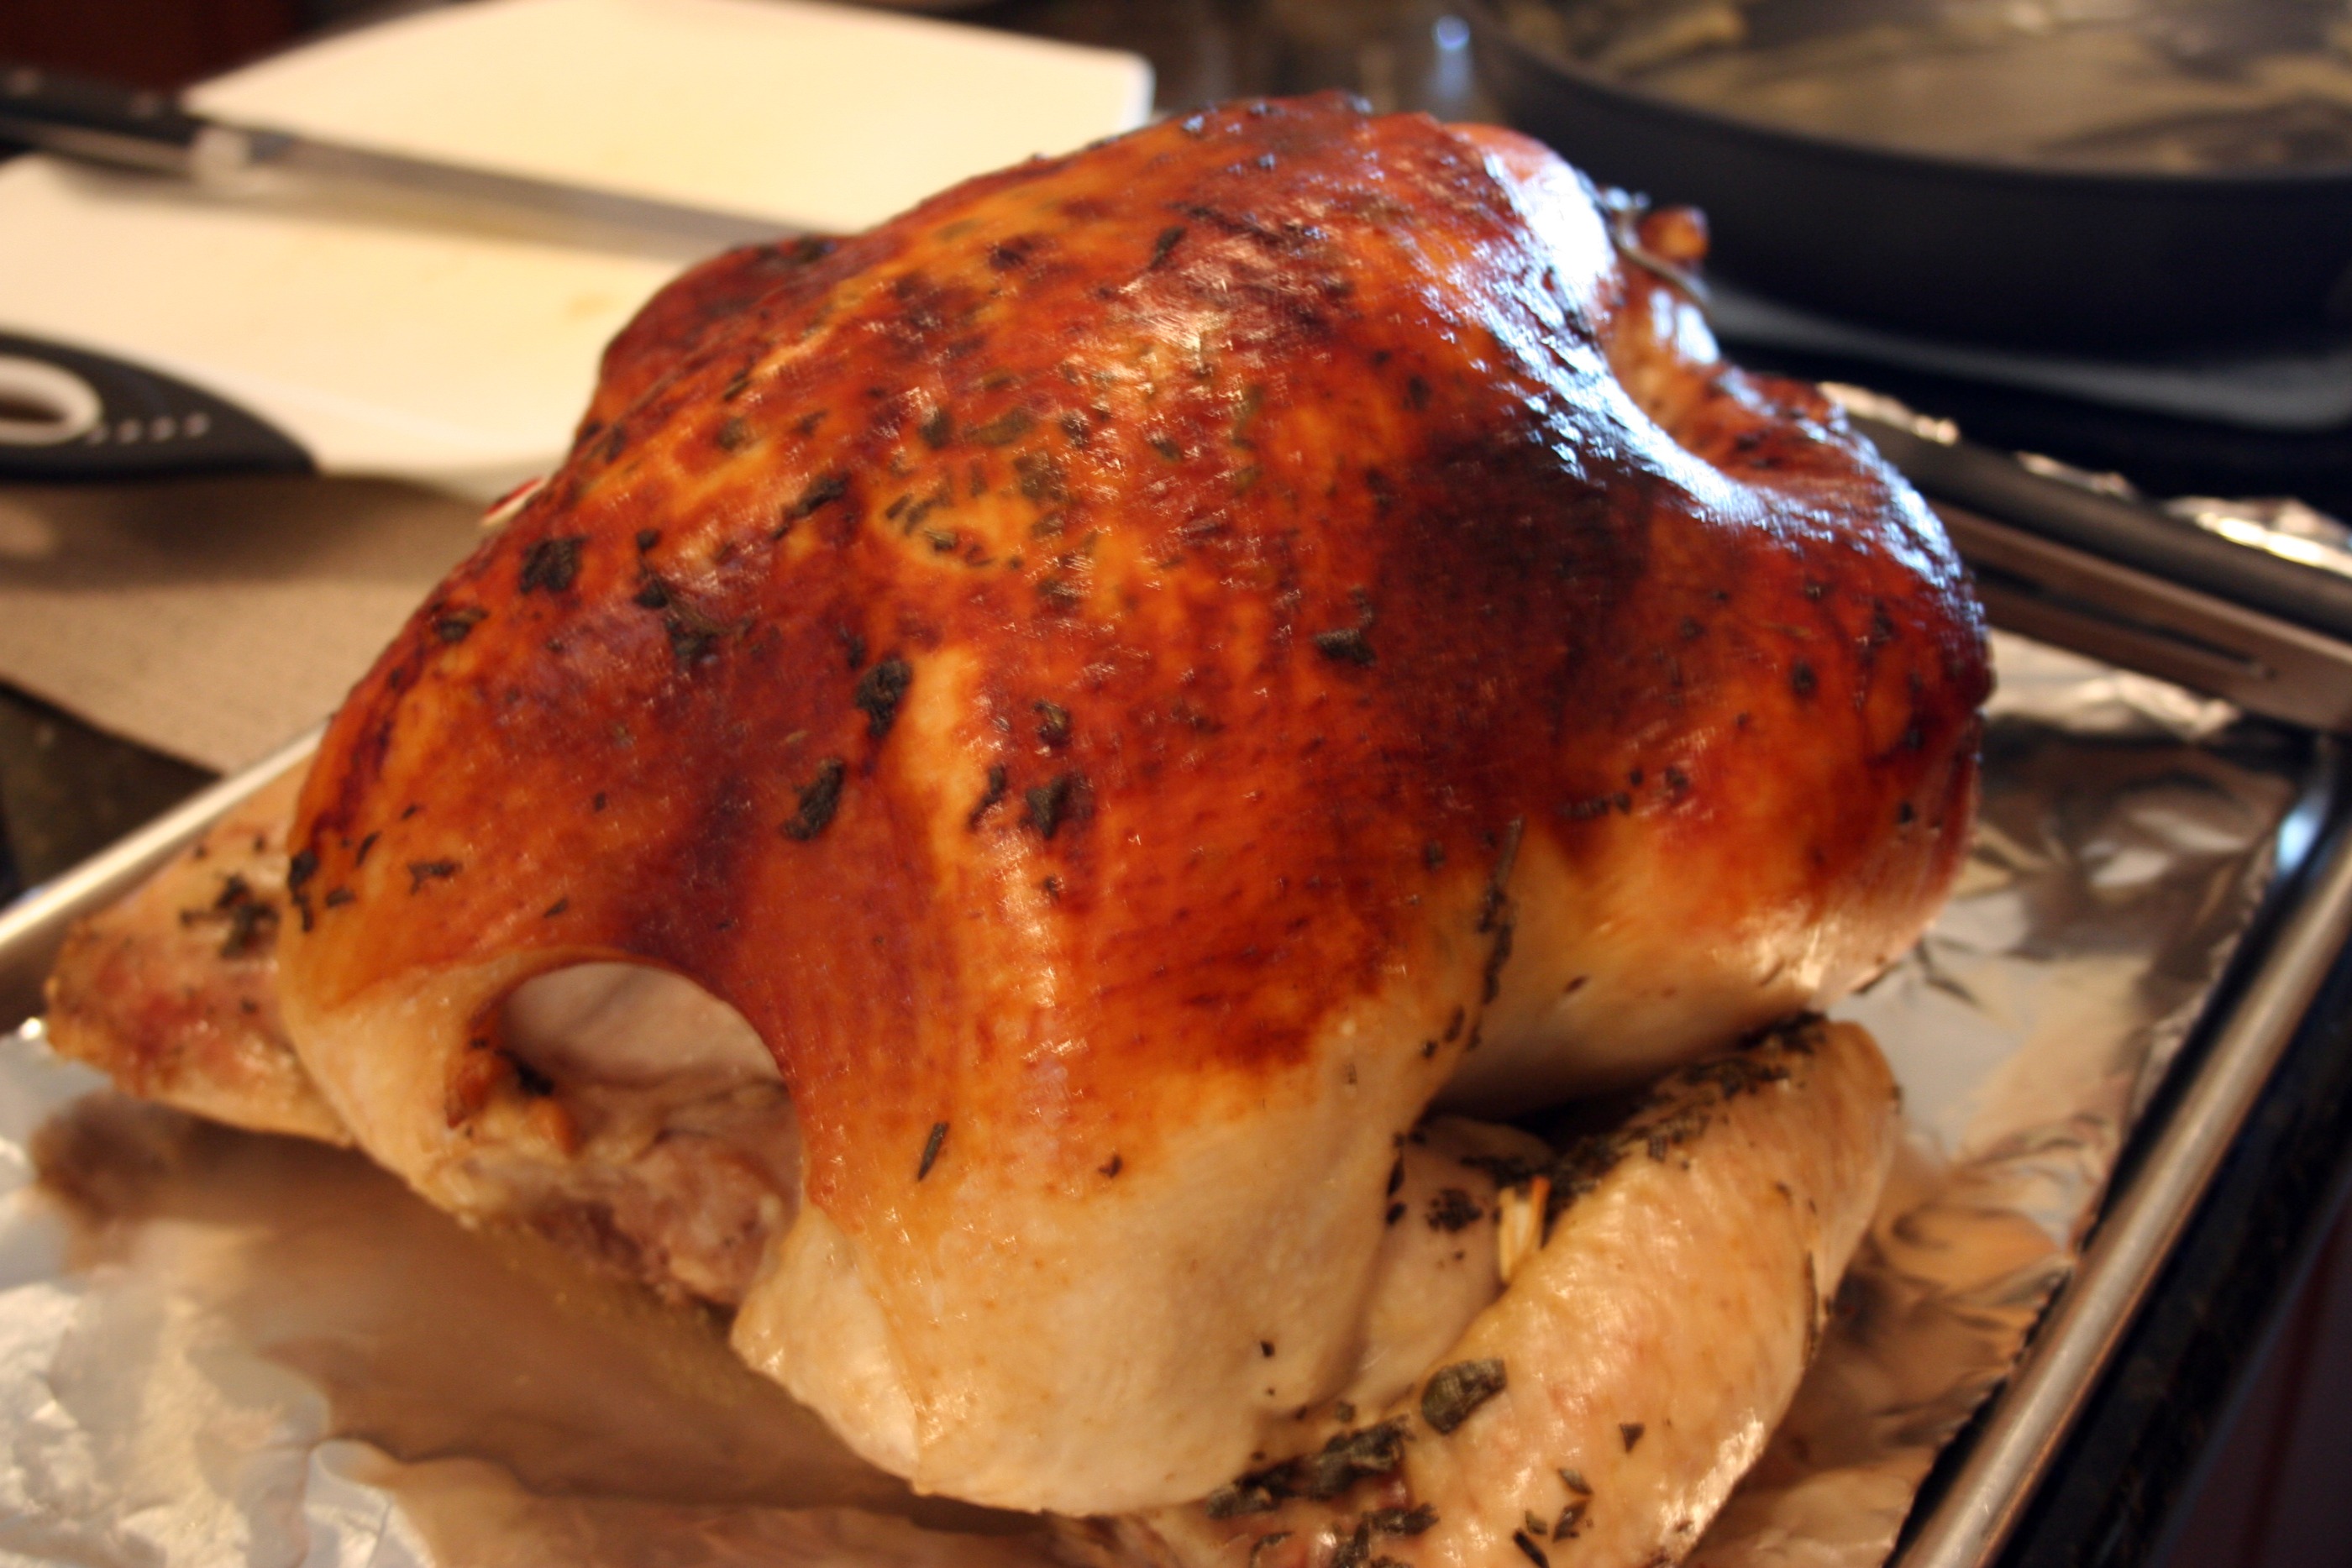
Slow Cooked Pork Roast – adapted from The Kitchn

  • 4 to 6 pound boneless pork shoulder or butt (or 5 to 7 pounds bone-in), trimmed of excess fat
  • 1/2 tablespoon salt
  • 1/2 tablespoon pepper
  • 2 tablespoons coconut oil
  • 1 yellow onion, sliced
  • 1 carrot, roughly chopped
  • 3 stalks celery, roughly chopped
  • 1 1/2 cups chicken stock
  • 2 bay leaves

Directions –

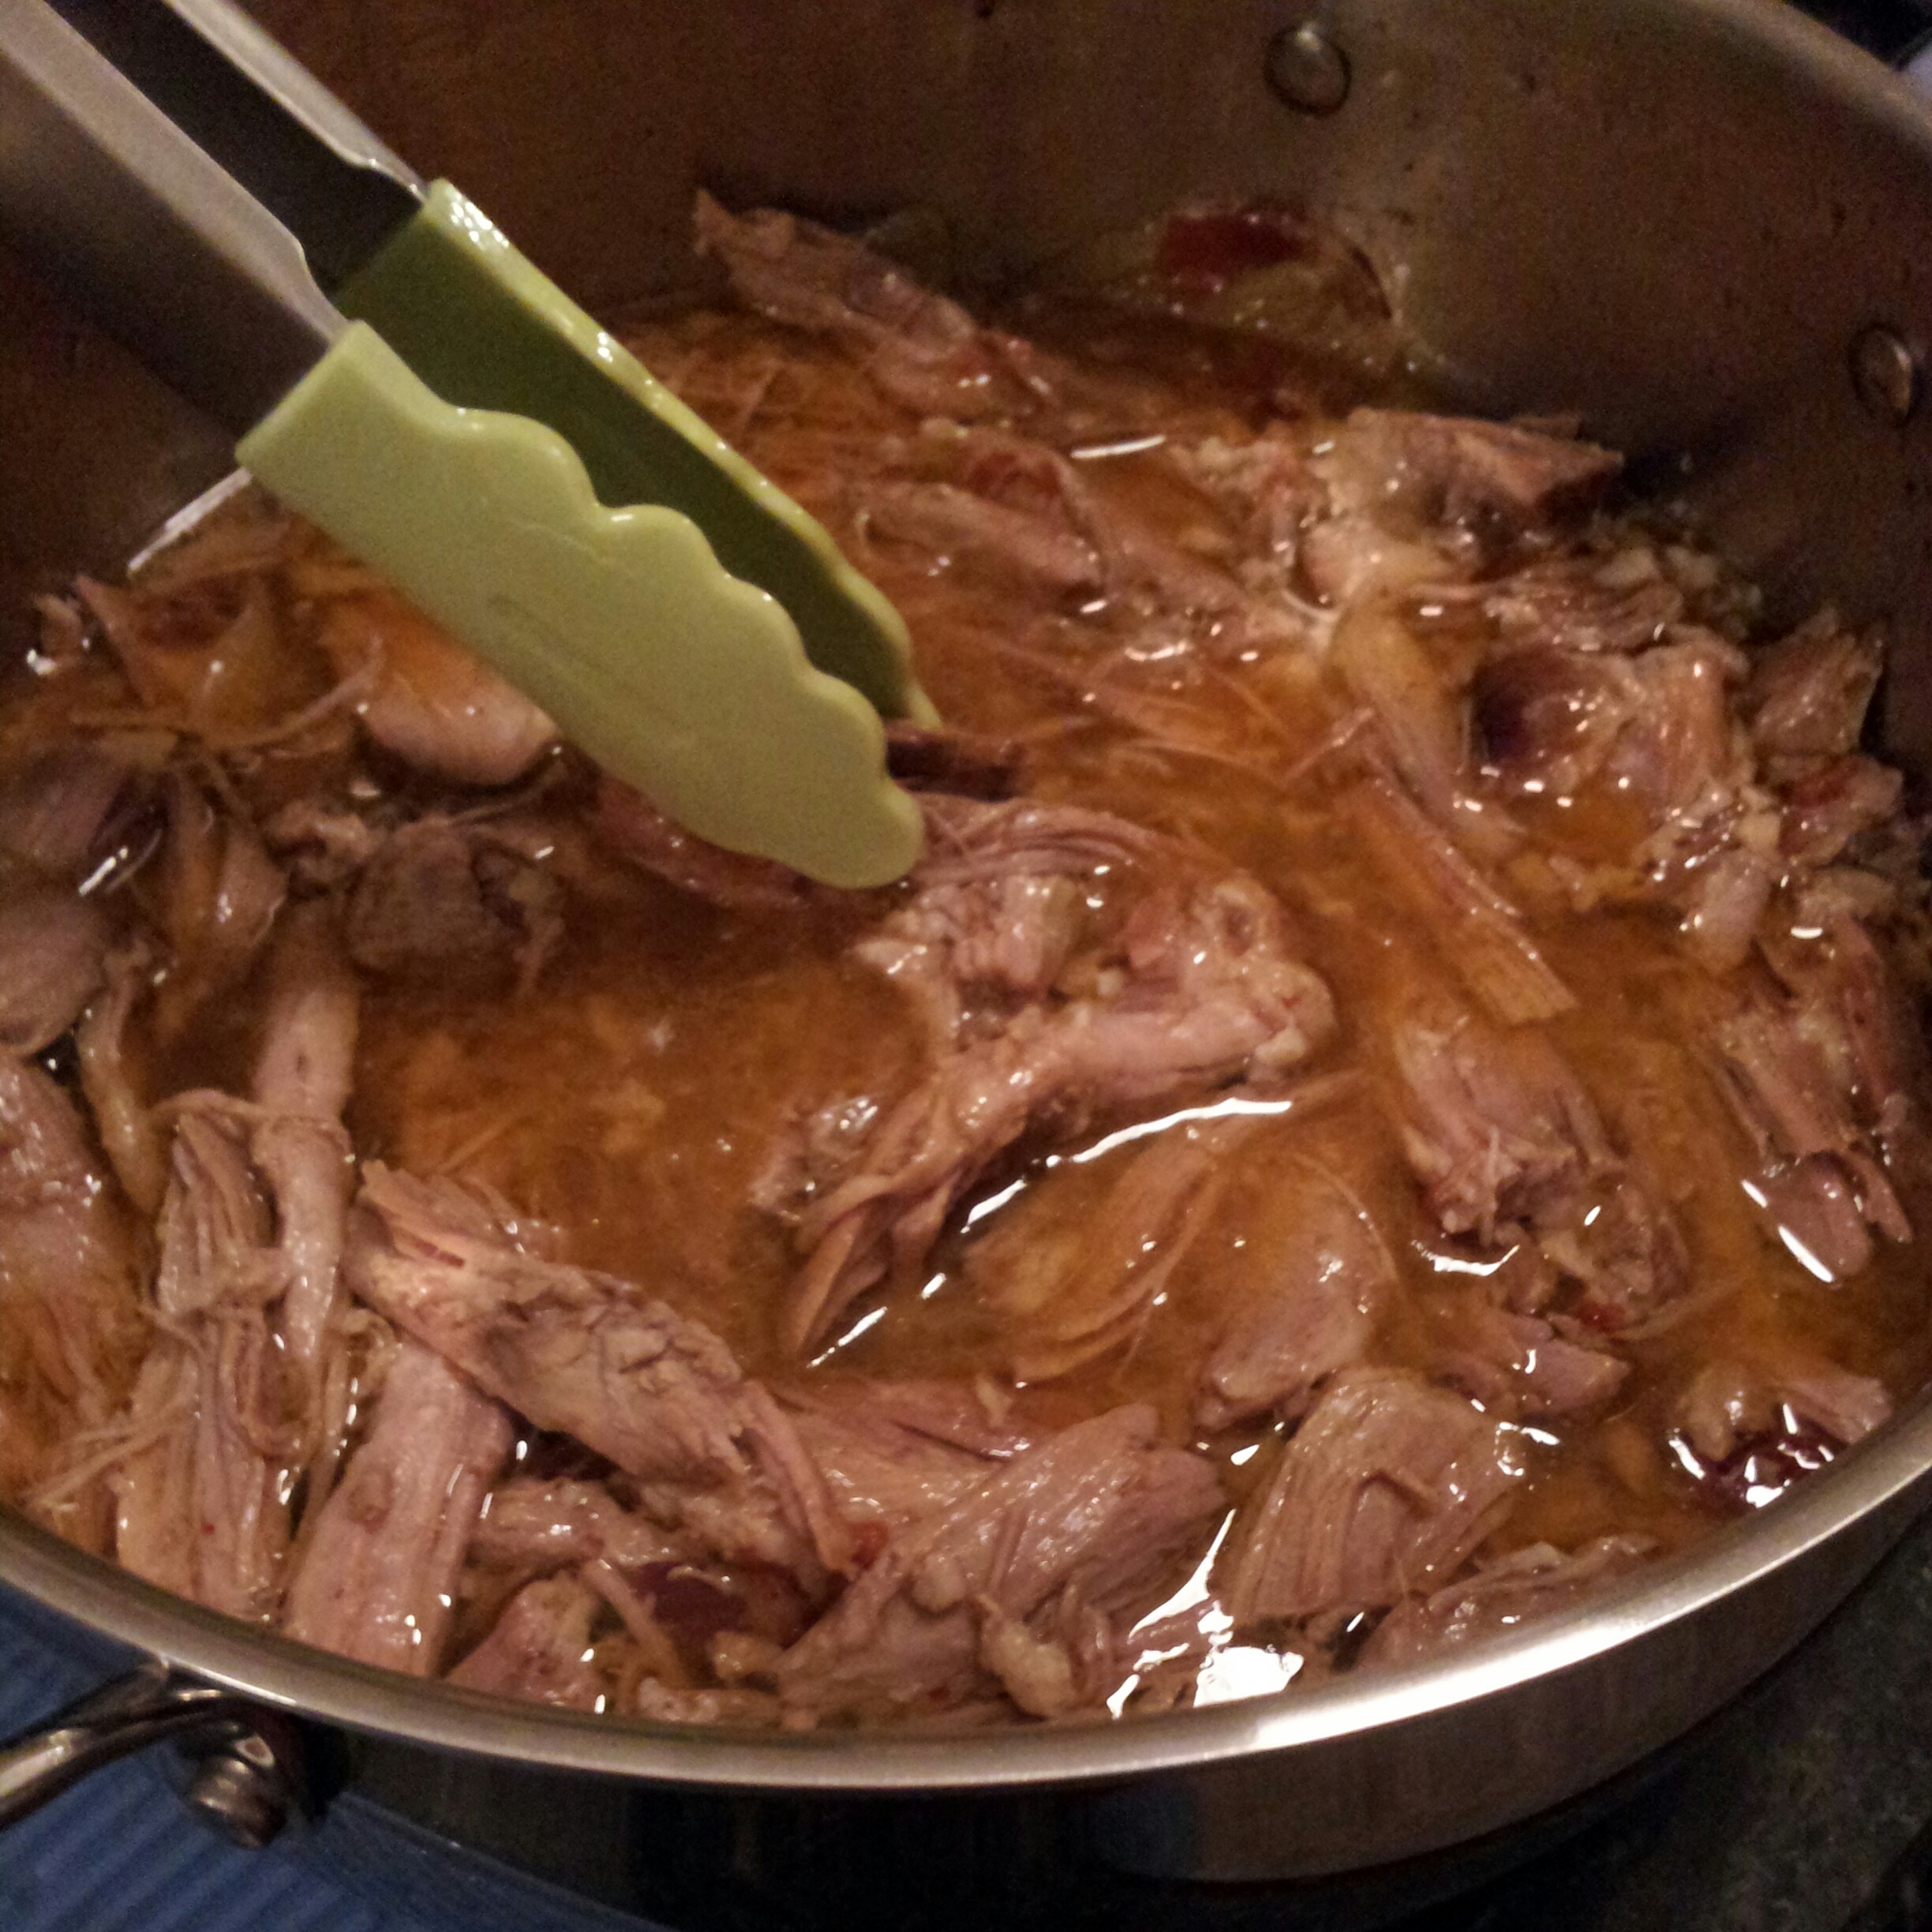
Preheat the oven to 325 degrees. Place a rack on the lower-third of the oven. Pat the pork dry with paper towels, and season with salt and pepper. Heat a large dutch oven over medium-high heat and add the oil. Sear all sides of the meat, add the vegetables and chicken stock and bring to a simmer. Once it simmers, cover and place in the oven. Bake for 2 to 4 hours, checking after the first two hours for “fork-tenderness” – My 4 pound bone-in roast was fall-off the bone tender at 3.5 hours. Transfer the pork to a large container. When cool enough to handle, use two forks or your fingers to shred the meat into pieces. Remove any large pieces of fat or bones. For more moist and flavorful pulled pork, you can mix some of the cooking liquid back into the pork. Start with a little, mix, then add more until the pork is as wet or dry as you like. Alternatively, for barbecue pulled pork, you can mix in barbecue sauce. Pulled pork will keep for 1 week in the refrigerator or for up to 3 months in the freezer.

Advertisement

Thanksgiving Day Recipe Round-Up

rolls1
Fall is my absolute favorite season because of the cooler weather, but mostly it’s because of the food! Thanksgiving dinner is hands-down the most time-consuming meal I make all year; but I love it! It’s a little depressing when I think of all the planning, shopping, prep-work, cooking, baking – not to mention the dish washing involved; and everyone is finished eating in about 20 minutes. Thankfully, there are the leftovers which can be the best part of the ordeal 🙂 I decided to round-up some of our favorites to help those of you who need inspiration and ideas.

A couple of tips for you novices out there – don’t be intimidated! 🙂 Plan at least a week in advance, especially if you plan on brining your turkey – I highly recommend it! You will never have a more moist, perfectly seasoned bird than when you’ve taken the time to brine. It’s not difficult, but you will need some extra space in your refrigerator and if you don’t have a huge, lidded container you can use heavy-duty brining bags, (I have used these). Also, invest in a digital probe thermometer, because who wants to go through all that trouble only to end up with overcooked (or under-cooked) turkey? Thanks for reading!

3

Breakfast

*Update* Pumpkin Cinnamon Rolls

Pumpkin Chocolate Chip Muffins

Pumpkin Bread

Overnight Cinnamon Rolls

Pumpkin Waffles

Baked Apple Cinnamon Oatmeal

Cinnamon Pull-Apart Bread

Cinnamon Sugar Donut Muffins

soup12

Appetizer/Sides

Spinach Artichoke Dip

Vanilla Almonds

Brioche and Sausage Dressing

Loaded Potato Soup

Roasted Garlic Mashed Potatoes

Perfect Au Gratin Potatoes

Garlic Green Beans

rolls3

Breads

Honey Yeast Rolls

Basic Buttery Brioche

Homemade Crescent Rolls

Dinner Rolls

Parker House Rolls

Golden Pull-Apart Butter Buns

Honey Cornbread Muffins

4

Mains

Brined Herb-Crusted Turkey

Honey Ham 

pumpkincheesecake

Desserts

Pumpkin Cheesecake

Brown Sugar Apple Cheesecake

Deep Dish Apple Crumble Pie

Apple Crisp I

Apple Crisp II

Vegan Apple Crisp

1

For the Leftovers

*Update* Chicken (or Turkey) Pot Pie with Cheddar Biscuit Crust

Turkey, Bacon and Avocado Sandwiches

Navy Bean and Ham Soup

Ham and Potato Soup

Roasted Vegetable, Goat Cheese and Pesto Sandwich

vegsandwich1

The vegetables smelled amazing while roasting. I hope that is a good indicator of flavor 😉

Verdict: This is the best meatless sandwich I have ever eaten, and easily top five of all the sandwiches I have ever made. The kale pesto is so flavorful, the creamy goat cheese adds a tangy bite and the veg – seriously, this combination of ingredients is a match made in culinary heaven 😉 My husband would not touch this with a ten foot pole – it has the three out of four ingredients he refuses to eat. Oh well, more for me! My friend and I greedily/happily ate both of our sandwiches and can’t wait for the next time! I could have eaten this again for dinner…I may have a problem! 😉 Thanks for reading, enjoy!

Roasted Vegetable Goat Cheese Pesto Sandwich – adapted from Wonderful Joy Ahead

  • 1 baguette (I bought mine at Panera Bread – totally worth the $2.79!)
  • 1/4 – 1/3 cup of fresh pesto (I used this kale pesto)
  • 2T+ chevre goat cheese
  • 2 portobello mushroom caps (*I had 12 oz of cremini mushrooms*)
  • 1 red bell pepper
  • 1 orange bell pepper
  • 1/2 red onion
  • 1/4 cup extra virgin olive oil
  • 2 T balsamic vinegar
  • 1/4 tsp salt
  • 1/2 tsp freshly ground pepper
 Directions –
Preheat oven to 475. Line two baking sheets with foil.
Gently wash the mushrooms and cut out the stem. Cut all vegetables in large pieces. In a large bowl, mix together oil, vinegar, salt, and pepper. Add the vegetables to the oil mixture and coat well. Place veggies in a single layer on the baking sheets, making sure each veggie touches the foil and is not on top of another vegetable. Place the vegetables in the oven. Roast for about 15 minutes, flipping the vegetables over at the 7 minute mark. They are ready to take out when the onions are starting to char on the edges and the peppers get nice blisters on the skin.
While the vegetables are in the oven, cut your bread to the length that you want your sandwich.  Slice in half and remove part of the inside to make room for the filling.
Spread 2-3T of pesto on one half of each sandwich. Then spread 1-2T of goat cheese on the other half of each sandwich.
vegsandwich
Remove the vegetables from the oven, and layer the vegetables in tidy layers over the bread. Close the sandwich up. Place on the baking sheets and put back in the oven to let the residual heat warm up the cheese for 5 minutes.

Crispy Fish Sandwiches

sandwich

These are scrummy! No, I didn’t make that word up 😉 These are basically this recipe and instead of using the soft wrap bread, I used ciabatta rolls 🙂 Yes, it’s not a new one but it’s a good one! You can’t go wrong with crispy fish, creamy tartar sauce and more carbs 🙂 Thanks for reading, enjoy!

PW Spicy Pulled Pork

pork1

This meal was super easy, and very forgiving. My pork shoulder was about 4 pounds, I had a partial can of chipotles on hand, and I only used 12 ounces of Dr. Pepper; but it tasted great. Not too spicy, not too sweet and plenty of leftovers that freeze really well. With the leftover pork, I made this and plan on making these – both are family favorites! Thanks for reading, enjoy!


Spicy Dr. Pepper Shredded Pork – adapted from The Pioneer Woman

  • 1 whole Large Onion
  • 1 whole Pork Shoulder (“pork Butt”) – 5 To 7 Pounds
  • Salt And Freshly Ground Black Pepper
  • 1 can (11 Ounce) Chipotle Peppers In Adobo Sauce
  • 2 cans Dr. Pepper
  • 2 Tablespoons Brown Sugar

Directions –

Preheat oven to 300 degrees.

Peel the onion and cut it into wedges. Lay them in the bottom of a large dutch oven. Generously salt and pepper the pork roast, then set it on top of the onions in the pan. Pour the can of chipotle peppers over the pork (include the sauce.) Pour in both cans of Dr Pepper. Add brown sugar to the juice and stir in.

Place lid tightly on pot, then set pot in the oven. Cook for at least six hours, turning roast two or three times during the cooking process. Check meat after six hours; it should be absolutely falling apart (use two forks to test.) If it’s not falling apart, return to the oven for another hour.

Remove meat from pot and place on a cutting board or other work surface. Use two forks to shred meat, discarding large pieces of fat. Strain as much of the fat off the top of the cooking liquid as you can and discard it. Return the shredded meat to the cooking liquid, and keep warm until ready to serve.

 
pork

Potato Burger Buns

buns1

These are super easy to make and I really enjoy working with the dough. They hold up well to what ever you end up putting on them whether it’s saucy pulled pork, a juicy hamburger or a grilled chicken sandwich. Thanks for reading, enjoy!

Burger Buns – adapted from BakerStreet

  • 4 cups (480 grams) bread flour
  • 2¼ tsp (7 grams) dry yeast
  • ¼ cup lukewarm water
  • 1 whole egg
  • ½ cup mashed potatoes
  • 4 tbsp butter diced
  • 1 tsp salt
  • ½ cup lukewarm water
  • 1 egg yolk mixed with 1 tsp water (optional)
 Directions –
In a mixing bowl sift the flour. Make a well in the middle and pour ¼ cup lukewarm water. Sprinkle the yeast and leave at room temperature until the yeast is dissolved and it foams, like a sponge. When the yeast is proofed, add the egg, mashed potatoes, butter and salt. If you’re using a stand up mixing, with the dough hook on, start mixing slowly adding ½ cup water and keep mixing until the dough comes clean from the sides of the bowl.

If you’re mixing by hand, use a Danish whisk or a wooden spoon and slowly add water in the middle of the flour mixture until the dough is formed. Take the dough out of the bowl (no mater if you’re using a stand-up mixer or a Danish whisk) and place it on a floured working surface. Knead by hand until it becomes smooth and elastic, about 5-7 minutes. Place the dough into a floured or oiled bowl, cover with plastic wrap and leave at room temperature until doubled in volume.

Take the dough out of the bowl, place it on a floured surface and divide it into 8-12 buns, depending on how small/big you want the buns. Place the buns on a baking sheet, cover and leave at room temperature until almost doubled in size.

Meanwhile heat the oven to 375F. Just before putting the buns in the oven, brush them with egg wash (egg yolk mixed with water) Bake for 25-30 minutes until golden. Leave to cool slightly before removing them from the baking sheet. You can store the buns in the fridge or in the freezer. When ready to use again, just heat the oven to 350F and place the buns in the oven for few minutes until warm. Or you can microwave them for few seconds.

Spicy Roasted Shrimp Sandwich with Chipotle Mayo

Quick Post: It seems that I can’t go wrong when I give them shrimp! 😉 M really liked the chipotle mayo, and it would be a great addition to other sandwiches – that is, if you have any leftovers! Thanks for reading, enjoy!

Spicy Roasted Shrimp Sandwich with Chipotle Mayo –

  • 1 pound medium shrimp, peeled and deveined
  • 1 tablespoon olive oil
  • 1 teaspoon cumin
  • 1 teaspoon garlic powder
  • 1/2 teaspoon chili powder
  • Kosher salt and freshly ground black pepper, to taste
  • Chipotle Avocado Mayonnaise
  • 1 baguette, cut it into 3-4 equal pieces, toasted, for serving
  • Romaine lettuce leaves, for serving
  • Bacon (cause everything is better with it)
  • Sliced tomato and avocado, for serving


Directions –

Preheat oven to 400 degrees F. Line a baking sheet with parchment paper.

In a large bowl, combine shrimp, olive oil, cumin, garlic powder, chili powder, salt and pepper, to taste.

Place shrimp mixture onto the prepared baking sheet. Place into oven and roast just until pink, firm and cooked through, about 6-8 minutes.

Serve sandwiches on a baguette with romaine lettuce, avocado, shrimp and chipotle avocado mayonnaise.

Chipotle Mayonnaise – 

  • 1-3 chipotle peppers, in adobo sauce
  • 1 avocado, pitted and chopped
  • 1/4 cup mayonnaise
  • 1/4 cup Greek yogurt
  • Juice of 1 lime
  • 1/4 teaspoon salt

Directions –

Combine chipotle peppers, avocado, mayonnaise, Greek yogurt, lime juice and salt in the bowl of a food processor; set aside.

Ham and Cheese Rolls

Quick Post: After I made the kids these pizza rolls, I knew I needed to make ham and cheese filled for their school lunches. These are quick, easy and the kids loved them! Thanks for reading, enjoy!

Ham and Cheese Rolls –

  • 1 lb. pizza dough
  • swiss cheese, sliced or shredded
  • cheddar cheese, sliced or shredded
  • sliced deli ham, chopped or torn

Directions –

Preheat oven to 400 degrees. Grease a baking sheet with non stick cooking spray and set aside. Roll pizza dough into a 12×18 inch rectangle and cut into 4 strips width wise (so you’d end up with 4 pieces of dough that are 4 1/2 inches x 12 inches). Place the slices of ham on top of the dough and then with swiss and cheddar cheese.Roll up each piece of dough and place on prepared baking sheet seem side down. Press the open edges down to seal. Bake for 20-25 minutes or until tops are golden and bottoms are brown.

Chicken Salad Sandwich

Quick Post: This is really good – so good that I ate it twice this week. I had leftover roast chicken, and what better way to use it than for chicken salad? This is a combination of a few different recipes that inspired me. I love the crisp bite of the celery, the sweetness of the apple, the toasty walnuts…all of these ingredients work together to make one of my favorite sandwiches. Thanks for reading, enjoy!

Chicken Salad Sandwich –

  • 1/2 – 1 cup cooked chicken, shredded or chopped fine
  • 1 celery rib, small dice
  • 1 small apple, small dice (I used a Granny Smith)
  • 1/4 cup walnuts, toasted and chopped
  • 2-3 TBSP mayonnaise
  • 2-3 TBSP plain Greek yogurt
  • 1/8 – 1/4 tsp of curry powder
  • cayenne, paprika, pepper, salt – to taste

Directions –

Mix all ingredients together in a small bowl, serve immediately or place in the fridge until ready to serve. Serve in a wrap, on a sandwich or over a bed of lettuce.

Chicken Gyros

Well, I know my husband liked it because he ate three! Needless to say, there are no leftovers…boo! But I’m glad he liked them 🙂 Thanks for reading, enjoy!

Chicken Gyros – adapted from The Girl Who Ate Everything

Tzatziki sauce:

  • 1 cup plain Greek yogurt
  • 1 regular cucumber, peeled and seeded
  • 1 teaspoon minced garlic
  • 1/4 teaspoon dried dill
  • 1/4 teaspoon dried parsley
  • 1 teaspoon white wine vinegar
  • Salt and pepper
  • Squeeze of fresh lemon juice, and zest
  • Extra virgin olive oil

For the chicken:

  • 2 teaspoons minced garlic
  • Juice of 1 lemon (2-3 Tablespoons)
  • 2 teaspoons red wine vinegar
  • 2 Tablespoons extra virgin olive oil
  • 2 heaping Tablespoons plain Greek yogurt
  • 1 Tablespoon dried oregano
  • 1 teaspoon dried dill
  • Salt and pepper
  • 1 1/4 lbs. boneless, skinless chicken breasts

To assemble:

  • Pita bread (I made these again)
  • Fresh tomatoes, seeded and diced

Directions –

Shred the cucumber or chop in food processor. Wrap in a towel a squeeze to remove as much water as possible. Mix together the yogurt, shredded cucumber, garlic, white wine vinegar, salt and pepper to taste, and lemon juice. Drizzle lightly with olive oil.

Refrigerate for at least 30 minutes before serving to allow the flavors to meld.

To prepare the chicken, combine the garlic, lemon juice, red wine vinegar, olive oil, yogurt, oregano, and salt and pepper to taste in a medium bowl. Whisk together until mixed well. Add the chicken pieces to the bowl and mix well to coat. Cover and refrigerate for about 1 hour.

Cook the chicken as desired, either in the skillet or with the broiler. Once the chicken is completely cooked through, transfer to a plate and let rest for 5 minutes. Cut into strips. Heat pitas. Top with chicken, tzatziki sauce, diced tomatoes and sliced onions. Serve immediately.