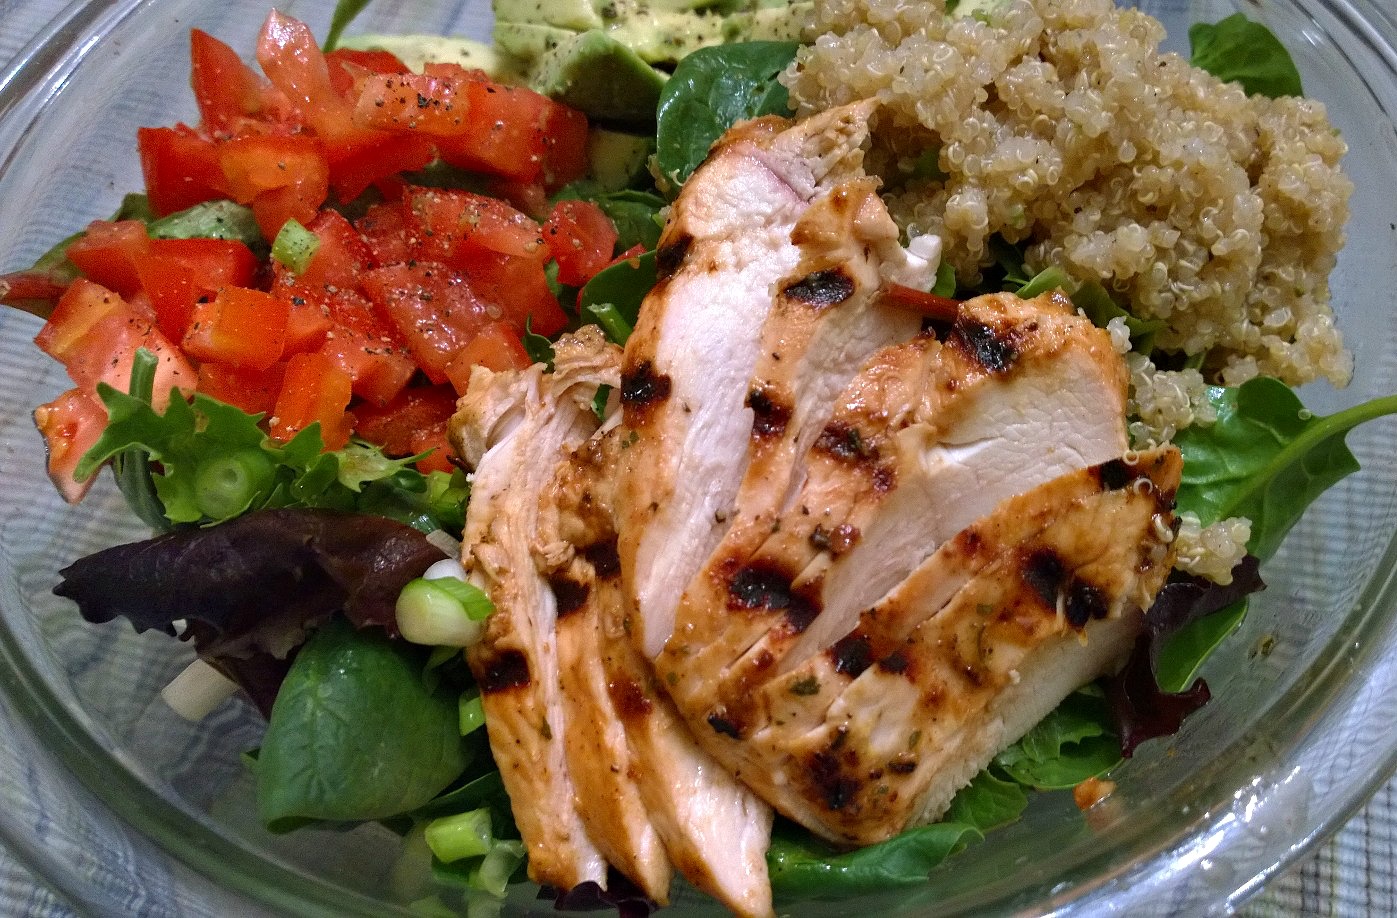
Quick Post: Greek night is one of my favorites and the leftovers taste even better 🙂 Thanks for reading, enjoy!
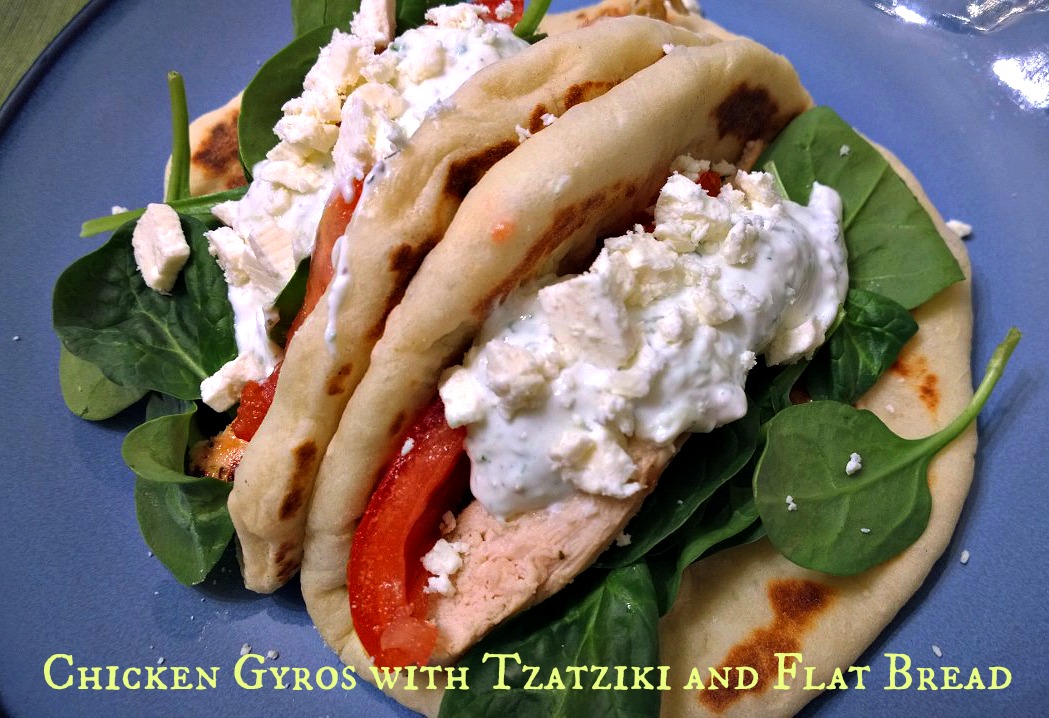
Chicken Gyros – adapted from Elly Says Opa
- 1.5 to 2 pounds chicken breast, split
- 3-4 cloves garlic, chopped
- 2 tsp. red wine vinegar
- Juice of one lemon, about 3 TBSP
- 2 TBSP extra virgin olive oil
- 2 heaping TBSP Greek yogurt
- 1 TBSP dried oregano
- salt and fresh ground pepper to taste
- 1 cup tzatziki sauce
- sliced tomatoes
- salad greens
- crumbled feta
- flat bread
Directions –
Combine garlic, lemon juice, vinegar, oil, yogurt, and oregano in a bowl – then pour over chicken, cover and refrigerate for at least an hour.
Preheat the grill (or broiler, pan, ect.) Sprinkle chicken with salt and pepper on both sides and cook until done – about 5-7 minutes a side. Allow the chicken to rest for a few minutes before slicing.
Top the pita with the chicken, tzatziki, tomatoes, feta and onions. Roll up and eat!

Tzatziki – adapted from Culinary Cory
- 2 (7 oz) containers of Greek yogurt
- 1 hothouse cucumber, seeded and unpeeled
- ¼ cup sour cream
- 2 Tbl. fresh lemon juice
- 1 Tbl. white wine vinegar
- 1 Tbl. fresh dill, minced (*I used about 1 tsp. dried*)
- 1 ½ Tbl. garlic, minced
- salt and pepper
- assorted fresh vegetables
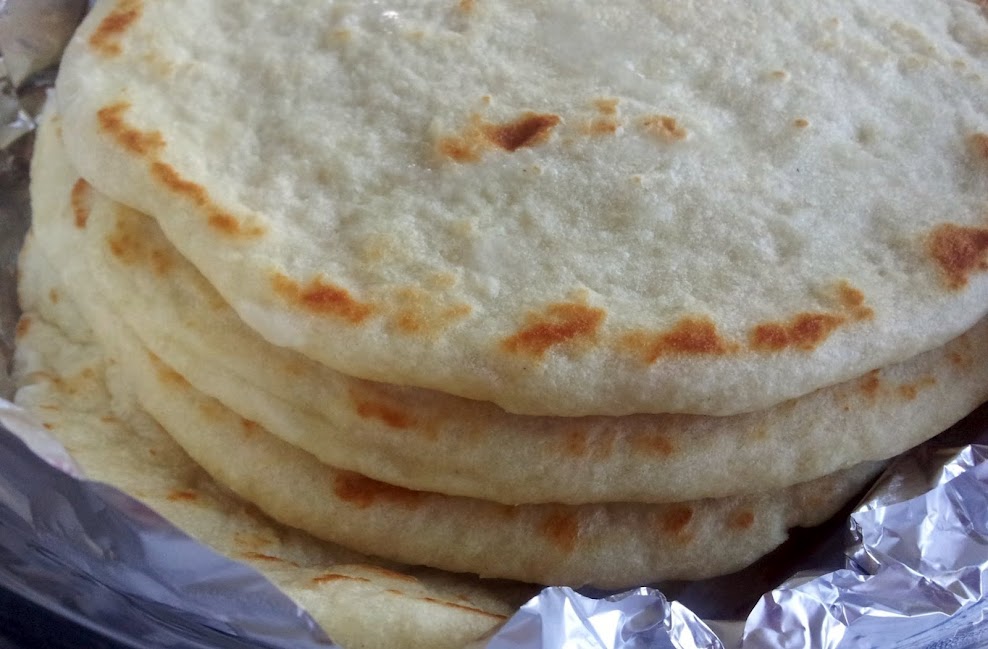
Wrap bread
- 3 cups AP flour (361 grams)
- 1 1/4 cups boiling water
- 1/4 cup potato flour OR 1/2 cup potato buds or flakes
- 1 1/4 teaspoons salt
- 2 tablespoons vegetable oil
- 1 teaspoon instant yeast
Directions –
1) To make the bread: Place 2 cups of the flour into a bowl or the bucket of a bread machine. Pour the boiling water over the flour, and stir till smooth. Cover the bowl or bucket and set the mixture aside for 30 minutes.
2) In a separate bowl, whisk together the potato flour (or flakes or buds) and the remaining 1 cup of flour with the salt, oil and yeast.
3) Add this to the cooled flour/water mixture, stir, then knead for several minutes (by hand, mixer or bread machine) to form a soft dough. Note: You can allow the dough to go through the entire kneading cycle(s) in the bread machine, but it’s not necessary; about a 5-minute knead in the machine, once it gets up to full kneading speed, is fine. The dough should form a ball, but will remain somewhat sticky. Add additional flour only if necessary; if kneading by hand, keep your hands and work surface lightly oiled.
4) Let the dough rise, covered, for 1 hour.
5) Divide the dough into 8 pieces (each about the size of a handball, around 3 ounces), cover, and let rest for 15 to 30 minutes.
6) Roll each piece into a 7″- to 8″-circle, and dry-fry them (fry without oil) over medium heat (about 325°F in an electric frying pan or on an electric griddle) for about 1 minute per side, until they’re puffed and flecked with brown spots. Adjust the heat if they seem to be cooking either too quickly, or too slowly; cooking too quickly means they may be raw in the center, while too slowly will dry them out.
7) Transfer the cooked breads to a rack, stacking them to keep them soft. Serve immediately, or cool completely before storing in a plastic bag. Note: If you plan on making these into folded sandwiches, gently fold them in half when you take them off the griddle, rather than laying them flat. That way, they’ll retain that folded shape as they cool, and will be easier to make into sandwiches.