Chocolate Peanut Butter Banana Milkshake

WP_20140405_20_28_55_Pro (1)

This dessert hits the spot and makes me feel like I’m cheating on my diet! It’s a great fake-out dessert because the frozen bananas create a thick, ice cream-like consistency. Even my husband and kids enjoy this – that’s a win for clean eating! 😉 I have made this at least five times in the last two weeks, actually, I could go for one of these right now 😉 Thanks for reading, enjoy!

Chocolate Banana Peanut Butter Milkshake – adapted from Detoxinista

  • 2 frozen bananas
  • ¾ cup milk (or non-dairy milk)
  • 1 Tablespoon pure maple syrup
  • 2 Tablespoons cocoa powder
  • ¼ cup natural peanut butter
  • 1 teaspoon vanilla extract
  • 7 ice cubes (about 2 handfuls)

Directions – 
Throw all of the ingredients into a high-powered blender, and blend until smooth and creamy. Pour into two glasses and serve immediately!

Advertisement

Simple Amaranth and Quinoa Porridge

WP_20140420_18_35_32_Pro

Wow – this is so creamy and surprisingly tasty! I used full fat coconut milk instead of the recommended almond milk. Thanks for reading, enjoy!

Amaranth and Quinoa Porridge – adapted from Choosing Raw

  • 1/2 cup dry quinoa, rinsed well
  • 1/2 cup dry amaranth
  • 2 cups water
  • Pinch salt
  • 2 cups
  • 2 cups coconut milk (*My can was just under 2 cups, so I made up the difference with water*), or your milk of choice
  • 2 TBSP coconut sugar or sweetener of choice

WP_20140420_18_22_01_Pro


Directions – 

Combine water, salt, and grains in a medium pot and bring to a boil. Lower the heat to a simmer, cover the pot, leaving the lid slightly ajar to let air escape, and cook for 25-30 minutes, or until water is absorbed and grains are tender. At this point, you can use the grains in any way you’d like, or move straight into the porridge.

To make the porridge, combine the milk and sweetener in a medium pot and add the cooked grains. Simmer over low heat for a few minutes, or until most of the milk is absorbed a bit.

Divide the porridge into four bowls or glass jars. Top with fruit, nuts or anything else you like!

Spaghetti Squash with Garlic and Parmesan

WP_20140404_12_18_30_Pro (1)


Two weeks ago,  I purposed to eliminate refined sugars and flour from my diet. The new and kind of drastic change in eating habits has inspired me to try new vegetables and clean eating recipes. The first four days of detox were painful to say the least, but I’m so glad that I have made this change. I have more energy, I’m more clear-headed and I don’t feel sluggish or bloated. This veg is on of my new favorites and I have purchased six in the last two weeks. They’re cheap, versatile and a great substitute for spaghetti noodles.

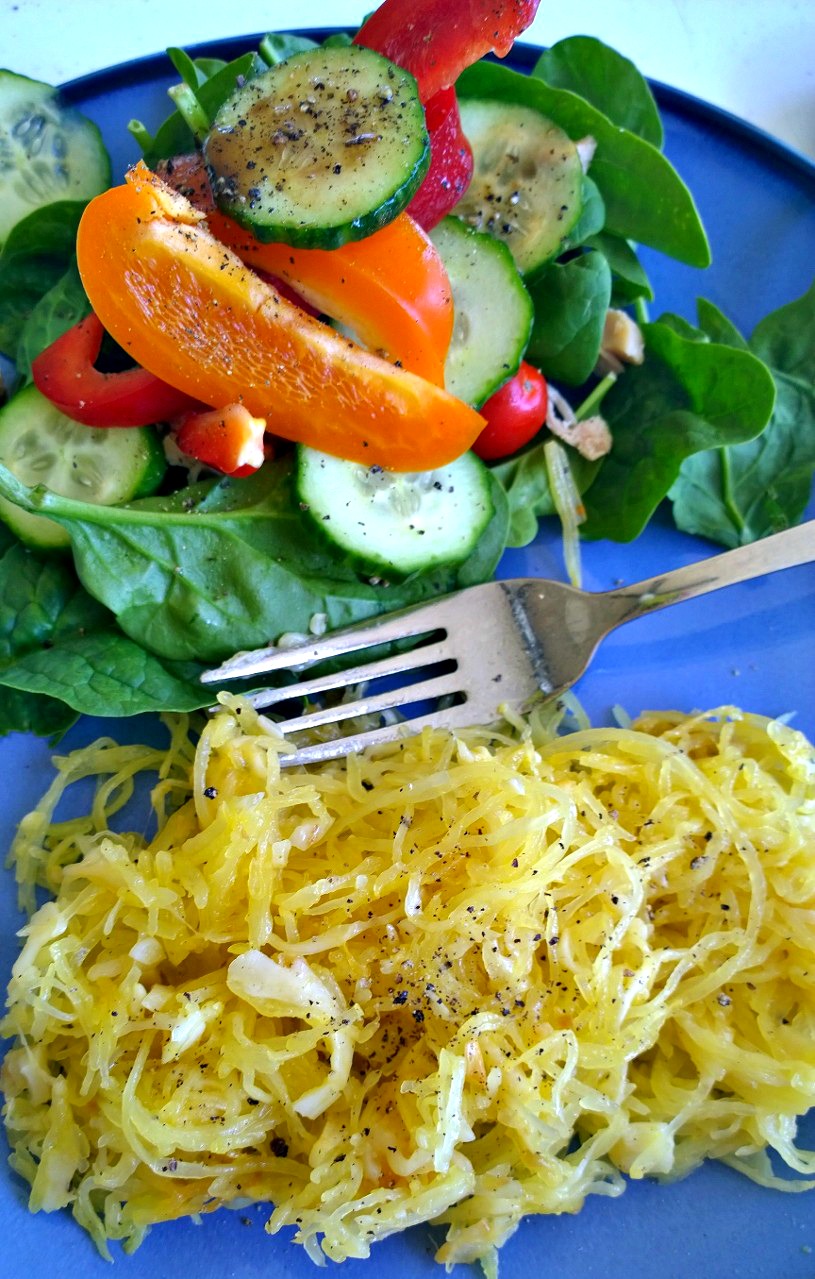
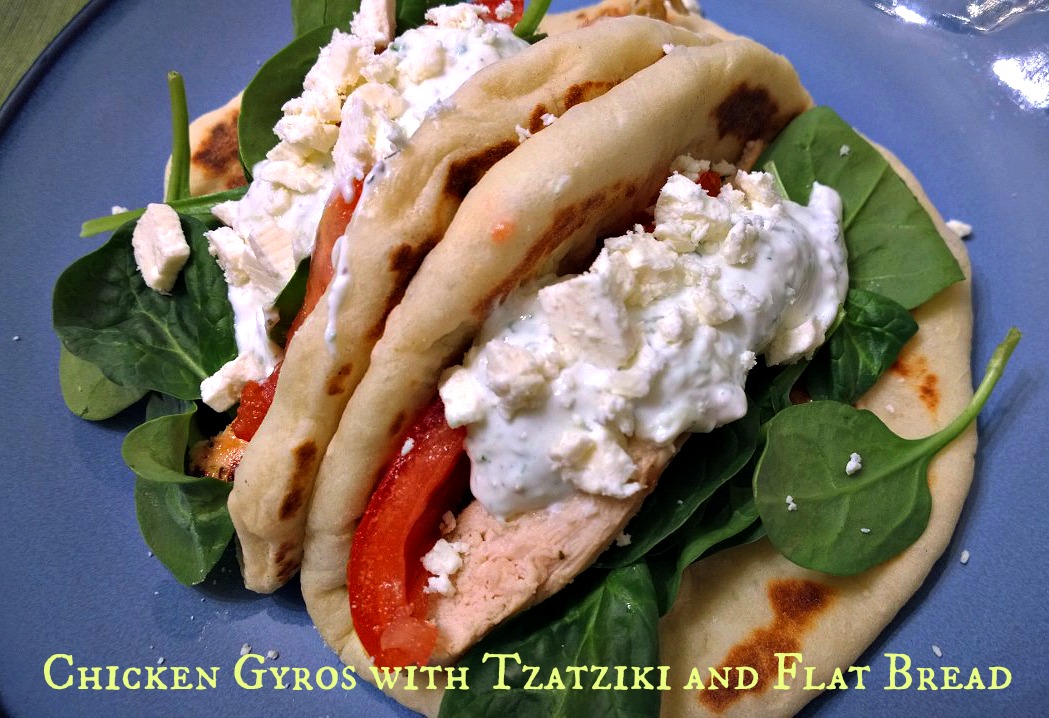
This side dish is so darn quick, easy and flavorful that I could eat it daily – the hardest part is cutting the squash in half. All you need is a roasted squash, good olive oil, chopped garlic and Parmesan cheese to make this savory and satisfying side dish. The first time I served it along side sautéed tilapia and steamed peas. The next three times I served it along a spinach salad with my favorite maple Dijon dressing. Soon I will share with you the other clean eating recipes I have tried, like my favorite peanut butter, banana and chocolate smoothie, stuffed zucchini boats; and a spaghetti squash bake that tasted even better the next day. Thanks for reading, enjoy!

Roasted Spaghetti Squash with Garlic and Parmesan – adapted from Chow

    • 1 large spaghetti squash or two small ones
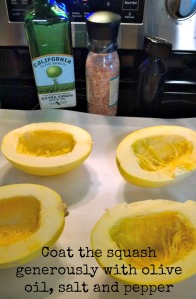
    • 4 tablespoons olive oil
    • Kosher salt
    • Freshly ground black pepper
    • 2-3 medium garlic cloves, finely chopped
    • 1 medium shallot, finely chopped (*if you have it on hand*)
    • 3/4 cup finely grated Parmesan cheese, plus extra for serving

Directions –

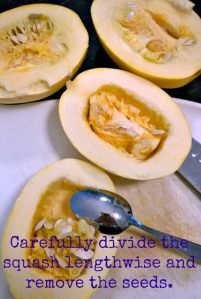
Heat the oven to 375°F and arrange a rack in the middle. Cut the squash in half lengthwise and scrape out the seeds. Brush the flesh with 2 tablespoons of the oil and season generously with salt and pepper. Place the squash halves cut-side up on a baking sheet and roast until fork tender, about 40-50 minutes.

WP_20140408_13_19_26_ProWP_20140408_13_25_31_ProWP_20140408_16_23_34_ProWP_20140408_16_29_00_Pro

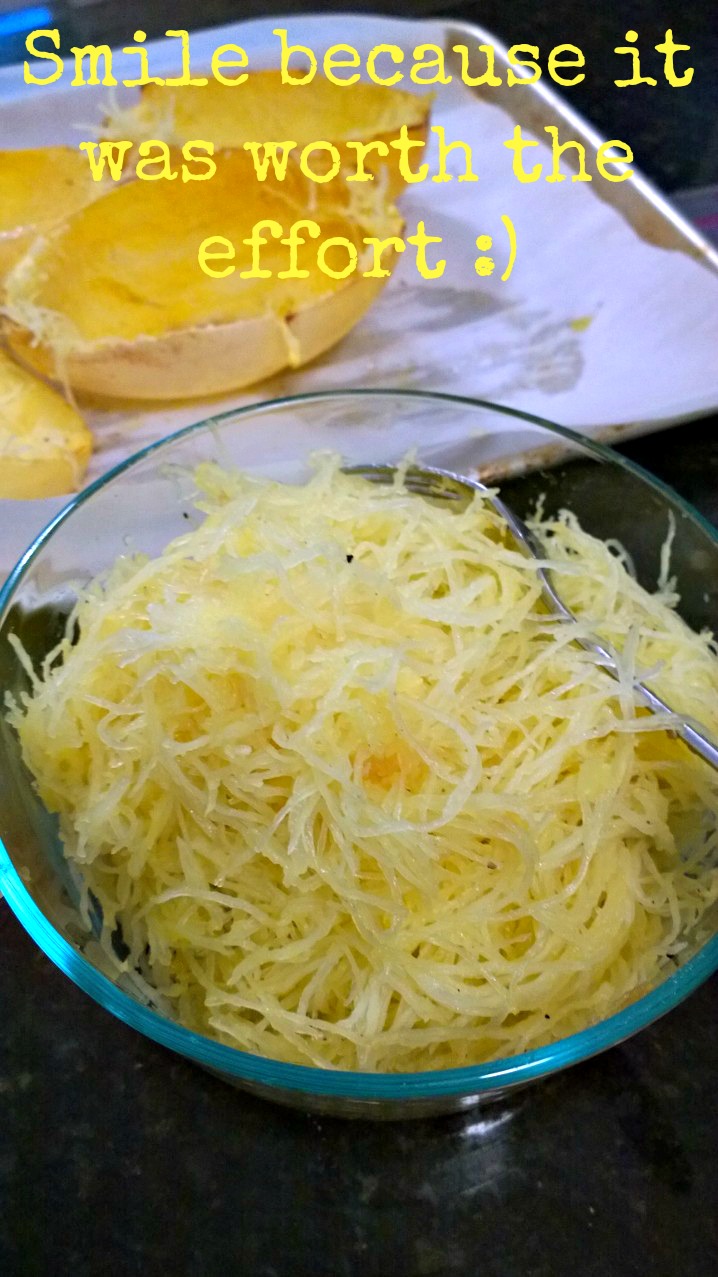
Remove the squash from the oven and let sit at room temperature until cool enough to handle, about 30 minutes. Scrape the flesh with a fork to make long strands; set aside.

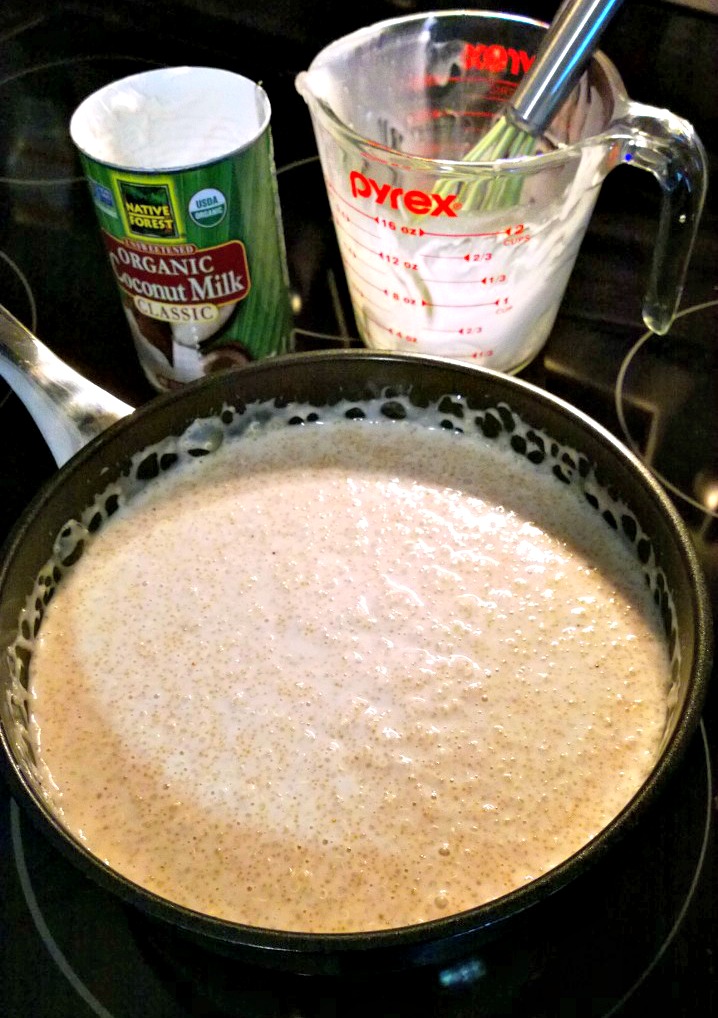
Heat the remaining 2 tablespoons of oil in a large saucepan over medium heat until shimmering, about 3 minutes. Add the garlic and shallot, season with salt and pepper, and cook until softened and lightly browned, about 3 minutes.

Add the reserved squash, toss with tongs to coat thoroughly, and cook until heated through, about 3 minutes. Remove from the heat and add the cheese a handful at a time while tossing the squash to evenly coat. Serve with freshly ground black pepper and extra cheese.

Chicken Gyros with Tzatziki and Flat Bread

WP_20140327_18_56_01_Pro


Quick Post: Greek night is one of my favorites and the leftovers taste even better 🙂 Thanks for reading, enjoy!

Chicken Gyros – adapted from Elly Says Opa

  • 1.5 to 2 pounds chicken breast, split
  • 3-4 cloves garlic, chopped
  • 2 tsp. red wine vinegar
  • Juice of one lemon, about 3 TBSP
  • 2 TBSP extra virgin olive oil
  • 2 heaping TBSP Greek yogurt
  • 1 TBSP dried oregano
  • salt and fresh ground pepper to taste
  • 1 cup tzatziki sauce
  • sliced tomatoes
  • salad greens
  • crumbled feta
  • flat bread

Directions –

Combine garlic, lemon juice, vinegar, oil, yogurt, and oregano in a bowl – then pour over chicken, cover and refrigerate for at least an hour.

Preheat the grill (or broiler, pan, ect.) Sprinkle chicken with salt and pepper on both sides and cook until done – about 5-7 minutes a side. Allow the chicken to rest for a few minutes before slicing.

Top the pita with the chicken, tzatziki, tomatoes, feta and onions. Roll up and eat!

WP_20140327_10_36_50_Pro

Tzatziki – adapted from Culinary Cory

  • 2 (7 oz) containers of Greek yogurt
  • 1 hothouse cucumber, seeded and unpeeled
  • ¼ cup sour cream
  • 2 Tbl. fresh lemon juice
  • 1 Tbl. white wine vinegar
  • 1 Tbl. fresh dill, minced (*I used about 1 tsp. dried*)
  • 1 ½ Tbl. garlic, minced
  • salt and pepper
  • assorted fresh vegetables
Directions –
Shred the cucumber with a grater and squeeze out the excess liquid. Add the dip ingredients to a medium mixing bowl. Stir until well combined. Garnish with any remaining dill. Serve with assorted fresh vegetables. Makes approximately 2 cups of dip.
bread
Flat Bread – adapted from King Arthur Flour

Wrap bread

  • 3 cups AP flour (361 grams)
  • 1 1/4 cups boiling water
  • 1/4 cup potato flour OR 1/2 cup potato buds or flakes
  • 1 1/4 teaspoons salt
  • 2 tablespoons vegetable oil
  • 1 teaspoon instant yeast

Directions –

1) To make the bread: Place 2 cups of the flour into a bowl or the bucket of a bread machine. Pour the boiling water over the flour, and stir till smooth. Cover the bowl or bucket and set the mixture aside for 30 minutes.

2) In a separate bowl, whisk together the potato flour (or flakes or buds) and the remaining 1 cup of flour with the salt, oil and yeast.

3) Add this to the cooled flour/water mixture, stir, then knead for several minutes (by hand, mixer or bread machine) to form a soft dough. Note: You can allow the dough to go through the entire kneading cycle(s) in the bread machine, but it’s not necessary; about a 5-minute knead in the machine, once it gets up to full kneading speed, is fine. The dough should form a ball, but will remain somewhat sticky. Add additional flour only if necessary; if kneading by hand, keep your hands and work surface lightly oiled.

4) Let the dough rise, covered, for 1 hour.

5) Divide the dough into 8 pieces (each about the size of a handball, around 3 ounces), cover, and let rest for 15 to 30 minutes.

6) Roll each piece into a 7″- to 8″-circle, and dry-fry them (fry without oil) over medium heat (about 325°F in an electric frying pan or on an electric griddle) for about 1 minute per side, until they’re puffed and flecked with brown spots. Adjust the heat if they seem to be cooking either too quickly, or too slowly; cooking too quickly means they may be raw in the center, while too slowly will dry them out.

7) Transfer the cooked breads to a rack, stacking them to keep them soft. Serve immediately, or cool completely before storing in a plastic bag. Note: If you plan on making these into folded sandwiches, gently fold them in half when you take them off the griddle, rather than laying them flat. That way, they’ll retain that folded shape as they cool, and will be easier to make into sandwiches.