Tried and True Family Favorites

I have nothing new to share…sorry! But these are some of the meals we enjoyed during these past couple of weeks. All the pictures have links to previous posts, thanks for stopping by!

IMG_20130220_173552 (1)

It was my son’s 10th birthday over a week ago and he requested this cake. It really is perfect πŸ™‚

IMG_20130228_184311 (1)

Fish tacos with homemade tortillas and pico de gallo. This is my second time making them and the DH can’t get enough.

IMG_20130227_174936 (1)

The kids love these pretzel dogs almost as much as I do! πŸ˜‰

IMG_20130226_180449 (1)

Buffalo chicken sandwiches! I have been making these for years and they’re a big hit every time!

IMG_20130303_095914 (1)

Sky high buttermilk biscuits and sausage gravy are my husband’s favorite for breakfast.

Buttermilk Blueberry Breakfast Cake

blueberrycake

I made this one at least 7 months ago but haven’t gotten around to posting it; but I remember it because it is a fantastic treat for breakfast. I avoided posting because the pictures (and I took several) didn’t turn out well at all! (Click the link for a more appetizing shot). I sent my camera out a few weeks ago for repairs and it can’t come back soon enough. I’m sure I’ll make this one again soon and take a better picture. Thanks for reading, enjoy!

Buttermilk-Blueberry Breakfast Cake – adapted from Alexandra Cooks

  • Β½ cup unsalted butter, room temperature
  • 2 tsp. lemon zest or more β€” zest from 1 large lemon
  • 3/4 cup sugar (use vanilla sugar if you have it)
  • 1 egg, room temperature
  • 1 1/2 tsp. vanilla
  • 2 cups flour
  • 2 tsp. baking powder
  • 1 tsp. kosher salt
  • 2 cups fresh blueberries
  • Β½ cup buttermilk

1. Preheat the oven to 350ΒΊF. Cream butter with lemon zest and sugar until light and fluffy.

2. Add the egg and vanilla and beat until combined. Meanwhile, toss the blueberries with ΒΌ cup of flour, then whisk together the remaining flour, baking powder and salt.

3. Add the flour mixture to the batter a little at a time, alternating with the buttermilk. Fold in the blueberries.

4. Grease a 9-inch square baking pan (or something similar) with butter or coat with non-stick spray. Spread batter into pan. Sprinkle batter with remaining tablespoon of sugar. Bake for 35 minutes. Check with a toothpick for doneness. If necessary, return pan to oven for a couple of more minutes. (Note: Baking for as long as 10 minutes more might be necessary.) Let cool at least 15 minutes before serving.

Snickers Pie

pie

This pie is dangerous! Make sure you have lots of people around to share it with, or you’ll be sorry πŸ˜‰ I surprised my husband with this decadent dessert for Valentine’s Day and I’m so glad he loved it (I knew he would). Next time I will use less whipped cream, but other than that small change I would make it as is. Thanks for reading, enjoy!

pie2

No Bake Snickers Pie – adapted from Shine

For the crust:

  • 20 Oreo cookies
  • 5 TBSP unsalted butter, melted
  • 9 inch pie pan

For the filling:

  • 2 cups fresh whipped cream
  • 1 Β 14 ounce can sweetened condensed milk
  • 8 ounces cream cheese, at room temperature
  • 1/4 cup dulce de leche, plus 1 tablespoon for drizzling
  • 3 Snickers Bars, roughly chopped

pie1

Directions:Β 

To make the crust:Β Preheat oven to 350 F.Β  Combine the cookie crumbs, brown sugar and salt in a medium bowl.Β  Add the butter and toss with a fork until all of the crumbs are moistened (the mixture will be quite wet).Β  Press into the bottom and up the sides of a 9-inch pie plate.Β  Refrigerate for about 15 minutes so the crust is firm, then bake until set, about 8-10 minutes.Β  Transfer to a wire rack to cool completely.

For the filling: In the bowl of a food processor, blend together the condensed milk, cream cheese, one of the Snickers and dulce de leche until completely smooth. Fold in the whipped cream until just incorporated.Β Scatter 1/3 of the Snickers Bars on the bottom of the pie crust. Spread the filling into the pie crust.Β Finally, drizzle the top with the remaining dulce de leche and scatter the remaining 1/3 of Snickers pieces on top.Β Chill the pie for at least 3 hours before slicing and serving.

Dulce de Leche

IMG_20130212_165135

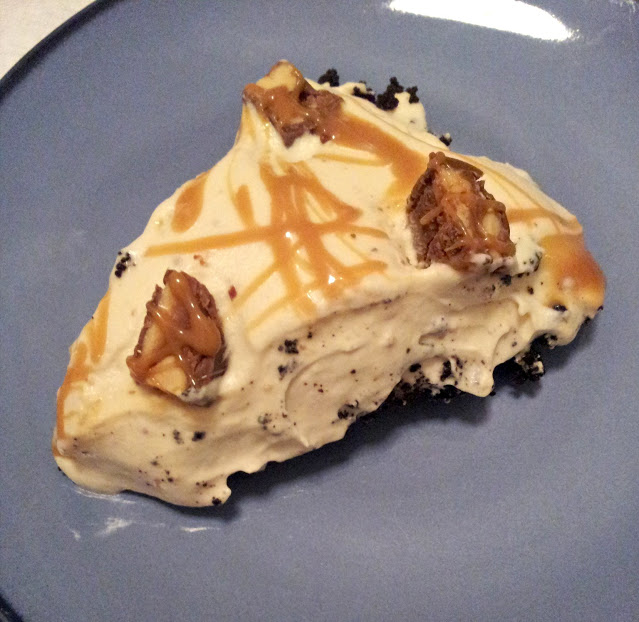
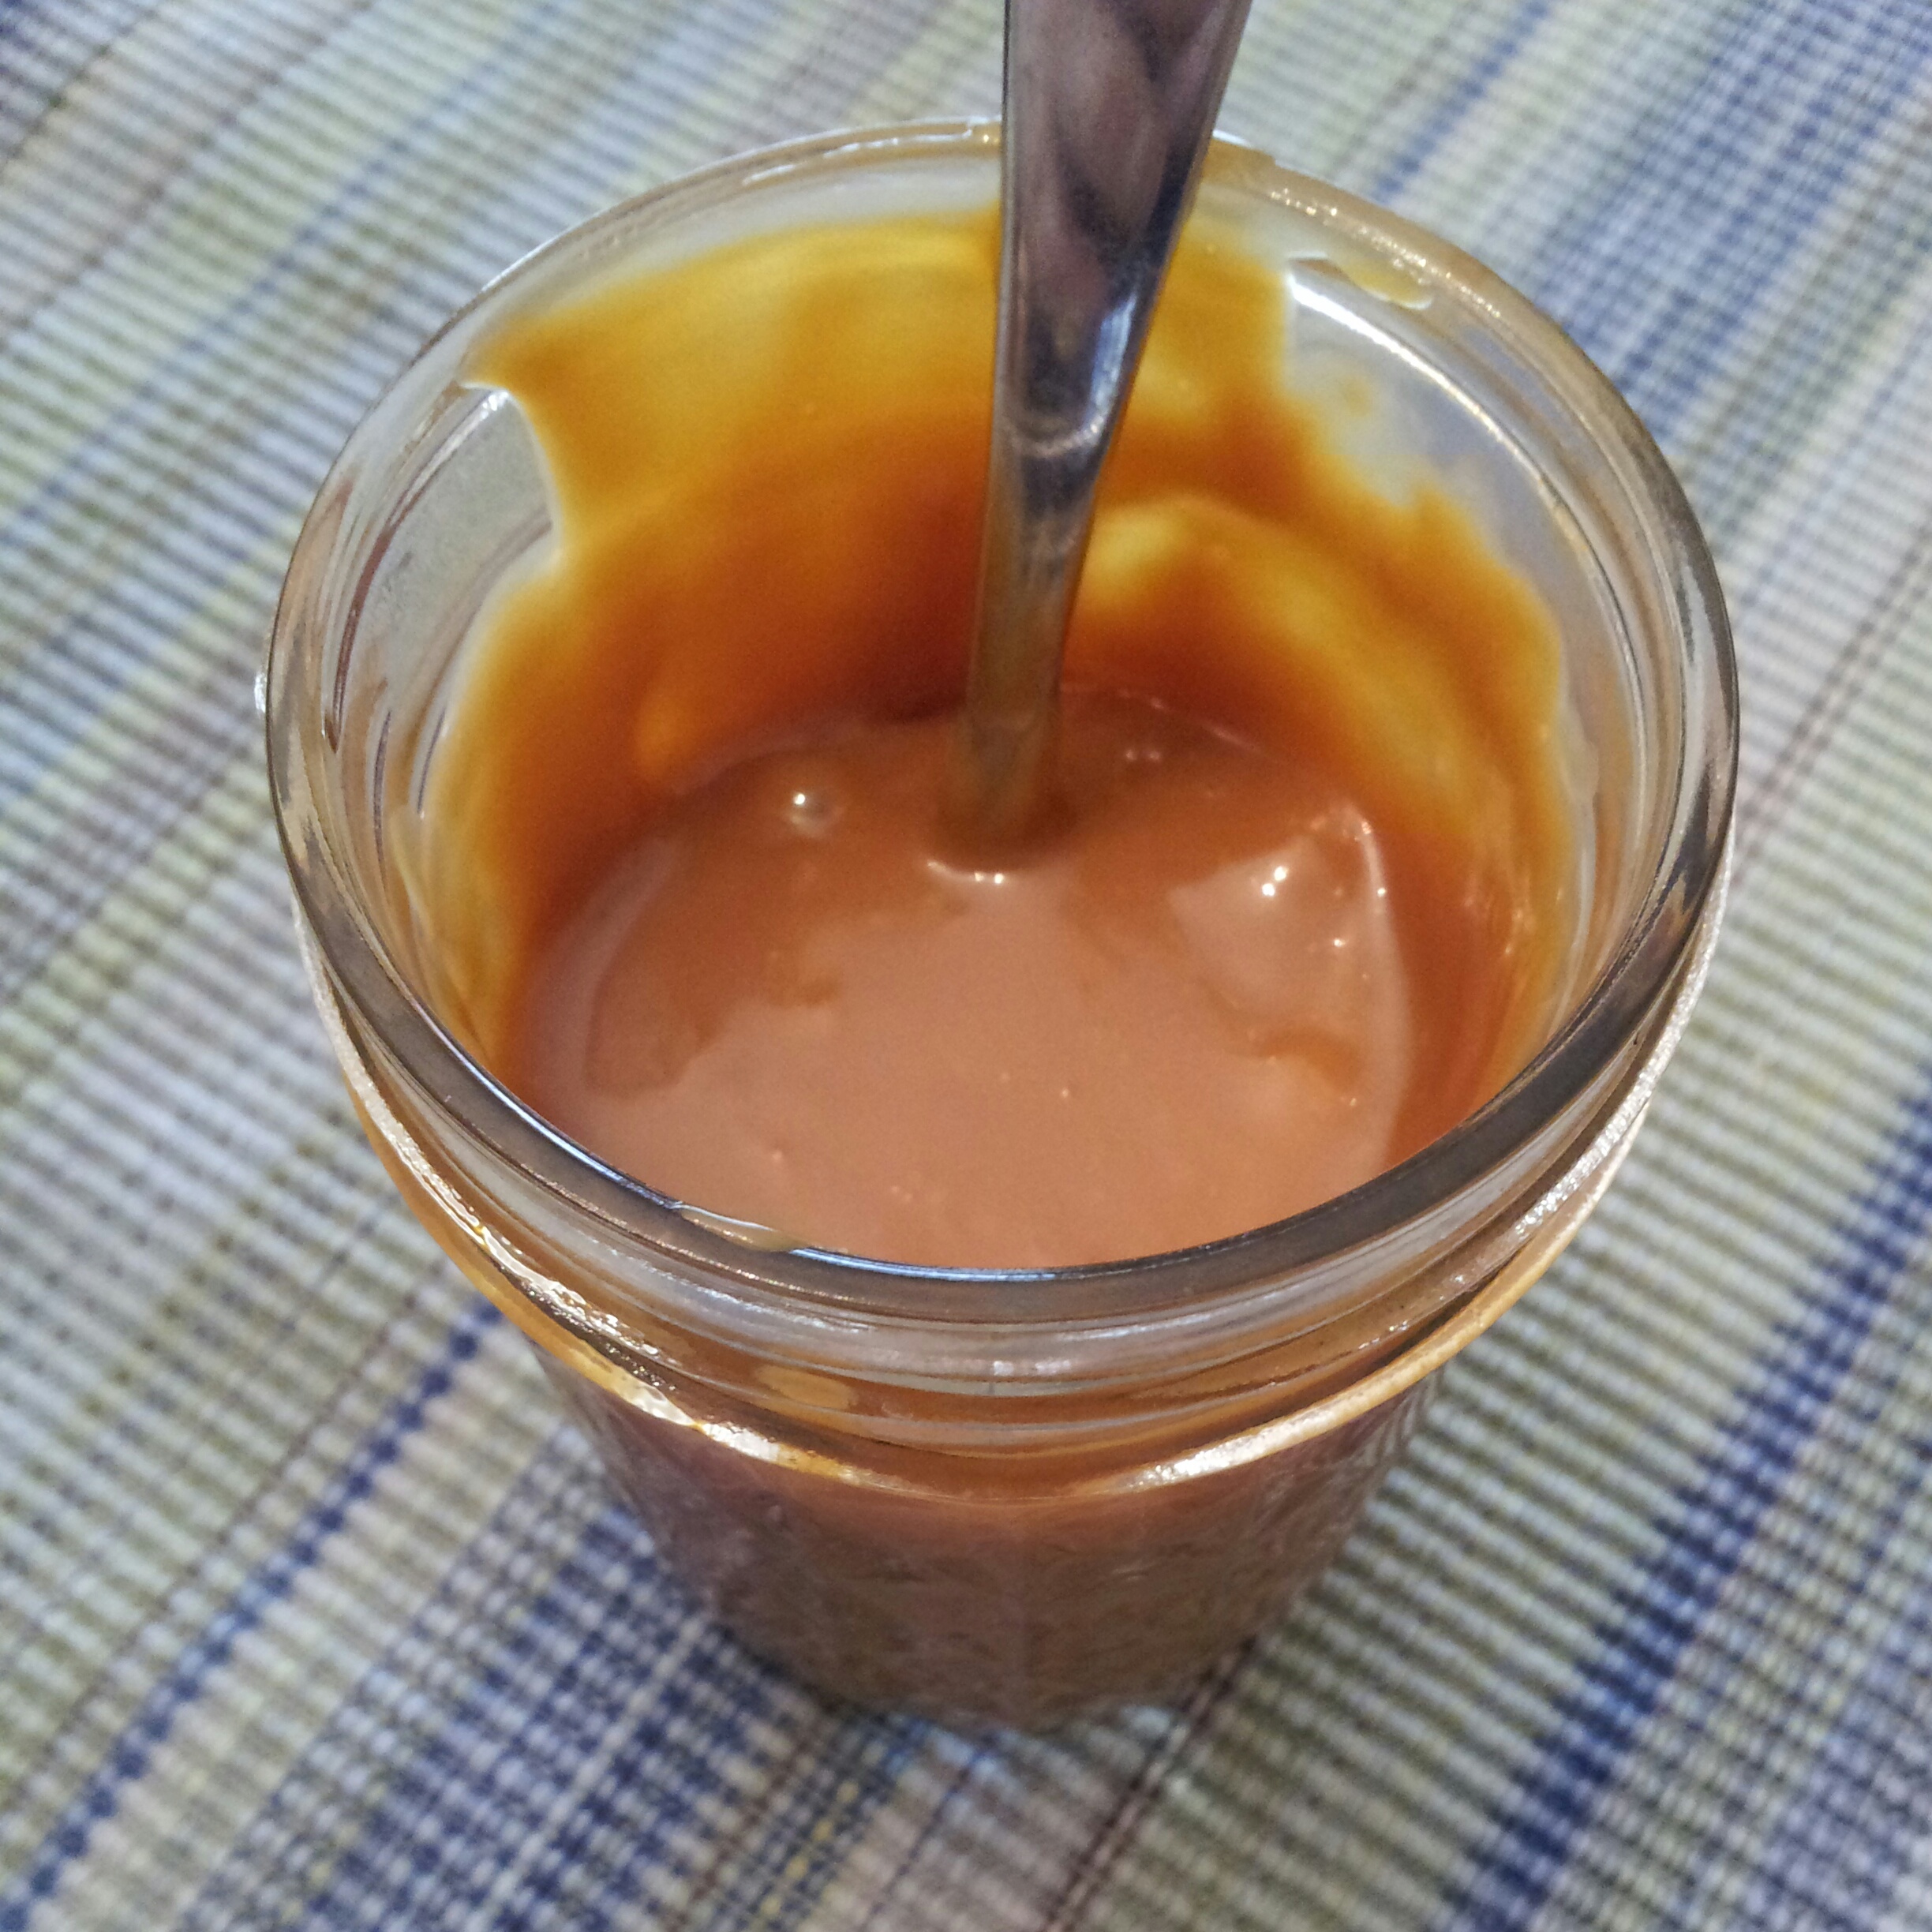
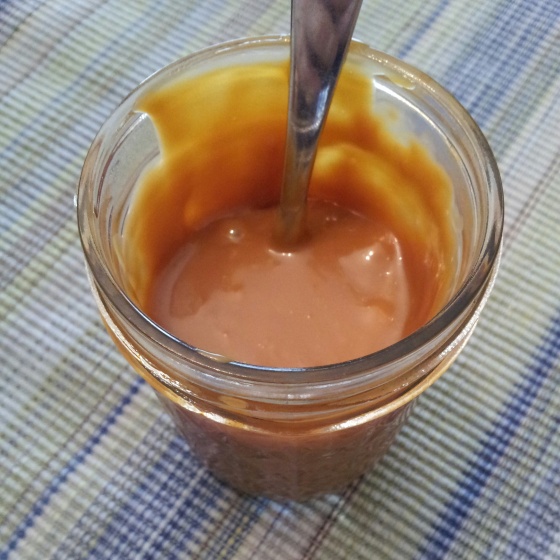
Would you believe that before today I had never even tasted dulce de leche? I have read rave reviews, and have seen countless recipes all over the place; but had yet to experience the sweet stuff. This was so easy to make, and probably the safest and cleanest method I have found. The directions told me that this would take 10 hours on low, but my two jars were caramelized to perfection in less than 6 hours. I’m sure I could have taken them out sooner, had I the nerve to do so. I’m happy to report that this wasn’t a waste of time or ingredient to make, because it does taste really good πŸ™‚ I’m surprising my husband with a decadent dessert for Valentine’s Day that is right up his alley, and this dulce de leche is a pretty important to the final product. I hope he loves it!

Crock Pot Dulce de Leche – adapted from Your Homebased Mom

  • 1 – 14 ounce can of sweetened condensed milk
  • 2 half pint sized jars
  • crock pot (mine is 6 quarts)
  • enough water to cover the tops of the jars

Directions –

Open the can of sweetened condensed milk and divide evenly into the half pint jars. Put on lids and rings. Place jars in the crock pot and fill the crock pot with enough water to completely cover the top of the jars. Set your crock pot to low and cook until caramelized, about 6 hours. Carefully remove the jars and set aside, and once the jars are cool enough to handle; carefully open, stir and taste! Refrigerate leftovers.

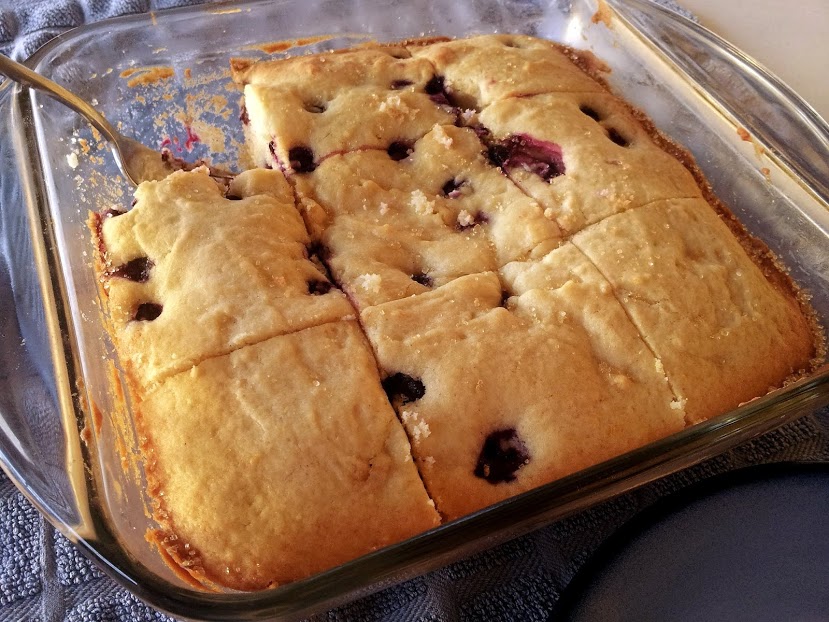
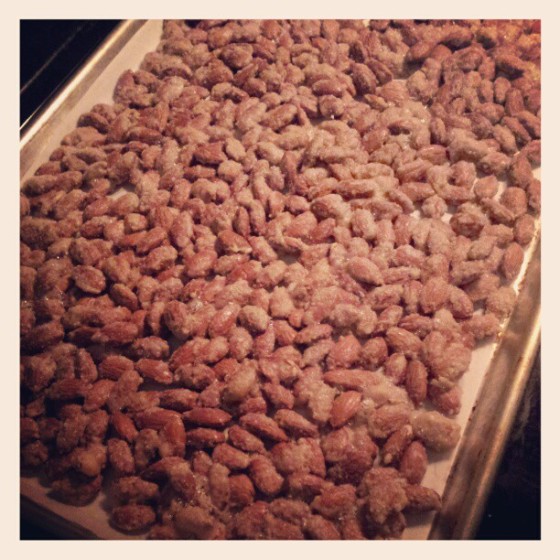
**Also, if you’re looking for a crowd-pleasing goody for Valentine’s Day, make these and everyone will want the recipe!**

IMG_20130212_172049

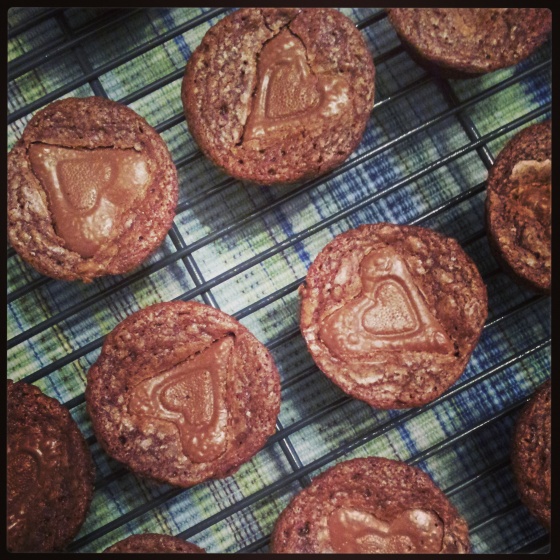
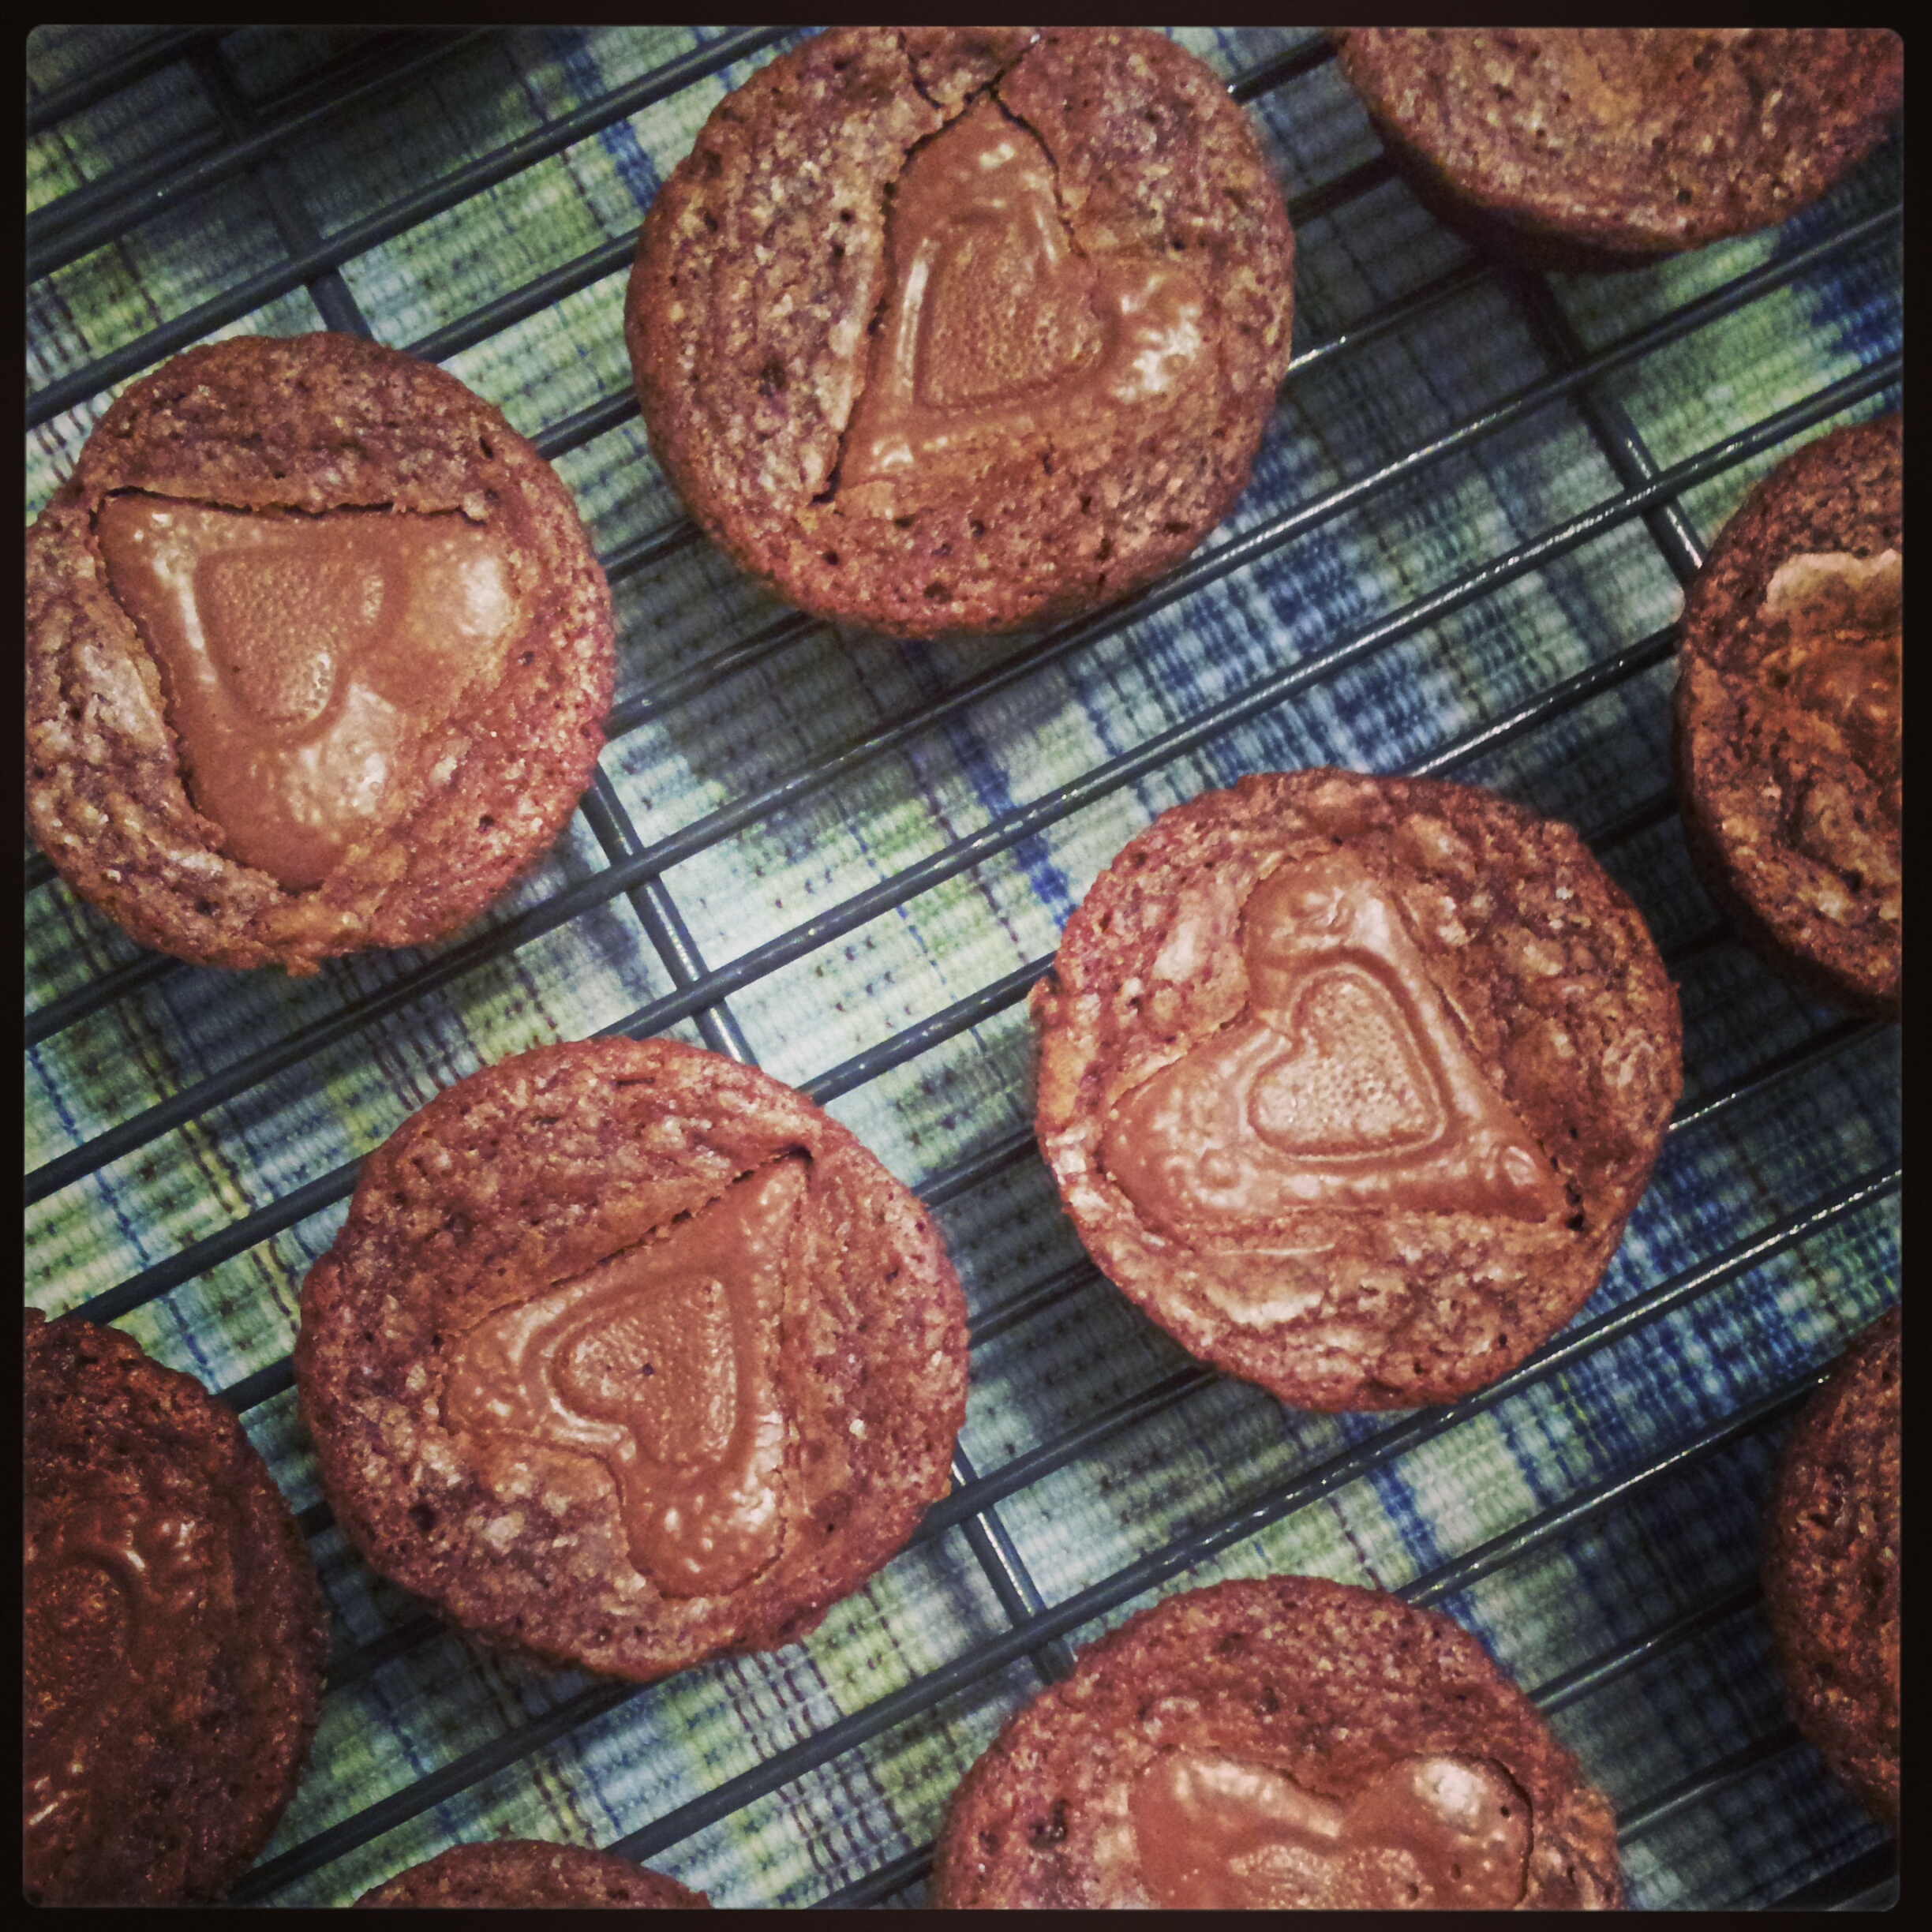
Peanut Butter Cup Brownie Bites – adapted fromΒ Savory Sweet Life

  • 3/4 cup butter, melted
  • 3/4 cup white sugar
  • 3/4 cup brown sugar, packed
  • 2 teaspoons vanilla extract
  • 2 eggs
  • 3/4 cup all-purpose flour (125 grams)
  • 1/2 cup unsweetened cocoa powder (40 grams)
  • 1/2 teaspoon salt
  • 40 mini Reese’s Peanut Butter Cups (or hearts), unwrapped

DIRECTIONS –

Preheat oven to 350 degrees F.Β  Spray mini cupcake pan with non stick spray.Β  In a medium bowl, mix melted butter, sugars and vanilla.Β  Beat in eggs one at a time. Gradually add flour, cocoa, and salt and mix until combined.Β  Fill each cupcake slot slightly more than halfway but not more than 2/3 full.Β  Place a peanut butter cup in each slot pressing it down until it is almost level with the batter.Β  Bake in preheated oven for 15-18 minutes or until done.Β  Allow the brownie bites to cool for 5 minutes before removing from the cupcake tin.Β  Enjoy!

*Notes: Be sure to remove brownie bites 5 – 10 minutes after coming out of the oven.Β  Otherwise they might cool and stick to the sides making it difficult to get out.Β  If baking these in a pan, your baking time will increase to 25-30 minutes.Β  You can be sure they are close to being done when you can smell them from your oven.


Vanilla Almonds

almonds

(Happy New Year! I meant to post this a couple of weeks ago…but I was visiting family)

I was inspired to make these after watching one of my favorite cooking shows. I knew I would need some quick teacher gifts for the kids (I hope they like almonds!), and some snacks for the party we’re hosting today. I tried a few and I am happy to report that they are really tasty! Our friends loved them and I even had some recipe requests for them πŸ™‚ Thanks for reading, enjoy.

Vanilla Almonds – adapted from Kelsey’s Essentials

  • 1 egg white
  • 1 tsp. pure vanilla extract
  • 4 cups whole almonds
  • 3/4 cup sugar
  • 1/4 tsp. salt
  • 1/2 tsp. ground cinnamon

Directions:

Preheat the oven to 300 degrees F. Beat the egg white with the vanilla extract, add the almonds and stir to coat. Combine the sugar, salt, and cinnamon and combine with mixture. Place in aΒ single layer on a greased baking sheet. Bake at 300 degrees F for 20 minutes. Remove and cool on wax paper and break into clusters.

Chocolate Mint Brownies

brownie

These were amazing and everyone loved them! πŸ™‚

Chocolate Mint Brownie Bites – adapted from The Pioneer Woman

2 ounces unsweetened chocolate
50 whole mints, such as Andes
1 stick plus 1 tablespoon butter, softened
1 cup sugar
2 whole eggs
3/4 cups all-purpose flour
1/4 teaspoon mint extract
1 ounce bittersweet chocolate, chopped fine

Directions:

Preheat the oven to 325 degrees F. Spray a mini muffin pan generously with baking spray.

Melt the unsweetened chocolate in a bowl in the microwave. Remove from the microwave and stir in 8 mints until all melted. Let cool slightly.

In a mixer with the paddle attachment, cream 1 stick of the butter with the sugar. Beat in the eggs one at a time. With the mixer on low, drizzle in the cooled chocolate mixture slowly, mixing until it’s combined. Add the flour and mix thoroughly. Scrape the sides of the bowl with a rubber spatula, add the mint extract and then mix again.

Using a tablespoon or cookie scoop, scoop the batter into the prepared mini muffin pan. Bake until done, 11 to 13 minutes. Turn upside down out of the pan and allow to cool.

Combine 25 to 30 mints in a bowl with the remaining 1 tablespoon butter and the chopped bittersweet chocolate. Microwave and stir until melted and smooth.

Dip the brownie bites in the chocolate, concentrating on the top “cone” part. Allow to set for a few minutes. Chop the remaining mints and sprinkle them on the top. Set in the freezer for 10 minutes if you need them to set right away. Yum!

Hot Chocolate for One

Sorry it’s been so long since my last post…I made this several weeks ago to remedy a craving for some real hot chocolate. I didn’t want to make a huge batch so late at night, so this was perfect. I tripled it so my kids could enjoy it too – they loved it! Thanks for reading, enjoy!

Hot Chocolate – adapted Jeyashri’s Kitchen

  • 1 TBSP good quality unsweetened cocoa powder
  • 1 TBSP vanilla sugar
  • 1 TBSP hot water
  • 1/2 cup half and half
  • 1/2 cup milk
  • a pinch of salt

Directions –Β 

1. Place all the dry ingredients in a glass jar with a tight fitting lid and pour the hot water over all. Twist lid on and shake vigorously.

2. Pour contents into a small sauce pot over medium-low heat. Pour in the dairy and stir until combined. Heat gently until the desired temperature is reached. Pour into your favorite mug and top with marshmallows or whipped cream.

Trail Mix Cookies

Yummy, chewy, sweet, tart, crispy, thin, nutty…there is a lot going on in these cookies. They’re like a cookie version of a granola bar, which makes them a great after school treat for the kids. Thanks for reading, enjoy!

Trail Mix Cookies – adapted from Annie’s Eats

  • ΒΎ cup all-purpose flour
  • Β½ tsp. sea salt
  • Β½ tsp. baking soda
  • ΒΌ tsp. ground cinnamon
  • Β½ cup (8 tbsp.) unsalted butter, at room temperature
  • Β½ cup brown sugar, lightly packed
  • 6 tbsp. granulated sugar (*I used vanilla sugar*)
  • 1 large egg
  • 1 tsp. vanilla (*I used almond extract*)
  • 1ΒΌ cup old-fashioned oats
  • ΒΌ cup golden raisins
  • ΒΌ cup dried cherries, chopped
  • ΒΌ cup coarsely chopped walnuts
  • 2 oz. bittersweet chocolate, coarsely chopped
  • 3 tbsp. sunflower seeds

Directions –

1. Preheat the oven to 350˚ F.  Line baking sheets with parchment paper or silicone baking mats.  In a small bowl, combine the flour, salt, baking soda and cinnamon; whisk to blend, and set aside.  In the bowl of an electric mixer, combine the butter and sugars and beat on medium-high speed until light and smooth, about 1-2 minutes.  Blend in the egg.  Mix in the vanilla.  With the mixer on low speed, beat in the dry ingredients just until incorporated.  Stir in the oats until evenly combined.  Use a spatula to fold in the raisins, cherries, walnuts, chocolate and sunflower seeds, mixing just until evenly incorporated.

2. Scoop about 2 tablespoons of dough at a time onto the prepared baking sheets, spacing the cookies at least a couple of inches apart. Β Bake, rotating the pans halfway through baking, until golden brown and just set, about 10-12 minutes total. Β Let cool on the baking sheets about 10 minutes, then transfer to a wire rack to cool completely. Β Store in an airtight container.

Small Batch Brownies

Quick Post: Light, cakey brownie. Not chewy, but it hit the spot πŸ™‚ Β Thanks for reading, enjoy!

Brownies – adapted from Just Eat It!

  • 1/2 cup chopped chocolate (about 3 ounces)
  • 6 TBSP butter
  • 2 eggs
  • 1/2 cup granulated sugar
  • 1/2 cup all-purpose flour
  • 2 tbsp cocoa powder
  • 1/2 cup chopped, toasted walnuts

Directions –

Preheat oven to 350 degrees. Butter threeΒ – 6 ounce ramekins or a small baking dish.

Melt the butter and chocolate on low heat, stir and set aside to cool slightly.Β Whisk together the sugar and the eggs, then stir the chocolate mixture into the egg mixture.

Add the flour and cocoa powder.Β Fold in the nuts. Bake for 18 – 20 minutes or until set, and the center should be a little underdone.

Oreo.Cheesecake.Cookies.

Quick Post: I had leftover Oreos and cream cheese, and lucky me – I found the perfect recipe! Plan ahead for this one because the batter needs to sit in the refrigerator to set. Thanks for reading, enjoy!

Oreo Cheesecake Cookies – adapted from Sally’s Baking Addiction

  • 2 cups + 2 tablespoons all-purpose flour
  • 1/2 teaspoons baking soda
  • 10 Tbsp salted butter, softened to room temperature
  • 2 heaping Tbsp full fat cream cheese*
  • 1 cup light brown sugar
  • 1/2 cup sugar
  • 1 egg + 1 egg yolk, at room temperature
  • 2 teaspoons vanilla extract
  • 18 Oreos, crushed into tiny pieces (*I only had 13*)

Directions:Β 

Preheat oven to 325 degrees. Mix the flour and baking soda in a bowl and set aside. With an electric mixer or stand mixer with a paddle attachment, cream the butter, cream cheese, and sugars together. Add the egg, egg yolk, and vanilla and mix well. Gradually add the flour mixture and stir until a dough forms (may take a couple minutes of stirring). Fold in the crushed Oreos.

Chill dough for at least 1 hour or up to 5 days in the refrigerator.

Measure 24 2-Tablespoons worth of dough. The cookies are rather large, but if you’d like them smaller, make each dough ball only 1 Tablespoon. Drop dough onto silpat or ungreased baking sheet. Make sure the balls of dough are tall. Do not flatten them. Bake for 8-11 minutes or until edges are slightly browned. The centers should appear soft and puffy. Let cool completely and enjoy!