Zuppa Toscana and Breadsticks

zuppatoscana

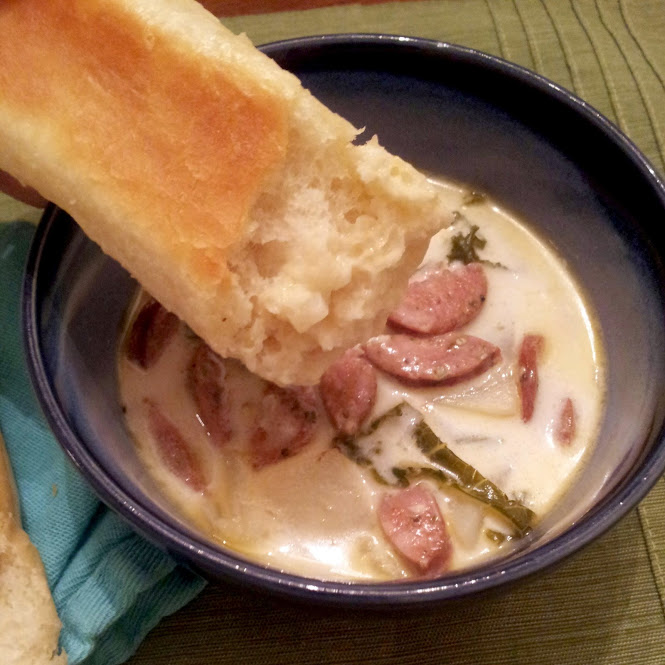
Is there anything more comforting than a rich soup and fresh baked bread? This is seriously good, and even my picky daughter loved this. That’s always a win in my book when I don’t have to tell/nag her to eat more of dinner. Thanks for reading, enjoy!

Zuppa Toscana – adapted from Annie’s Eats

  • 1 pound Italian sausage (I used chicken sausage)
  • 1 onion, chopped
  • 3-4 cloves garlic, minced
  • 1/2 cup white wine for deglazing
  • 1/2 tsp. red pepper flakes
  • 2 russet potatoes, peeled and cut into 1/2-inch chunks
  • 2 cups fresh kale, chopped
  • 4 cups chicken stock
  • 1.5 cups water
  • 1 cup heavy cream
  • salt and pepper

Directions –

Place a large stock pot on the stove over medium heat. Crumble the sausage into the pan and cook until well browned. Remove the cooked sausage from the pot with a slotted spoon and transfer to a bowl; set aside. Add the chopped onion to the pan and saute until tender, about 5-7 minutes. Add the garlic and red pepper flakes to the pan and cook for a minute more, just until fragrant. Add the wine to the pot and stir, scraping the bottom of the pan to loosen any browned bits. Add the potatoes, kale, chicken stock and water to the pot. Increase the heat to med-high, bring to boil and the reduce to a simmer. Cover and let simmer for about 20 minutes, or until the potatoes are fork-tender and cooked through. Stir in heavy cream and season with salt and pepper to taste. Serve immediately.

breadstick

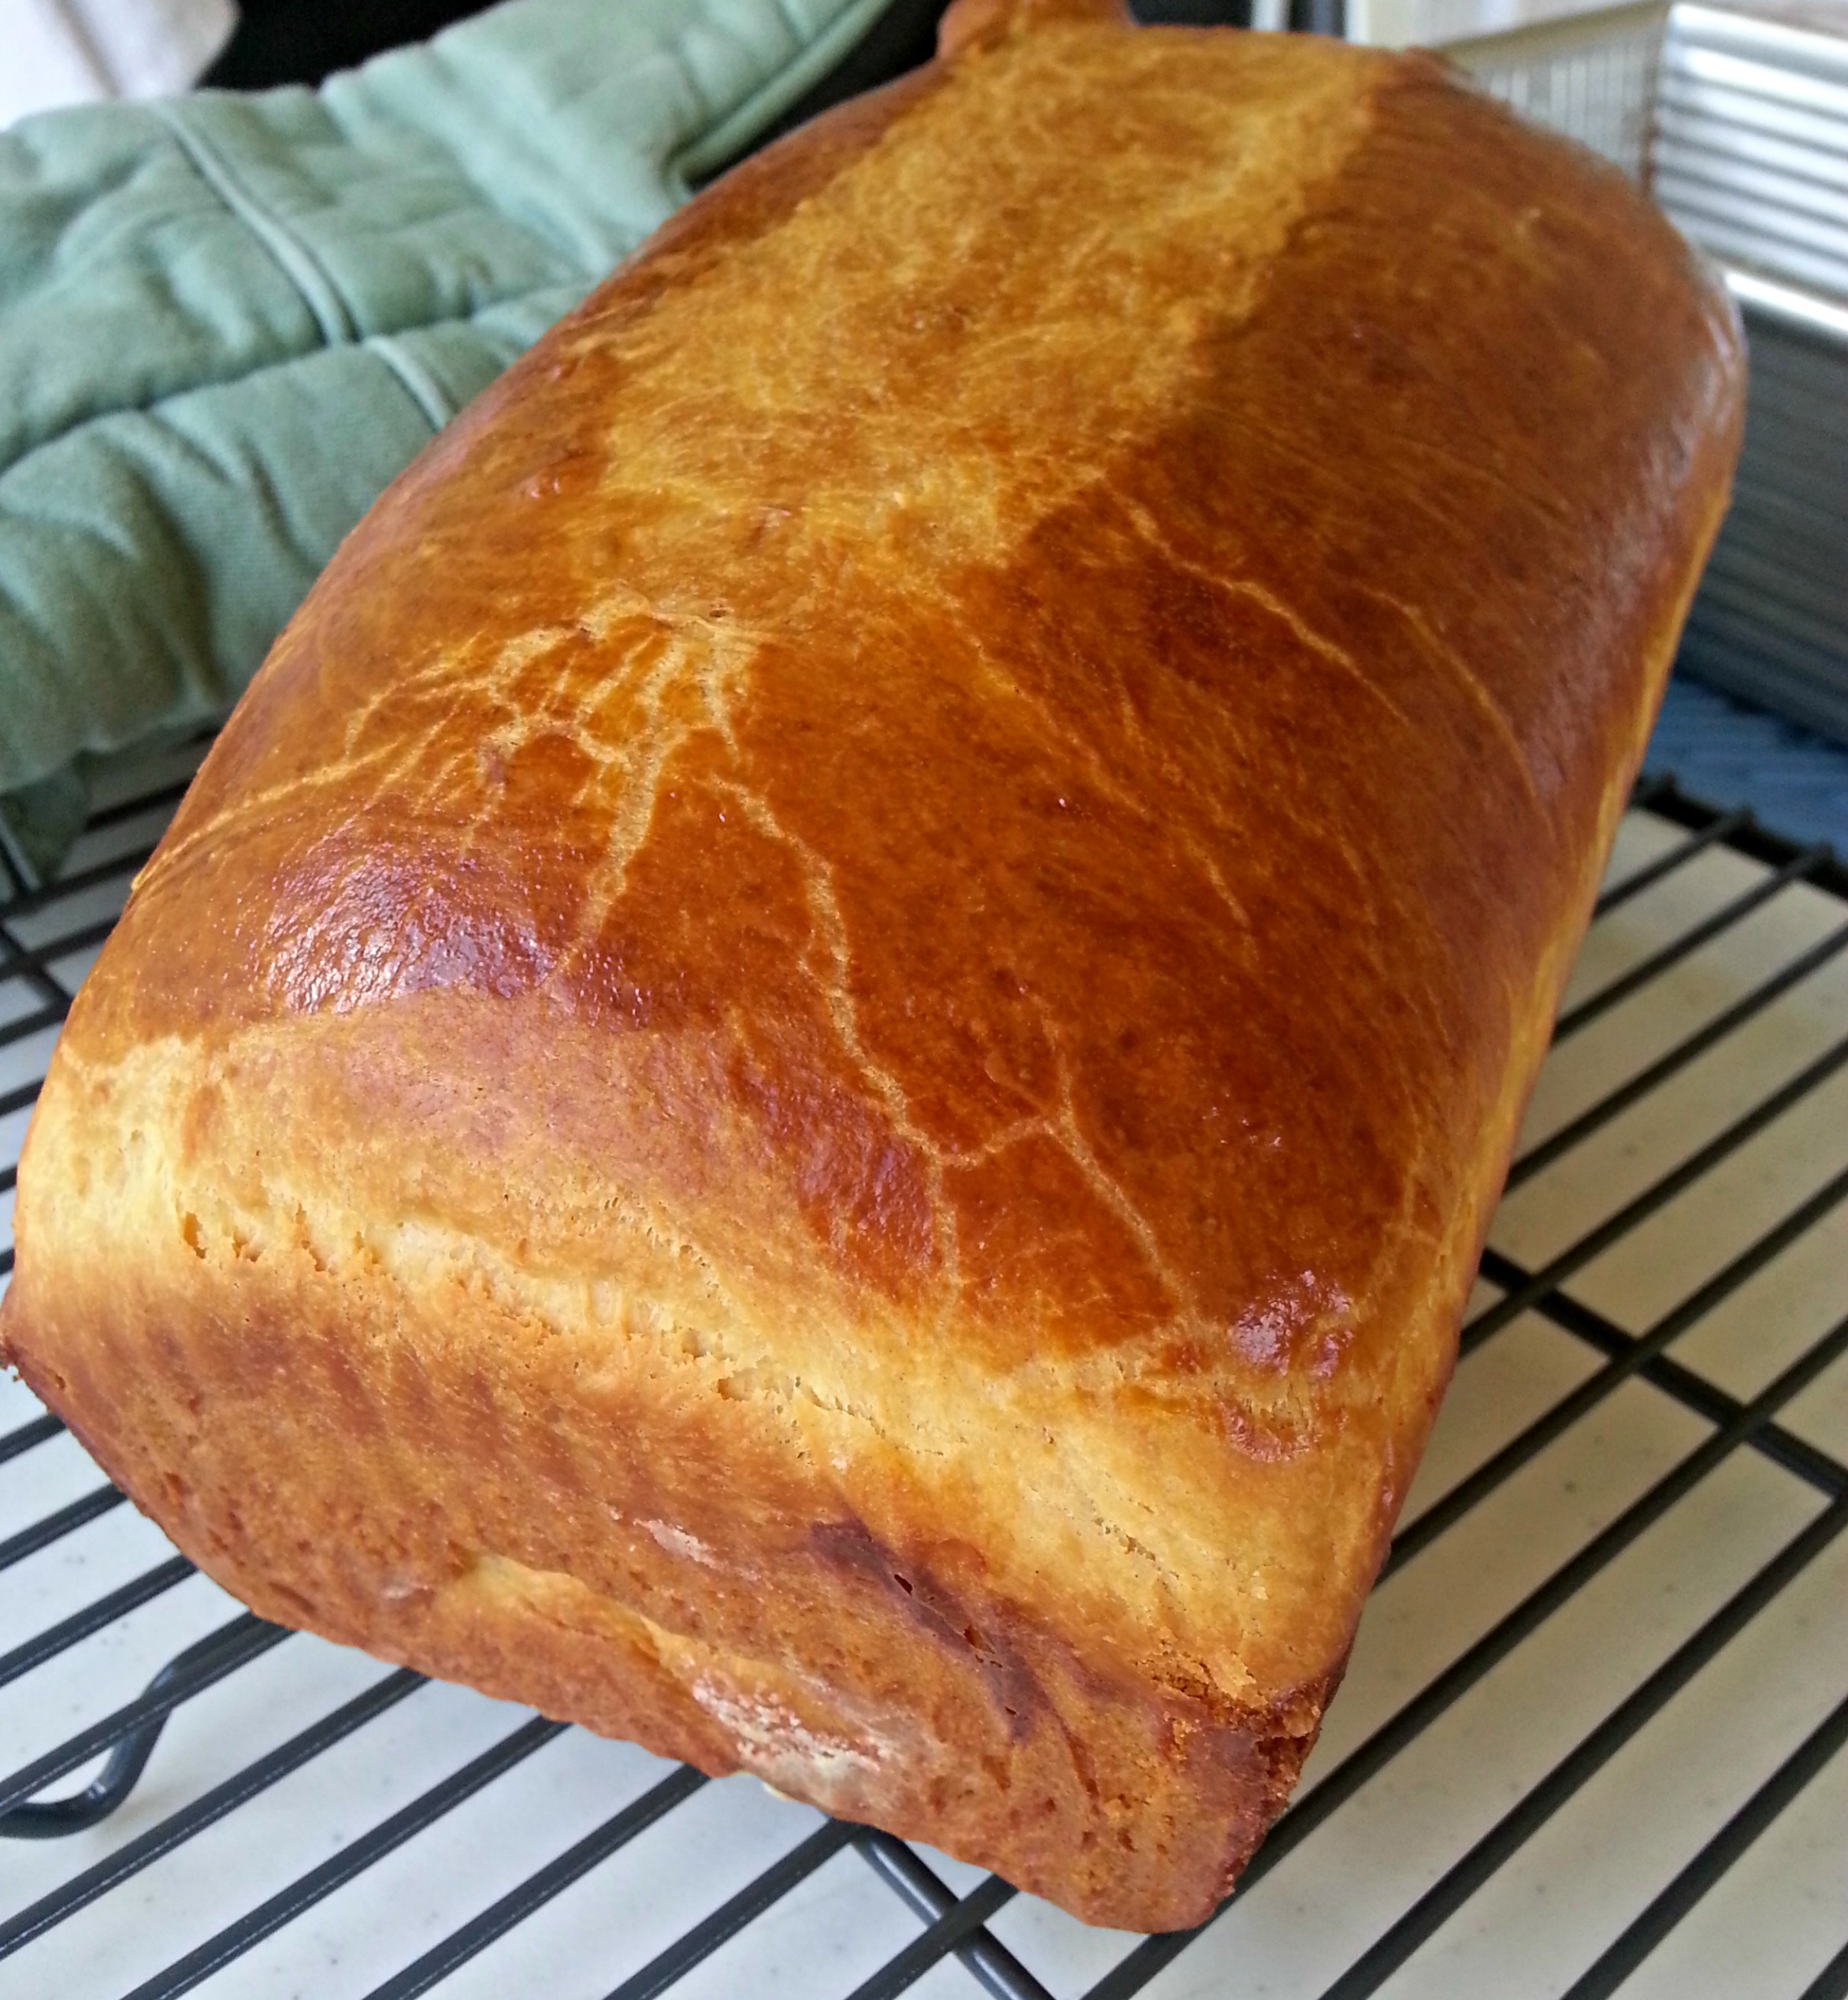
Almost Famous Bread Sticks – adapted from Food Network

  • 1 package yeast
  • 4 1/4 cups AP flour, plus more for dusting
  • 2 tablespoons unsalted butter,softened
  • 2 tablespoons raw sugar
  • 1 tablespoon fine salt

For the Topping:

  • 4 tablespoons unsalted butter, melted
  • 1/2 teaspoon kosher salt
  • 1/8 to 1/4 teaspoon true garlic powder
  • Pinch of dried oregano

Directions –

Make the dough: Place 1/4 cup warm water in the bowl of a mixer; sprinkle in the yeast and set aside until foamy, about 5 minutes. Add the flour, butter, sugar, fine salt and 1 1/4 cups plus 2 tablespoons warm water; mix with the paddle attachment until a slightly sticky dough forms, 5 minutes.

Knead the dough by hand on a floured surface until very smooth and soft, 3 minutes. Roll into a 2-foot-long log; cut into 16 1 1/2-inch-long pieces. Knead each piece slightly and shape into a 7-inch-long breadstick; arrange 2 inches apart on a parchment-lined baking sheet. Cover with a cloth; let rise in a warm spot until almost doubled, about 45 minutes.

Preheat the oven to 400 degrees. Make the topping: Brush the breadsticks with 1 1/2 tablespoons of the butter and sprinkle with 1/4 teaspoon kosher salt. Bake until lightly golden, about 15 minutes. Meanwhile, combine the remaining 1/4 teaspoon salt with the garlic powder and oregano. Brush the warm breadsticks with the remaining 1 1/2 tablespoons melted butter and sprinkle with the flavored salt.

Advertisement

Sausage and Bean Soup with Pasta

Cooler weather always motivates me to make comforting meals, and what could be better than soup? This was so good and it made a huge batch – too bad we didn’t get to enjoy leftovers…the hubbs forgot to put the container in the fridge…and it stayed on the counter overnight…boo! I forgave him, of course 😉 There are worse things, I suppose. I once left a container of ice cream out on the counter overnight – don’t be like me! I remember the mess was thick, sticky, and a hassle to clean up! 😉 Thanks for reading, enjoy!

Sausage and Bean Soup with Pasta – adapted from The Italian Dish

  • 1 cup dried cannellini or cellini beans or 1 15-ounce can of any beans you like, drained
  • 1 pound ground sausage (*I used half hot, half mild Italian sausage*)
  • 1 medium onion, diced
  • 1 medium carrot, diced
  • 1 stalk celery, diced
  • 3 tablespoons olive oil
  • 2 garlic cloves, minced
  • 1 15-ounce can diced tomatoes
  • 6 to 8 cups chicken broth (*I used 6 cups homemade chicken stock*)
  • 1 teaspoon thyme, fresh if you have it
  • 1 bay leaf
  • salt and pepper
  • 1 cup ditalini pasta, or any small pasta
  • Parmigiano Reggiano rind (optional)
  • grated Parmigiano Reggiano cheese

Directions –

If using dried beans, place them in a pot, cover with cold water and let soak for several hours or overnight. Drain.

In a large pot, brown the sausage.  Remove from pot.  If there is a lot of fat left in the pot, pour this out but do not wipe out pot.  Add onion, carrot and olive oil and saute for 2-3 minutes until soft.  Add garlic and saute about a minute more.   Add  the tomatoes, chicken broth, Parm rind, thyme, bay leaf, some salt and pepper and the drained beans and the sausage and cover the pot. Cook for an hour over low heat, at a gentle simmer.

If using dried beans, check for doneness at this point.  (If using canned beans, add the pasta now.)  If the beans are not soft enough, cover the pot again and cook for another 30 minutes or until the beans are soft. Add the pasta and cook, uncovered, until the pasta is tender.  Check the seasoning and add more salt and pepper to taste.  If the soup is too thick for your liking, add some more chicken broth.

Serve with grated cheese on top and an extra drizzle of olive oil.

Meaty Meat Sauce (aka Man Pasta)

I tweaked The Pioneer Woman’s recipe just a little to use what we had here and to enhance the flavor. I tried this once a couple of years ago and I remember that M really enjoyed it because he’s not much of a tomato sauce fan. He is a big meat fan of course, so this one made it to repeat status. I like the addition of Italian sausage and I get mine from a local specialty food store. They make their own sausages and these are so much better than any brand I have tried. Pair this simple sauce with a hearty pasta shape, serve with garlic bread and if you’re feeling a little guilty – a green salad. You can’t go wrong with this dinner, and the men in your life will thank you 🙂

Pasta alla Marlboro Man – adapted from The Pioneer Woman

  • 2 Tablespoons Olive Oil
  • 1/2 whole Large Onion, Diced
  • 2 cloves Garlic, Minced
  • 1 pound ground beef
  • 1 pound Italian sausage (I used a combination of hot and mild)
  • Salt To Taste
  • Freshly Ground Black Pepper, To Taste
  • 1 teaspoon (generous) Ground Thyme
  • 1 28 ounce can San Marzano whole, peeled tomatoes
  • 1 8 ounce can no salt tomato sauce
  • 1/4 cup Freshly Grated Parmesan Cheese
  • 1 – 1 1/2 pounds Rigatoni

Directions –

Heat olive oil in large skillet or pot over medium-low heat. Add onion and cook a couple of minutes, until starting to turn translucent. Add garlic and stir, cooking 1 minute, making sure not to brown the garlic.

Add ground beef and cook until brown. Drain most of excess fat. Add salt, pepper, and ground thyme. Stir to combine. Dump in canned tomatoes with their juice, and tomato sauce. Stir, reduce heat to low, and cover pot. Cook for 30 minutes, stirring a couple of times. Uncover the pot and cook an additional 30 minutes.

Cook rigatoni according to package directions—don’t overcook! Drain and pour over top the meat sauce. Cook and combine over low heat.  Stir in 1/4 to 1/2 cup grated Parmesan into the sauce. Check and adjust seasonings.

Spicy Sausage and Lentil Soup

Sometimes I base my dinner choices on what the weather will be like at night. We finally got our first cold snap here, and I was more than willing to take advantage of it. I love hearty soups and comforting main dishes like roasted chicken, pot pies and pot roasts on nights like these. What better way to warm your tummy than with something spicy, but not too heavy. I paired the soup with Parker House rolls for dipping, but a nice green salad would be a great accompaniment, too – but I was going for comfort here 😉 Thanks for reading, enjoy!
Spicy Sausage and Lentil Soup –
  • 1 pound lentils, picked through and rinsed well
  • 2 tablespoons olive oil
  • 1 lb ground Italian sausage (I used 2 links hot, 2 links mild)
  • 1 medium onion, diced
  • 3 stalks diced celery
  • 3 carrots, diced
  • 2 or 3 cloves garlic, minced
  • Kosher salt and fresh ground pepper, to taste
  • 1 teaspoon dried basil
  • 1 teaspoon dried oregano
  • a few sprigs fresh thyme, or 1 tsp dried
  • 4 cups chicken stock
  • 2 cups vegetable stock (because I had some left over, you can use all stock or broth, if you’d prefer)
  • hot water if needed
  • 2 (14 1/2 ounce) cans diced tomatoes, undrained
  • grated Parmesan

Directions –

In a 6 quart dutch oven over medium heat, heat the olive oil and add in the Italian sausage. Brown the sausage until it is cooked through. Drain and set aside. In the same pot, add in the onions, celery, carrots, garlic, herbs and spices, cook for about 10 minutes, stirring often. Add the chicken stock, vegetable stock, water (if needed), canned tomatoes, sausage, and drained lentils, cover, and bring to a boil. Reduce the heat to low and simmer covered for 45 to 60 minutes, or until the lentils are cooked through and tender, stirring occasionally. Add water as needed to adjust the consistency of the soup. Check the seasonings – add more salt and pepper to taste. Serve sprinkled with grated Parmesan.

Homemade Hot Pockets

Yum! These are worlds better than store bought Hot Pockets:) I made several different combinations for these and they all turned out to be really flavorful, cheesy and satisfying. I made a chicken, broccoli and cheese pocket, a pepperoni, sausage and cheese, and ham and cheddar cheese. Next time I think I’ll use a garlic and herb flavored dough to take the flavor up a few notches. We enjoyed the pizza pockets with what else – pizza sauce, drops of Frank’s Red Hot or green Tobasco. I had to stop myself from eating more of these – cheese and bread in combination are my weakness! The recipe below is really just a rough guideline for making these. They’re pretty fool-proof and don’t require any real measurements. I just made sure that I didn’t over-fill the dough. Thanks for reading, enjoy!

Homemade Hot Pockets –

  • 4 ounce balls of pizza dough (*I made 9)
  • cheddar, Swiss, mozzarella, Parmesan cheeses – odds and ends are great for these
  • pepperoni, ham, chicken sausage, and shredded chicken breast – cut into small pieces
  • steamed broccoli, mushrooms, tomatoes – or whatever leftover cooked veggies you have

Directions –

Take one ball of dough and roll it out on a lightly floured surface so that the long side is perpendicular to your body. It should have a rectangular shape and be only slightly thicker than paper thin. Add about about 1/4 cup of your filling over the dough, leaving a 1-inch border along the edges of the dough.

Pull the shorter ends toward each other and then pull the longer ends toward the middle. Seal the roll by pinching this last portion of dough against the roll. Smooth out with your fingers by gently pressing the seam. Place the pocket into onto the prepared baking sheet seam side down. If you’d like a crisper crust you can brush the tops with olive oil or egg wash. Repeat with the remaining pieces of dough. Bake in a 375 degree oven for 20 – 25 minutes.


Breakfast Burritos

The tots made these burritos!;) M requested breakfast burritos and I immediately thought they would have eggs, cheese, sausage and/or bacon, salsa, and tater tots! These were so easy and the longest part was waiting for the oven to heat up and then for the tots to bake. I will have to make these and variations of this more often. Oh, look at what my hairdresser gave me – my very first basil plant! Lets hope that I have the ability to keep it alive…I’ve never had any kind of plant to take care of.  I’ll make sure to keep you posted on its progress:) Thanks for reading!

Brioche and Sausage Dressing

Wow – this was more work than I anticipated…brioche takes time, especially the recipe I ended up using. If there is anything I have learned this year it’s plan ahead. I thought I did a pretty good job until I realized the brioche I needed could take up to 4 days to make if I chose. This is baking in the oven now, and it smells divine! I’m hoping that it is worth all the extra effort I put into it.

Update: Wow – was this ever tasty! Be sure to use a good quality butter when making this bread, because it is such an important component and flavor in this. The dressing was so flavorful and moist, and I am happy to report that it was completely worth the head ache and effort to make. I will not forget the lesson I learned this Thanksgiving about planning. Next time this is on the menu, I will be sure to bake it off or just start it a week before it’s needed. Thanks for reading, enjoy!

briochea

*Basic Brioche – The Bread Bible

Dough Starter –

  • 2 TBSP room temperature water
  • 1 TBSP sugar
  • 1/4 tsp. instant yeast
  • 1/2 cup (2.5 ounces) all-purpose flour
  • 1 large egg

*Make the starter one to two days ahead. In a mixing bowl, add ingredients and mix until very smooth. Cover with plastic wrap.

Flour Mixture –

  • 5.5 ounces all-purpose flour
  • 2 TBSP sugar
  • 1 1/4 tsp instant yeast
  • 1/2 tsp
  • 2 eggs
  • 8 TBSP room temperature butter

1. Combine first four ingredients and pour on top of the starter, cover with plastic wrap and let sit at room temperature for 1 1/2 to 2 hours.

2. Using a standing mixer, add eggs and mix on low speed for about a minute until evenly moistened. Raise speed to medium and beat for two minutes. Scrape the sides of the bowl with an oiled rubber scraper, then continue beating for five minutes longer or until the dough is smooth and shiny but very soft and sticky. It wont pull away from the bowl completely.

3. Add the butter one TBSP at a time until all incorporated. The dough will be soft and sticky. Lightly oil top and cover with plastic wrap. Let rise until doubled, about 1 1/2 to 2 hours.

4. Chill – refrigerate for one hour, then gently deflate with rubber spatula, then return it to the refrigerator for another hour.

5. Deflate/Chill – turn the dough out onto a well floured surface. Press or roll into a rectangle, flour as needed. Give the dough a business letter turn, brushing off excess flour. Rotate 90 degrees so the closed side faces left. Make a second business turn and round the corners. Dust it lightly on all sides with flour. Wrap loosely but securely with plastic wrap and place in a large ziploc bag. Refrigerate of at least six hours and up to two days.

6.  Shape/Rise – remove from fridge and gently press down to deflate. Roll/press into a 7 1/2″ by 5″ wide rectangle. Roll down from top in three turns, being sure to brush off the excess flour. Place seam side down in a prepared 8×4 inch loaf pan pressing down firmly. Cover lightly with plastic wrap and allow to rise until the dough reaches the top of the pan – about 1 1/2 to 2 hours.

7. Preheat oven to 350 degrees with a rack on the lowest position of the oven and place a baking stone or a baking sheet on the rack.

8. Glaze/Slash/Bake – glaze the top of the loaf with a mixture of one egg yolk and a splash of cream or milk. Slash the top of the loaf 1/4″ to 1/2″ deep lengthwise down the loaf, making sure to leave 1″ at each end. Set on hot stone and bake 35 to 40 minutes or until the internal temperature reaches 190 degrees.

9. Cool – un-mold loaf to cool on a wire rack at least two hours before cutting.

dressing

*Sausage Brioche Dressing – adapted from Food Network

  • 1 brioche loaf, cubed into 1-inch pieces
  • 1 pound pork breakfast sausage
  • 4 celery ribs, halved lengthwise and cross cut into 1/4-inch pieces
  • 4 cups chicken stock
  • 1/4 cup chopped sage leaves
  • Kosher salt and fresh ground black pepper

Directions –

Preheat the oven to 400 degrees F.

Spread the brioche on a baking sheet and put it in the oven until lightly toasted, about 10 minutes. Set aside in a large bowl.

In a large skillet over medium-high heat, add the sausage and break it into pieces with a spoon. Cook until browned, then transfer it to the bowl with the brioche. Add the celery to the sausage drippings and cook until softened, about 4 to 5 minutes. Put the sausage into the brioche bowl. Stir in the stock and sage and mix until the brioche absorbs most of the liquid. Season, to taste, with salt and pepper.

dressing2

Transfer the dressing to a 13 by 9-inch baking dish and cook, uncovered for 20 minutes. Cover with foil and bake until golden brown on top, another 20 to 25 minutes.

Big ‘ol Breakfast

What started off as an idea to make buttermilk pancakes became so much more. Once I decided to have the SIL over for breakfast, I thought fried apples would be a good addition to the pancakes, but that still might not be enough food for us all. Then I thought “what else goes well with pancakes?” That question led me to think of my favorite side dish at Cracker Barrel, (which costs a ridiculous $2.59 for a dinky serving – seriously, the plate is the size of a saucer) the super yummy-not-so-good-for-you hash brown casserole! I did a naughty thing by adding some leftover bacon to the mix of ingredients, but I did leave out lots of the butter that the recipe called for. Also instead of cheddar cheese, I added a full 8 ounces of Colby Monterey Jack cheese. I did M a favor by sautéing the onions until they were soft and translucent – he really doesn’t like the strong flavor. In addition to these tasty vittles, M requested biscuits and sausage gravy! Who does he think I am?;o) The night before I browned the breakfast sausage, made the buttermilk biscuits and readied the casserole for the oven. In the AM, all I have to do is cook the apples, make the gravy, put the casserole in the oven and cook some scrambled eggs! Whew!

Wow – this breakfast was delish! The casserole was the bomb – sorry to use such a stupid word to describe it but I couldn’t think of a better one!;o) I will make this again and everyone will love me for it! The biscuits and sausage gravy came out really well – so much better than Cracker Barrel’s salty mess they call gravy…and the baked scrambled eggs weren’t bad either. Baking them created a light and fluffy finished product and it was so much easier than cooking 10 eggs on the stove. This is the largest breakfast I have ever taken on, but it was so much easier because I planned ahead and didn’t have to make all these in the morning. Thanks for reading, enjoy!

*Cracker Barrel’s Hashbrown Casserole – adapted from Tablespoon

  • 2 pounds frozen hash browns, thawed
  • 1/2 cup butter, melted (*I used around a TBSP total, maybe two)
  • 1 can (10.75 ounces) cream of chicken soup
  • 1 pint sour cream (I used about 1/3 cup less)
  • 1/2 cup onion, chopped (I softened these in a couple tsp of butter)
  • 2 cups grated cheddar cheese (*I used Colby Monterey Jack)
  • 1 teaspoon salt
  • 1/2 teaspoon pepper

Directions –

1. Preheat oven to 350 degrees, then grease one 13×9 inch baking dish.

2. Combine all the ingredients together and pour into prepared pan. Bake in the oven for 45 minutes.

*Sausage Gravy – adapted from Taste and Tell

  • 1 – 16 oz. tube of pork sausage
  • Additional fat if needed: bacon grease or butter
  • 4 TBSP flour
  • 3 cups milk
  • Salt and pepper to taste – don’t skimp!


Heat 2 teaspoons of vegetable oil to a cast iron skillet or large saucepan over medium high heat. Add the sausage and break it up into bite size chunks, but don’t break it up too much, you want nice cocoa puff sized chunks. Brown the sausage and get some fond on your pan.

Turn the heat down to medium. Remove the sausage and drain, reserving the fat. Return about 3 to 4 tablespoons of the rendered sausage fat into the pan. If you don’t have enough fat, add a little bacon grease or butter to bring it up. Add the flour and cook while whisking until the roux is golden brown. Keep stirring and slowly pour in your milk, making sure to whisk out all the lumps. If it looks too thin, don’t worry, it’ll thicken once it simmers. If you like your gravy super thick, use less milk (2 or 2 1/2 cups). Once you added all the milk, return the sausage back to the skillet, add herbs if you want to get fancy, and season with salt and plenty of freshly ground pepper. Simmer the gravy until it’s thickened and serve it over your split biscuits.

*Oven Baked Scrambled Eggs – adapted from One Perfect Bite

Ingredients for 6 or 12:

  • 3 to 6 tablespoons melted butter
  • 12 to 24 large eggs
  • 1 to 2-1/4 teaspoons salt
  • 1/4 to 1/2 cup sour cream
  • 1 to 2 cups milk

Directions:
1) Preheat oven to 350 degrees F. Spray an 8 x 11-inch glass pan with cooking spray if using 12 eggs. Spray a 9 x 13-inch glass pan if using 24 eggs. Pour butter into baking dish.
2) Beat eggs, salt sour cream and milk in a large bowl. When completely blended, pour egg mixture into pan.
3) Bake uncovered for 10 minutes. Stir well, folding sides and bottom toward center and top of pan. Bake for an additional 10 to 15 minutes, or until eggs are set but still soft. Fluff with fork to form curds. Serve immediately. Yield: 6 to 12 servings.

*Fried Apples – adapted from La Fuji Mama

  • 2 medium apples ( I used three small Fuji apples)
  • 2 tablespoons butter (I used a little less)
  • 1/2 cup brown sugar, packed (I used about 1/4 cup)
  • 1/2 teaspoon cinnamon
  • 1/2 teaspoon nutmeg
  • 1/4 teaspoon table salt

1. Peel and core the apples and then slice them into 1/4-inch wedges.

2. Melt the butter in a 10-inch non-stick skillet over medium heat.  When the butter has fully melted, sprinkle the brown sugar over the butter and then quickly place the apple slices in a single layer on top of the brown sugar.  With a wooden spoon, stir the apples to coat them in the butter and brown sugar.  Continue to stir the apples.  When the butter and brown sugar have formed a syrup, sprinkle the cinnamon, nutmeg, and salt over the ingredients in the pan and stir to incorporate.

3. Reduce heat to medium-low and continue to stir the apples until they are fork tender and the syrup has reduced and thickened slightly.  Remove the skillet from the heat and let the apples cool for several minutes.  Serve alone, or as a topping for ice cream.