Mint Chip Brownie Ice Cream “Cake”

Phototastic-4_10_2015_7c9089d4-123e-45a9-9768-e145bc42fb12

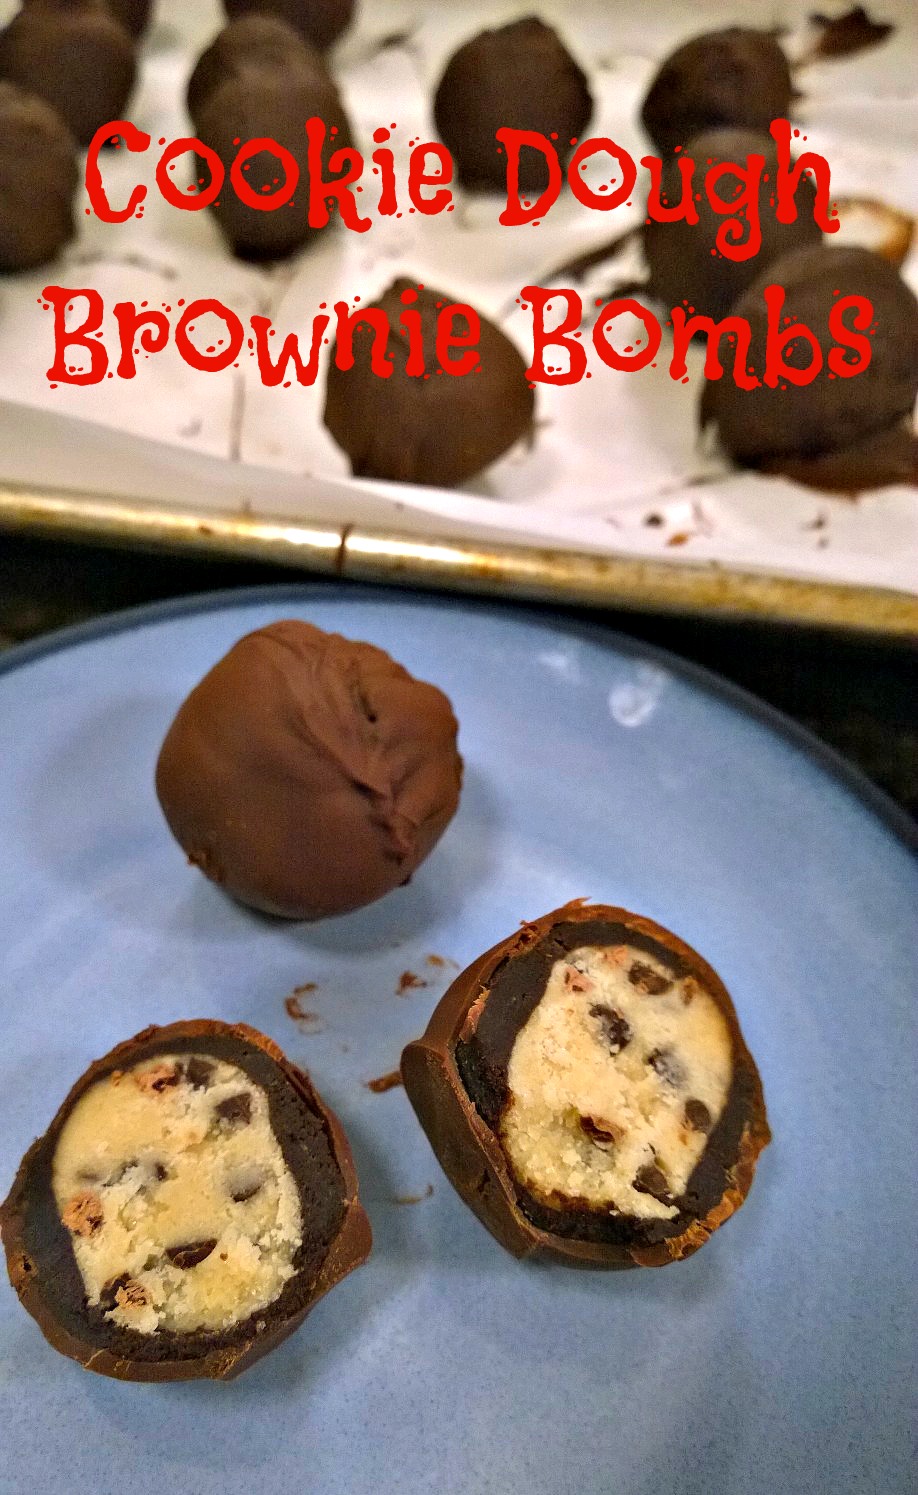
My daughter just turned 9! This birthday celebration-worthy dessert was super sweet and decadent – my daughter called it “amazing”! 😉 Thanks for reading, enjoy!

Brownie Layer – adapted from Handle the Heat

  • 1 cup semi-sweet chocolate chips (*next time I think I’ll use bittersweet chocolate*)
  • 1 1/2 sticks (6 ounces) unsalted butter, cut into pieces
  • 4 ounces unsweetened chocolate, chopped
  • 1 1/2 cups granulated sugar
  • 3 large eggs plus 1 egg yolk
  • 1 teaspoon vanilla extract
  • 3/4 cup (94 grams) all-purpose flour
  • 1/4 teaspoon fine sea salt

Directions –

Preheat the oven to 350°F. Line an 8×8-inch or a 13×9-inch baking pan with parchment paper. (*I didn’t do this, but it makes for easier pan removal and slicing later on*)

WP_20150409_003

Melt the chocolate and butter over a double boiler. Stir to combine and take off the heat and set aside to cool slightly.

In a large bowl, use an electric mixer to beat the eggs and sugar on medium-high speed until light and thick, about 3 minutes. Beat in the vanilla extract. Stir in the cooled chocolate mixture with a rubber spatula. Add the flour and salt, folding gently until combined.

WP_20150409_006 1

Pour the batter into the prepared baking pan. Bake until a tester comes out with moist crumbs still attached, 35 to 40 for the 8×8 pan, or 20-25 minutes for the 13×9 pan. Do not overbake. Let cool to room temperature. Once cooled, place it in the freezer for at least 4 hours or overnight in preparation for the ice cream layer.

For the Mint Chip “Cake” – adapted from Glorious Treats

Ice Cream Layer- 

  • 1 carton (1.5 quarts) Mint Chip Ice Cream

Chocolate Layer-

  • 3/4 cup heavy whipping cream
  • 1 cup semi-sweet chocolate chips

Whipped Cream Layer-

    • 1- 8oz tub of Whipped Topping (*I used Truwhip*)

Garnish/Toppings-

  • Chopped Andes Mints, and/or mini chocolate chips

Directions –

Ice Cream Layer

WP_20150410_001
Allow a carton of ice cream to sit out at room temperature about 20 minutes, until soft enough to spread over the cooled brownies. Once the ice cream has been evenly spread, place the entire pan in the freezer to allow the ice cream to re-freeze.

Chocolate Layer

WP_20150410_008 1Heat the cream in the microwave for 1-2 minutes until hot (watch it so it does not boil). Add chocolate chips to the hot cream and set aside (undisturbed) about 3 minutes to allow the chocolate to melt. After 3 minutes, stir the chocolate until the cream and chocolate are fully combined. Set aside and allow to cool to about room temperature. Once cool, pour the chocolate over the ice cream layer, and spread evenly. Return pan to freezer.

Whipped Cream Layer

WP_20150410_010

Spread the whipped topping over the chocolate layer, then garnish with toppings of your choice. Return pan to freezer and FREEZE AT LEAST 3 HOURS before serving. The entire dessert can be made ahead, and kept in the freezer (covered) up to 3 days in advance.

Advertisement

Cookie Dough Brownie Bombs

WP_20140210_20_50_04_Pro

These are a perfect special occasion (ahem, Valentine’s Day), treat that any chocolate lover would appreciate. My husband was pretty excited about these because the original is one of his favorites, so how bad could the addition of brownie be? The brownie bakes up thin, chewy and fudgy and it sticks really well to the frozen dough ball. As I rolled the brownies around the cookie dough I decided that these win the prize for messiest dessert ever – my hands were coated in sticky brownie, but in the end these were worth the effort. Thanks for reading, enjoy!

Cookie Dough Brownie Bombs – adapted from Handle the Heat

For the cookie dough:
1 stick unsalted butter, at room temperature
1/2 cup lightly packed light brown sugar
2 tablespoons granulated sugar
1 – 3 tablespoon milk (any kind)
1/2 teaspoon vanilla extract
1 1/2 cups all-purpose flour
1/8 teaspoon fine salt
3/4 cup miniature chocolate chips

For the brownies:
1 stick unsalted butter, melted
1 cup granulated sugar
1 cup unsweetened natural cocoa powder
1/4 teaspoon salt
1/2 teaspoon vanilla
2 large eggs
1/2 cup all-purpose flour

For the chocolate coating:
16 ounces semisweet chocolate, chopped
4 teaspoons coconut oil (or more if needed )

Directions –

For the brownies:

WP_20140210_18_31_36_Pro

Meanwhile, make the brownies. Preheat the oven to 325°F. Line an 8×8-inch pan with foil, leaving an overhang.

In a large bowl combine the butter, sugar, cocoa powder, and salt. Stir until well combined, mixture will be thick. Let cool if the butter is still hot. Stir in the vanilla and then the eggs, one at a time, stirring very well after each addition. Stir until the batter is very well blended. Add the flour and stir again until very well blended. Spread into prepared pan.

Bake for 20 minutes, or until cooked through but still very moist and fudgy. Let cool.

For the cookie dough:

WP_20140210_17_09_03_Pro

In the bowl of an electric mixer beat the butter, brown sugar, and granulated sugar on medium-high speed until very well combined and fluffy. Add in the milk and vanilla. On low speed gradually add the flour and salt. Stir in the miniature chocolate chips.

Scoop the dough into 2 teaspoon-sized balls and place on a parchment lined baking sheet. Freeze for an hour, or until firm.

To assemble:

Cut the brownies into 1-inch squares. Flatten a square with the palm of your hand. Place a cookie dough ball into the middle of the flattened brownie and wrap the brownie around the cookie dough ball. Don’t worry if it’s not perfect, just try to get as much of a round shape as possible, rolling the ball between your palms. Repeat with the remaining brownie and cookie pieces. Freeze the balls for 30 minutes.

For the chocolate coating:

WP_20140210_20_09_43_Pro

Combine the chopped chocolate and coconut oil in a microwave-safe bowl and microwave on high for 1 minute. Stir, and continue heating in 30-second bursts, stirring between bursts, until the chocolate is melted.

Dip each brownie ball into the chocolate to coat completely. Allow the excess to drip off then return to the baking sheet. Refrigerate for at least 10 minutes, or until set. Store in an airtight container in the fridge.

Pina Colada Popsicles

popsicle

I haven’t made popsicles since last Summer, but I have been so inspired by the pretty pictures floating all over Pinterest. The kids were excited about these – because you know I never make sweet things! But these are the kind of treats I don’t feel guilty about giving them and they’re quite healthy. These are so easy to make and I’m sure I will try out a few more popsicle recipes before school starts up again 🙂 Thanks for reading, enjoy!

**If you’re interested in making these “boozy”, you could swap half the water with light rum**

Pina Colada Popsicles –

    • 8 ounces frozen, diced pineapple and mango
    • 1/2 cup orange juice
    • 1/2 cup of coconut milk
    • 1/2 hot water
    • 1 TBSP unsweetened coconut flakes

Directions-

Simply mix ingredients together, by hand or in a blender/food processor, and pour into individual popsicles molds.  Add a popsicle stick in the center of the mold and place in freezer for at least 4 hours.

Remove popsicles from freezer and run exterior of popsicle molds under hot water for a few seconds and then gently pull on popsicle stick to release from mold.

Homemade Fudge Pops

Quick Post: The kids couldn’t wait for these to freeze solid 🙂 They’re a little grainy, but the flavor is nice – not too sweet either. Thanks for reading, enjoy!

Homemade Fudge Pops – adapted from Brown Eyed Baker

  • ¼ cup semisweet chocolate chips
  • 2/3 cups granulated sugar
  • 2 tablespoons cornstarch
  • 3 tablespoons natural unsweetened cocoa powder
  • 2½ cups whole milk
  • 1 teaspoon vanilla extract
  • 1 tablespoon unsalted butter

Directions:

1. Melt the chocolate chips in the microwave on 50% power in 30-second increments, stirring after each, until melted and smooth.

2. Combine the melted chocolate, sugar, cornstarch, cocoa powder, and milk in a medium saucepan over medium heat and cook, stirring frequently, until the mixture thickens, about 10 minutes. Remove from heat, add the vanilla and butter, and stir until well combined.

3. Let the mixture cool slightly (it should still be warm but not hot to the touch), and then pour into popsicle molds. Freeze for 30 minutes, and then insert sticks. Freeze completely before serving.

Strawberry Ice Pops

I recently purchased these ice pop mold from Amazon, and borrowed this book from the local library. This book is full of real fruit recipes and I can’t wait to try the cantaloupe, watermelon, avocado (yes, avocado!), lime, spicy pineapple, and maybe I’ll try the roasted banana ice pops. I am almost tempted to purchase this book! 😉
Verdict: This is the first recipe in this book, probably because it’s the most basic and well-loved flavors. It was very easy to make and of course, there is a little waiting involved, but these are definitely worth making. Yes, there is sugar in these, but I’m sure you could substitute with another type of sugar. Next time I’ll use less sugar because these are pretty sweet. If you’re using super ripe and sweet fruit, adjust your sugar content accordingly – unless you like super sweet popsicles. Thanks for reading, enjoy!
Strawberry Paletas – adapted from Paletas
  • 4 cups fresh strawberries, hulled and quartered
  • 3/4 cup sugar (**I used vanilla sugar**)
  • 1/2 cup water
  • 2 tsp. lemon juice

Directions:

Combine the sugar and strawberries in a bowl. Let sit until the strawberries start releasing their natural juices, 20-30 minutes. Place in a saucepan with the water over medium heat. Simmer until they are slightly softened, about 5 minutes. Let cool to room temperature.

Transfer the mixture to a blender or food processor, add the lemon juice, and puree until smooth. If using conventional molds, divide the mixture among the molds, snap on the lid and freeze solid, about 5-8 hours.