Greek Night!

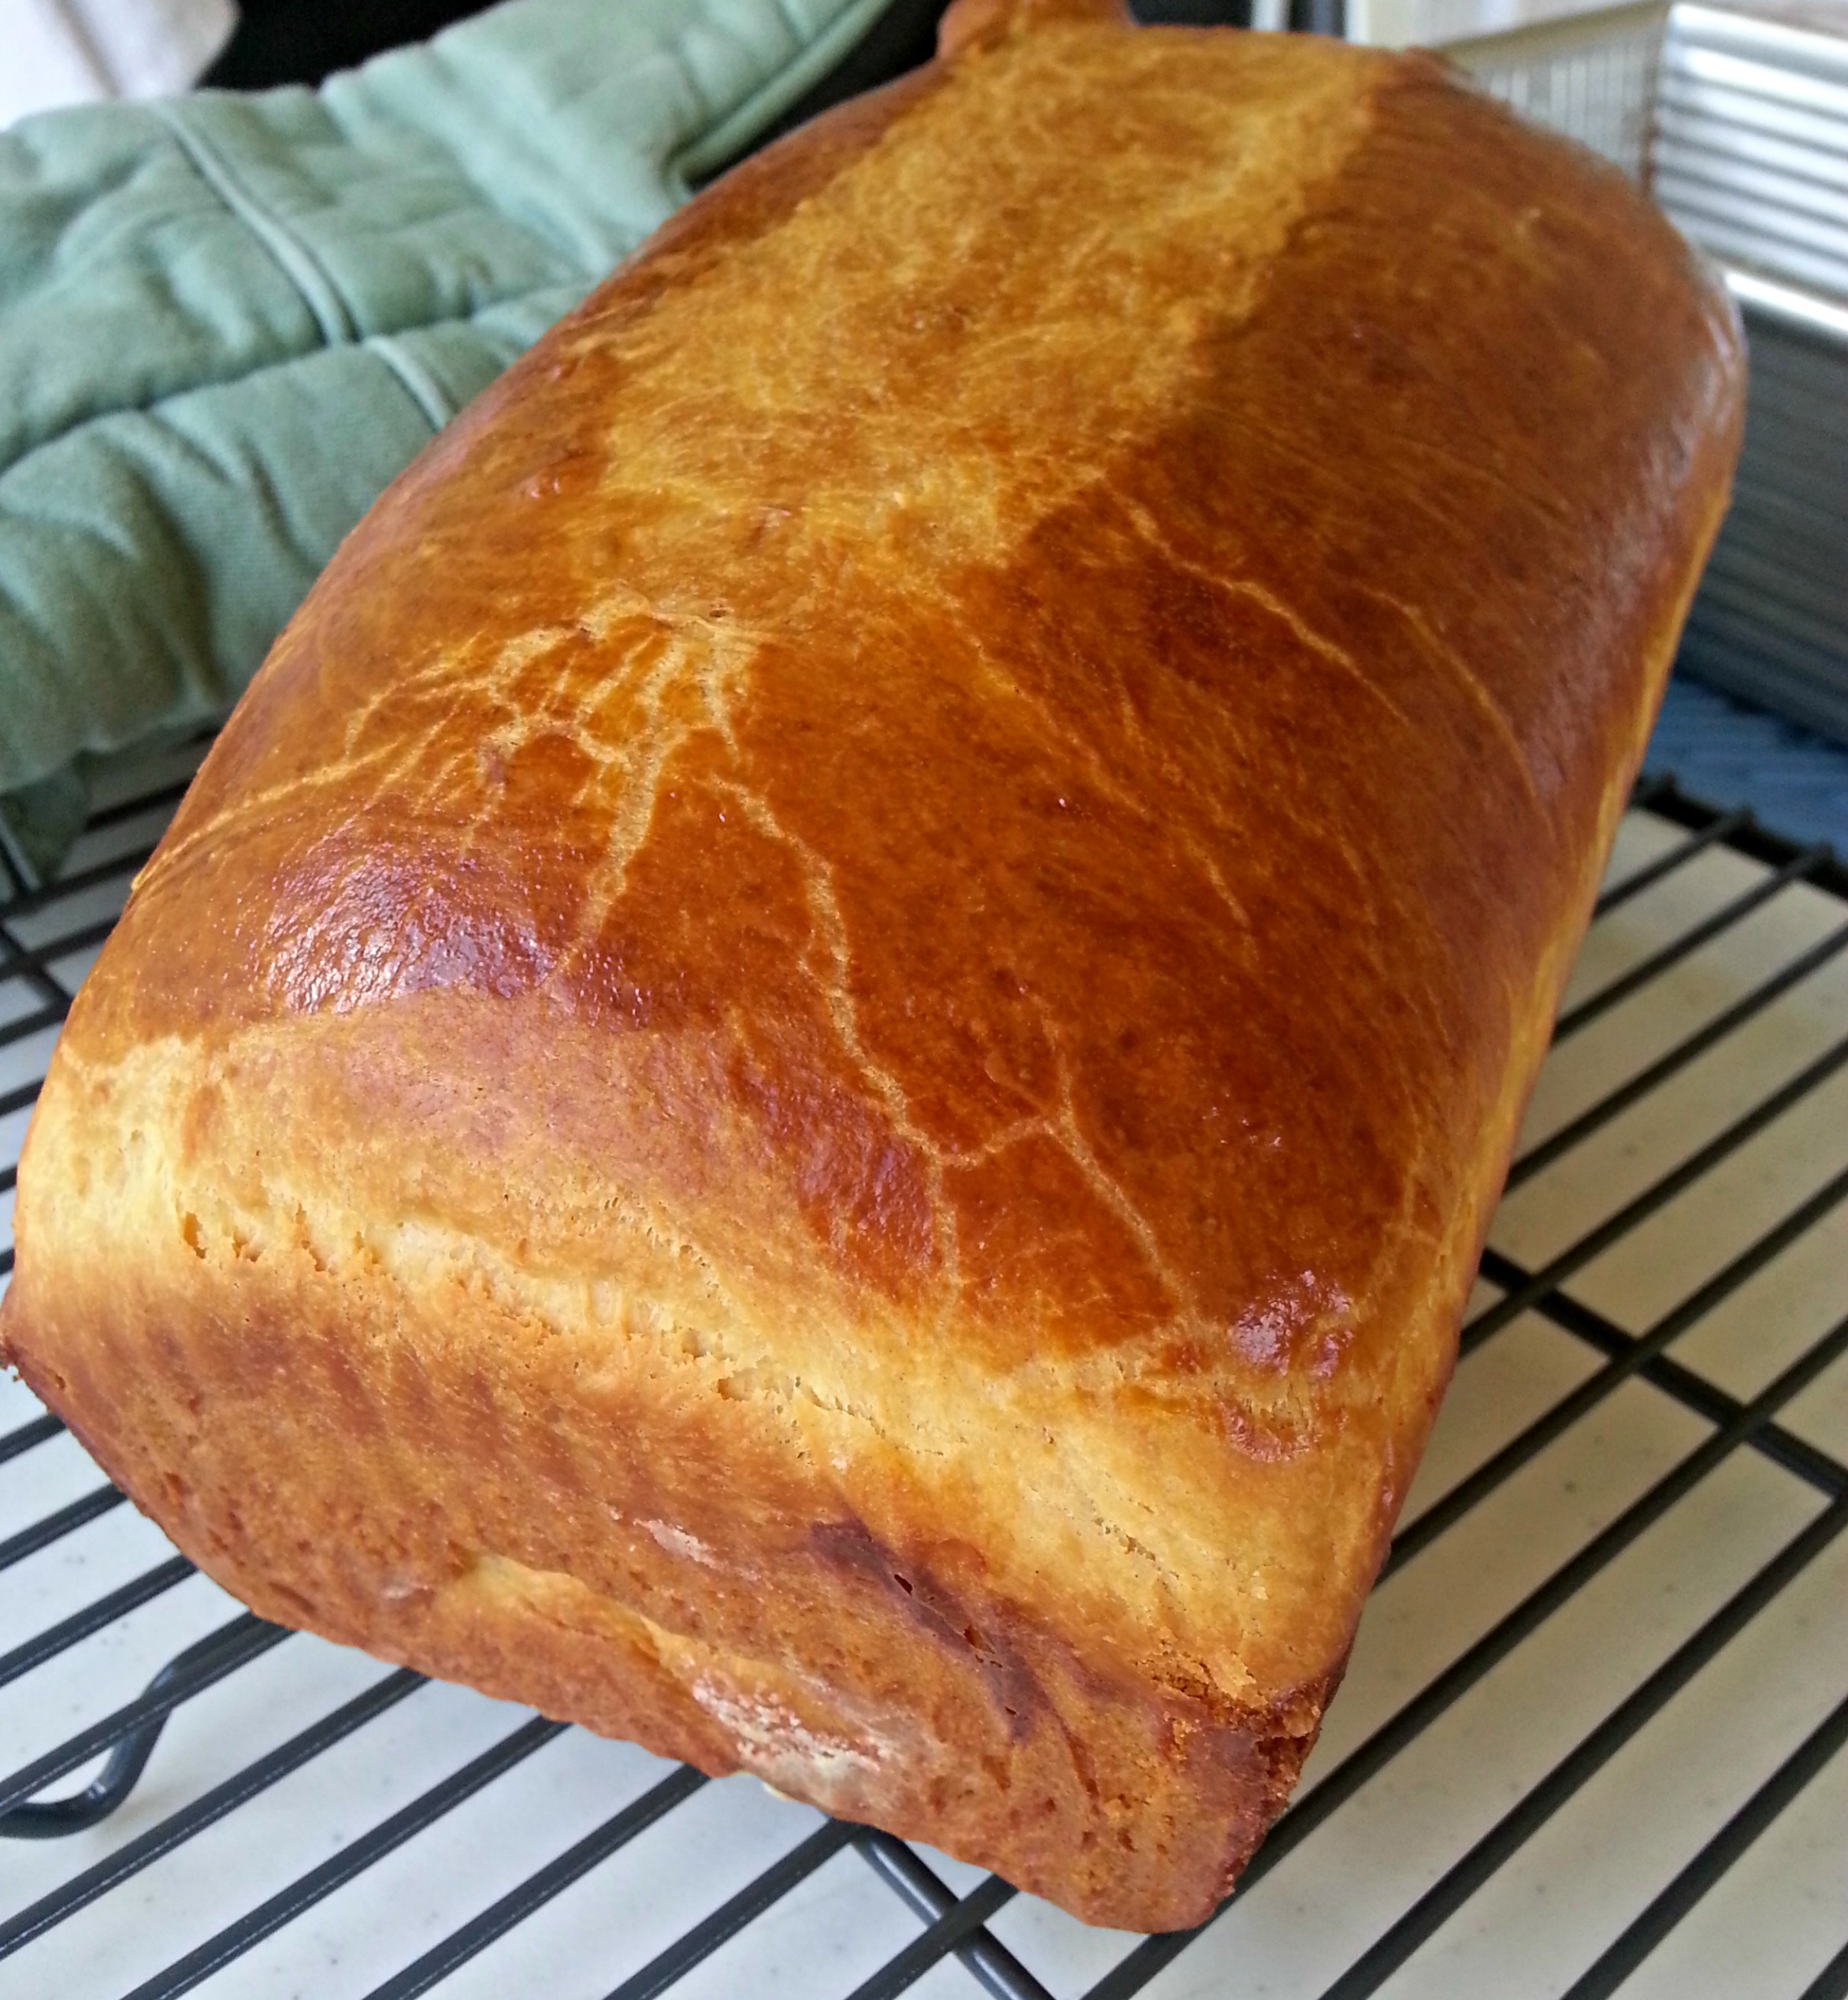
Our first ever! Lots of prep, but it’s hopefully well worth it all. I made Greek dressing, tzatziki sauce, and marinated the chicken souvlaki. Oh – and I decided to make the pita bread to eat the chicken like a gyro. I love making bread especially different types like this one. The recipe is super simple with one rise lasting an hour, shaping then a rest of 15 minutes. They baked up really quickly too – just make sure your oven has preheated for at least 20 minutes.

Anyway, this dinner turned out fantastically which is always the desired outcome – especially when it’s my first try! The chicken flavorful, moist and juicy; the tzatziki sauce was creamy, garlicky and perfect with the gyros and the pita bread was a hit too. I bet the leftovers will be even tastier.

Souvlaki Ingredients – adapted from The Eclectic Cook

  • 2 lbs pork loin and/or chicken cut into 1 inch cubes
  • 4 cloves garlic, minced
  • 2 tsp dried oregano
  • 3 tbsp olive oil
  • 3 tbsp lemon juice (the juice of about 1½ lemons)
  • ½ tsp salt
  • ¼ tsp pepper

Whisk together garlic, oregano, olive oil, lemon juice, salt and pepper.  Combine the marinade with the pork in a large freezer bag. Marinade in the refrigerator for at least 24 and up to 48 hours. Rotate the bag to redistribute the marinade at least twice during this time.
Preheat the grill to medium high heat. If you are using wooden skewers, soak them in water before using, or use metal skewers. Thread about 5 pieces of meat onto each skewer, enough for one serving. Grill the skewers for about 15 minutes, turning two or three times. The chicken will take less time to cook than the pork, so start checking for doneness at about 10 minutes. The meat should register about 150°F for the pork and 160°F for the chicken when you take them off the grill. Let rest for 5 minutes before serving. Because of the marinade ingredients, the meat (both the pork and the chicken) may still be slightly pinkish inside even when fully cooked.

Tzatziki Sauce Ingredients – adapted from Culinary Cory

  • 2 (7 oz) containers of Greek yogurt
  • 1 hothouse cucumber, seeded and unpeeled
  • ¼ cup sour cream
  • 2 TBSP fresh lemon juice
  • 1 TBSP white wine vinegar
  • 1 TBSP fresh dill, minced
  • 1 ½ TBSP garlic, minced
  • salt and pepper

Directions –

Shred the cucumber with a grater and squeeze out the excess liquid. Add the dip ingredients to a medium mixing bowl. Stir until well combined. Garnish with any remaining dill. Serve with assorted fresh vegetables. Makes approximately 2 cups of dip.

Golden Pita Bread ingredients – adapted from King Arthur Flour

  • 3 cups King Arthur Unbleached All-Purpose flour
  • 2 teaspoons instant yeast
  • 2 teaspoons sugar
  • 1 1/2 teaspoons salt
  • 1 cup water
  • 2 tablespoons vegetable oil

Directions –

1. Combine all of the ingredients, mixing to form a shaggy dough.

2. Knead dough, by hand ( 10 minutes ) or by mixer ( 5 minutes ) or by bread machine ( set on the dough cycle ) till it’s smooth.

3. Place the dough in a lightly greased bowl, and allow it to rest for 1 hour it’ll become quite puffy, though it may not double in bulk. If you’ve used a bread machine, simply let the machine complete its cycle.

4. Turn the dough onto a lightly oiled work surface and divide into 8 pieces.

5. Roll two to four pieces into 6″ pieces ( the number of pieces depends on how many rolled-out pieces at a time can fit on your baking sheet ).

6. Place the circles on a lightly greased baking sheet and allow them to rest, uncovered for 15 minutes, while you preheat the oven to 500 degrees. ( Keep the unrolled pieces of dough covered. Roll out the next batch while the first batch bakes ).

7. Place the baking sheet on the lowest rack in your oven, and bake the pitas for 5 minutes; they should puff up. ( If they haven’t puffed up, wait a minute or so longer. If they still haven’t puffed, your oven isn’t hot enough; raise the heat for the next batch.)

8. Transfer the baking sheet to your oven’s middle-to-top rack and bake for an additional 2 minutes, or until the pitas have browned.

9.  Remove the pitas from the oven, wrap them in a clean dishtowel ( this keeps them soft ), and repeat with remaining dough.

10. Store cooled pitas in an airtight container or plastic bag.


Everyday Chocolate Cake

Quick post: I had some leftover buttermilk I needed to use and it was my table’s turn to bring a hot or cold food item to the moms meeting. This cake is moist, chocolatey and delicious…at least that’s what I remember it being. I didn’t eat any of it because of my new “diet”, but I heard nothing but good things from the ladies this morning. Be sure to use good quality dutch process cocoa – it makes a huge difference.  Oh, and in case you were wondering, that other recipe is posted here. Everyone seemed to like that one, too:o) Thanks for reading, enjoy!

Everyday Chocolate Cake – adapted from Smitten Kitchen

  • 1/2 cup (1 stick or 4 ounces) unsalted butter, softened
  • 1 cup (6 7/8 ounces) firmly packed light brown sugar
  • 1/2 cup (4 ounces) granulated sugar
  • 1 large egg, at room temperature
  • 1 cup buttermilk
  • 1 teaspoon vanilla extract
  • 1 1/2 cups (6 3/4 ounces) all-purpose flour
  • 3/4 cup (2 5/8 ounces) Dutch cocoa powder (see above for a natural cocoa adjustment)
  • 1/4 teaspoon baking soda
  • 1/2 teaspoon baking powder
  • 1/4 teaspoon salt

Directions –

Preheat the oven to 325°F. Butter and lightly flour a 9×5×3-inch loaf pan, or spray it with a butter-flour spray. In a large bowl, on the medium speed of an electric mixer, cream the butter until smooth. Add the sugars and beat until fluffy, about 3 minutes. Add the egg and beat well, then the buttermilk and vanilla. Don’t worry if the batter looks a little uneven. Sift the flour, cocoa, baking soda, baking powder and salt together right into your wet ingredients. Stir together with a spoon until well-blended but do not overmix. Scrape down the batter in the bowl, making sure the ingredients are well blended.

Pour the batter into the prepared loaf pan. Bake for 60 to 70 minutes, or until a cake tester inserted into the center of the loaf comes out clean. Cool in pan on a rack for about 10 to 15 minutes, at which point you can cool it the rest of the way out of the pan. Serve with whipped cream and fresh berries, if you’re feeling fancy.

Triple Chocolate Mint Cookies

Oh, wow – these were so much work…it’s all my fault though. I took it upon myself to double this recipe so I would have enough for M and Little S’ classes. They were also really hard to judge doneness because they didn’t brown up like non-chocolate batter cookies – they’re already a rich brown because of the melted chocolate and the cocoa powder. If you love mint chocolate, you’ll love these. Do yourself a favor and find the Andes Mint Baking Bits – I had to open a pack and a half of the individually wrapped candies to get three cups worth of pieces. I will make these again, and I’m thinking they’d taste so good in a vanilla milkshake! Thanks for reading, enjoy!

Triple Chocolate Mint Cookies – adapted from The Culinary Chronicles

  • 16 Ounces Semi-Sweet Chocolate
  • 2 Cups All-Purpose Flour
  • ½ Cup Unsweetened Cocoa Powder
  • 2 Teaspoon Baking Powder
  • ¾ Teaspoon Salt
  • 4 Large Eggs
  • 2 Teaspoons Vanilla Extract
  • 10 Tablespoons Unsalted Butter, room temperature
  • 1½ Cups Brown Sugar
  • ½ Cup Granulated Sugar
  • 1½ Cups Andes Mint Chocolate Baking Bits

Preheat the oven to 350 degrees F, with the oven racks in the upper-middle and lower-middle positions. Line 2 large baking sheets with parchment paper.

In a medium bowl, melt semi-sweet chocolate. This can be done by placing the bowl over a pot of simmering water (for a make-shift double-boiler) or in the microwave at 50% power. Stir and set aside to cool.

In a medium bowl, whisk together flour, cocoa powder, baking powder, and salt. In the bowl of a stand mixer (or in a large bowl, using a hand electric mixer), beat butter, brown sugar, and granulated sugar at medium at speed until the mixture is light and fluffy, 3 to 5 minutes. Add one egg a time to the butter mixture, beating after each addition. Add vanilla extract and beat until combined. Add the cooled melted chocolate and beat until well combined.

Reduce the mixer speed to low and gradually add the flour mixture. Mix until just combined. Stir in mint-chocolate baking bits. Cover the bowl with plastic wrap and let the mixture sit at room temperature for 15 to 20 minutes, or until the mixture is easy to scoop and fudge-like.

Using 3 tablespoons of dough for each cookie, roll the dough into balls and place on the prepared baking sheets, 2 inches apart. Place the baking sheets in the oven and bake for 10 to 12 minutes, switching the position of the sheets and rotating them back to front halfway through baking. The cookies are baked when the edges are set, but the center are still soft. The cookies will still look a little raw in between the cracks, but are done.

Let the cookies cool on the baking sheets for 10 minutes, then remove to a wire rack. Repeat with the rest of the dough, using cooled cookie sheets. Serve the cookies warm or at room temperature.

Makes 25 to 30 cookies.

Ham and Potato Soup

Wow – was it cold today or what?? Seriously icy cold winds that would not let up made it unbearably chilly today. I don’t normally cook dinner on Mondays because M is at school, but today was perfect soup weather. This is one of my family’s favorite soups – it’s creamy but not too heavy. I always double or triple the amounts given at Allrecipes.com because it’s that good! Thanks for reading, enjoy!

Ham and Potato Soup – adapted from Allrecipes.com

* = my modifications

  • 3 1/2 cups peeled and diced potatoes (*2 pounds)
  • 1/3 cup diced celery (*5 stalks)
  • 1/3 cup finely chopped onion (*one whole small onion)
  • 3/4 cup diced cooked ham (*a little over 1 pound)
  • 3 1/4 cups water (*4 cups chicken broth)
  • 2 tablespoons chicken bouillon granules (*I omitted this)
  • 1/2 teaspoon salt, or to taste (*I omitted this)
  • 1 teaspoon ground white or black pepper, or to taste
  • 5 tablespoons butter (*11 tbsp)
  • 5 tablespoons all-purpose flour (*11 tbsp)
  • 2 cups milk (*three cups)

Directions –

1. Combine the potatoes, celery, onion, ham and water in a stockpot. Bring to a boil, then cook over medium heat until potatoes are tender, about 10 to 15 minutes. Stir in the chicken bouillon, salt and pepper.

2. In a separate saucepan, melt butter over medium-low heat. Whisk in flour with a fork, and cook, stirring constantly until thick, about 1 minute. Slowly stir in milk as not to allow lumps to form until all of the milk has been added. Continue stirring over medium-low heat until thick, 4 to 5 minutes.

3. Stir the milk mixture into the stockpot, and cook soup until heated through. Serve immediately.


Peanut Butter Cup Brownie Bites

These are always welcome here, but thankfully they were meant for a cookie exchange. The kids were expecting these to stay home, but I don’t think they mind that there are 18 different kind of cookies to choose from now. These are so easy to make and you can use other mini candies in place of the Reese’s if you’d like. For example, I have tried Snickers in place of the Reese’s cups and I bought some Rolo’s thinking that those would be a perfect complement to these too. Maybe the next batch will have those in them! These were snapped up at the cookie exchange really quickly and I hope whoever chose these enjoyed them. Thanks for reading, enjoy!

Peanut Butter Cup Brownie Bites – adapted from Savory Sweet Life

  • 3/4 cup butter, melted
  • 3/4 cup white sugar
  • 3/4 cup brown sugar, packed
  • 2 teaspoons vanilla extract
  • 2 eggs
  • 3/4 cup all-purpose flour
  • 1/2 cup unsweetened cocoa powder
  • 1/2 teaspoon salt
  • 40 mini Reese’s Peanut Butter Cups, unwrapped from the brown paper

DIRECTIONS – Preheat oven to 350 degrees F.  Spray mini cupcake pan with non stick spray.  In a medium bowl, mix melted butter, sugars and vanilla.  Beat in eggs one at a time. Gradually add flour, cocoa, and salt and mix until combined.  Fill each cupcake slot slightly more than halfway but not more than 2/3 full.  Place a peanut butter cup in each slot pressing it down until it is almost level with the batter.  Bake in preheated oven for 15-18 minutes or until done.  Allow the brownie bites to cool for 5 minutes before removing from the cupcake tin.  Enjoy! *Notes: Be sure to remove brownie bites 5 minutes after coming out of the oven.  Otherwise they might cool and stick to the sides making it difficult to get out.  If baking these in a pan, your baking time will increase to 25-30 minutes.  You can be sure they are close to being done when you can smell them from your oven.

Brioche and Sausage Dressing

Wow – this was more work than I anticipated…brioche takes time, especially the recipe I ended up using. If there is anything I have learned this year it’s plan ahead. I thought I did a pretty good job until I realized the brioche I needed could take up to 4 days to make if I chose. This is baking in the oven now, and it smells divine! I’m hoping that it is worth all the extra effort I put into it.

Update: Wow – was this ever tasty! Be sure to use a good quality butter when making this bread, because it is such an important component and flavor in this. The dressing was so flavorful and moist, and I am happy to report that it was completely worth the head ache and effort to make. I will not forget the lesson I learned this Thanksgiving about planning. Next time this is on the menu, I will be sure to bake it off or just start it a week before it’s needed. Thanks for reading, enjoy!

briochea

*Basic Brioche – The Bread Bible

Dough Starter –

  • 2 TBSP room temperature water
  • 1 TBSP sugar
  • 1/4 tsp. instant yeast
  • 1/2 cup (2.5 ounces) all-purpose flour
  • 1 large egg

*Make the starter one to two days ahead. In a mixing bowl, add ingredients and mix until very smooth. Cover with plastic wrap.

Flour Mixture –

  • 5.5 ounces all-purpose flour
  • 2 TBSP sugar
  • 1 1/4 tsp instant yeast
  • 1/2 tsp
  • 2 eggs
  • 8 TBSP room temperature butter

1. Combine first four ingredients and pour on top of the starter, cover with plastic wrap and let sit at room temperature for 1 1/2 to 2 hours.

2. Using a standing mixer, add eggs and mix on low speed for about a minute until evenly moistened. Raise speed to medium and beat for two minutes. Scrape the sides of the bowl with an oiled rubber scraper, then continue beating for five minutes longer or until the dough is smooth and shiny but very soft and sticky. It wont pull away from the bowl completely.

3. Add the butter one TBSP at a time until all incorporated. The dough will be soft and sticky. Lightly oil top and cover with plastic wrap. Let rise until doubled, about 1 1/2 to 2 hours.

4. Chill – refrigerate for one hour, then gently deflate with rubber spatula, then return it to the refrigerator for another hour.

5. Deflate/Chill – turn the dough out onto a well floured surface. Press or roll into a rectangle, flour as needed. Give the dough a business letter turn, brushing off excess flour. Rotate 90 degrees so the closed side faces left. Make a second business turn and round the corners. Dust it lightly on all sides with flour. Wrap loosely but securely with plastic wrap and place in a large ziploc bag. Refrigerate of at least six hours and up to two days.

6.  Shape/Rise – remove from fridge and gently press down to deflate. Roll/press into a 7 1/2″ by 5″ wide rectangle. Roll down from top in three turns, being sure to brush off the excess flour. Place seam side down in a prepared 8×4 inch loaf pan pressing down firmly. Cover lightly with plastic wrap and allow to rise until the dough reaches the top of the pan – about 1 1/2 to 2 hours.

7. Preheat oven to 350 degrees with a rack on the lowest position of the oven and place a baking stone or a baking sheet on the rack.

8. Glaze/Slash/Bake – glaze the top of the loaf with a mixture of one egg yolk and a splash of cream or milk. Slash the top of the loaf 1/4″ to 1/2″ deep lengthwise down the loaf, making sure to leave 1″ at each end. Set on hot stone and bake 35 to 40 minutes or until the internal temperature reaches 190 degrees.

9. Cool – un-mold loaf to cool on a wire rack at least two hours before cutting.

dressing

*Sausage Brioche Dressing – adapted from Food Network

  • 1 brioche loaf, cubed into 1-inch pieces
  • 1 pound pork breakfast sausage
  • 4 celery ribs, halved lengthwise and cross cut into 1/4-inch pieces
  • 4 cups chicken stock
  • 1/4 cup chopped sage leaves
  • Kosher salt and fresh ground black pepper

Directions –

Preheat the oven to 400 degrees F.

Spread the brioche on a baking sheet and put it in the oven until lightly toasted, about 10 minutes. Set aside in a large bowl.

In a large skillet over medium-high heat, add the sausage and break it into pieces with a spoon. Cook until browned, then transfer it to the bowl with the brioche. Add the celery to the sausage drippings and cook until softened, about 4 to 5 minutes. Put the sausage into the brioche bowl. Stir in the stock and sage and mix until the brioche absorbs most of the liquid. Season, to taste, with salt and pepper.

dressing2

Transfer the dressing to a 13 by 9-inch baking dish and cook, uncovered for 20 minutes. Cover with foil and bake until golden brown on top, another 20 to 25 minutes.

Lion House Dinner Rolls

I tried out these rolls on Little Miss S’ class last week. They were quickly snatched up by all the parents – I even saw someone make two turkey sandwiches to take home! These were buttery, fluffy, slightly sweet and reminiscent of Hawaiian rolls. I told M I would make these for Thanksgiving which I plan on making a few days in advance. All the breads I have ever made freeze really well with no noticeable change in flavor or texture.  Now that I’ve successfully made them once, I know what to expect, and maybe I will actually get a full 24 mostly equally sized rolls out of this recipe. Thanks for reading, enjoy!

Lion House Dinner Rolls – adapted from My Kitchen Cafe

  • 2 tablespoons active dry yeast
  • 2 cups warm water
  • 1/3 cup sugar
  • 1/3 cup butter, softened
  • 1 egg
  • 2 1/2 teaspoons salt
  • 2/3 cup nonfat dry milk
  • 5-6 cups flour

Directions –

In a large bowl, combine the yeast and water. Let stand 5 minutes (no need to do this if using instant yeast – just add the yeast and water together with the other ingredients). Add sugar, butter, salt, dry milk, 2 cups flour and egg. Beat together until very smooth. Add remaining flour gradually (about 1/2 cup at a time) until a soft but not sticky dough is formed. Knead the dough for at least five minutes if using an electric mixer and for at least 10 minutes if mixing the dough by hand. When the dough is smooth, supple and elastic, place it in a lightly greased large bowl covered with greased plastic wrap and let it rise until doubled.

Separate the dough into two portions. Roll each section out to an 11X14-inch rectangle. Brush the top with melted butter. Using a pizza cutter or sharp knife, cut the dough into two pieces, the long way (see photos below). Then slice the dough into five or six strips across so you end up with 10 to 12 small rectangles. Roll each small rectangle up like a snail and place on a silpat-lined or lightly greased baking sheet with the roll resting on it’s open edge. Repeat with the second portion of dough.

Cover the rolls with lightly greased plastic wrap and let them rise until doubled. Bake at 375 degrees for 12-14 minutes until they are nicely browned

Big ‘ol Breakfast

What started off as an idea to make buttermilk pancakes became so much more. Once I decided to have the SIL over for breakfast, I thought fried apples would be a good addition to the pancakes, but that still might not be enough food for us all. Then I thought “what else goes well with pancakes?” That question led me to think of my favorite side dish at Cracker Barrel, (which costs a ridiculous $2.59 for a dinky serving – seriously, the plate is the size of a saucer) the super yummy-not-so-good-for-you hash brown casserole! I did a naughty thing by adding some leftover bacon to the mix of ingredients, but I did leave out lots of the butter that the recipe called for. Also instead of cheddar cheese, I added a full 8 ounces of Colby Monterey Jack cheese. I did M a favor by sautéing the onions until they were soft and translucent – he really doesn’t like the strong flavor. In addition to these tasty vittles, M requested biscuits and sausage gravy! Who does he think I am?;o) The night before I browned the breakfast sausage, made the buttermilk biscuits and readied the casserole for the oven. In the AM, all I have to do is cook the apples, make the gravy, put the casserole in the oven and cook some scrambled eggs! Whew!

Wow – this breakfast was delish! The casserole was the bomb – sorry to use such a stupid word to describe it but I couldn’t think of a better one!;o) I will make this again and everyone will love me for it! The biscuits and sausage gravy came out really well – so much better than Cracker Barrel’s salty mess they call gravy…and the baked scrambled eggs weren’t bad either. Baking them created a light and fluffy finished product and it was so much easier than cooking 10 eggs on the stove. This is the largest breakfast I have ever taken on, but it was so much easier because I planned ahead and didn’t have to make all these in the morning. Thanks for reading, enjoy!

*Cracker Barrel’s Hashbrown Casserole – adapted from Tablespoon

  • 2 pounds frozen hash browns, thawed
  • 1/2 cup butter, melted (*I used around a TBSP total, maybe two)
  • 1 can (10.75 ounces) cream of chicken soup
  • 1 pint sour cream (I used about 1/3 cup less)
  • 1/2 cup onion, chopped (I softened these in a couple tsp of butter)
  • 2 cups grated cheddar cheese (*I used Colby Monterey Jack)
  • 1 teaspoon salt
  • 1/2 teaspoon pepper

Directions –

1. Preheat oven to 350 degrees, then grease one 13×9 inch baking dish.

2. Combine all the ingredients together and pour into prepared pan. Bake in the oven for 45 minutes.

*Sausage Gravy – adapted from Taste and Tell

  • 1 – 16 oz. tube of pork sausage
  • Additional fat if needed: bacon grease or butter
  • 4 TBSP flour
  • 3 cups milk
  • Salt and pepper to taste – don’t skimp!


Heat 2 teaspoons of vegetable oil to a cast iron skillet or large saucepan over medium high heat. Add the sausage and break it up into bite size chunks, but don’t break it up too much, you want nice cocoa puff sized chunks. Brown the sausage and get some fond on your pan.

Turn the heat down to medium. Remove the sausage and drain, reserving the fat. Return about 3 to 4 tablespoons of the rendered sausage fat into the pan. If you don’t have enough fat, add a little bacon grease or butter to bring it up. Add the flour and cook while whisking until the roux is golden brown. Keep stirring and slowly pour in your milk, making sure to whisk out all the lumps. If it looks too thin, don’t worry, it’ll thicken once it simmers. If you like your gravy super thick, use less milk (2 or 2 1/2 cups). Once you added all the milk, return the sausage back to the skillet, add herbs if you want to get fancy, and season with salt and plenty of freshly ground pepper. Simmer the gravy until it’s thickened and serve it over your split biscuits.

*Oven Baked Scrambled Eggs – adapted from One Perfect Bite

Ingredients for 6 or 12:

  • 3 to 6 tablespoons melted butter
  • 12 to 24 large eggs
  • 1 to 2-1/4 teaspoons salt
  • 1/4 to 1/2 cup sour cream
  • 1 to 2 cups milk

Directions:
1) Preheat oven to 350 degrees F. Spray an 8 x 11-inch glass pan with cooking spray if using 12 eggs. Spray a 9 x 13-inch glass pan if using 24 eggs. Pour butter into baking dish.
2) Beat eggs, salt sour cream and milk in a large bowl. When completely blended, pour egg mixture into pan.
3) Bake uncovered for 10 minutes. Stir well, folding sides and bottom toward center and top of pan. Bake for an additional 10 to 15 minutes, or until eggs are set but still soft. Fluff with fork to form curds. Serve immediately. Yield: 6 to 12 servings.

*Fried Apples – adapted from La Fuji Mama

  • 2 medium apples ( I used three small Fuji apples)
  • 2 tablespoons butter (I used a little less)
  • 1/2 cup brown sugar, packed (I used about 1/4 cup)
  • 1/2 teaspoon cinnamon
  • 1/2 teaspoon nutmeg
  • 1/4 teaspoon table salt

1. Peel and core the apples and then slice them into 1/4-inch wedges.

2. Melt the butter in a 10-inch non-stick skillet over medium heat.  When the butter has fully melted, sprinkle the brown sugar over the butter and then quickly place the apple slices in a single layer on top of the brown sugar.  With a wooden spoon, stir the apples to coat them in the butter and brown sugar.  Continue to stir the apples.  When the butter and brown sugar have formed a syrup, sprinkle the cinnamon, nutmeg, and salt over the ingredients in the pan and stir to incorporate.

3. Reduce heat to medium-low and continue to stir the apples until they are fork tender and the syrup has reduced and thickened slightly.  Remove the skillet from the heat and let the apples cool for several minutes.  Serve alone, or as a topping for ice cream.


Southern Biscuits

It’s been pretty quiet in my kitchen this past week. M got rear-ended on Monday and the weekly routine was effected by it. I have done some cooking here and there, but no pictures. Last night I decided that I would try to make some biscuits for breakfast to sit along side some scrambled eggs and bacon. Pretty simple, but that’s all I had in the fridge. I haven’t gone grocery shopping all week, but I knew I had the ingredients to make some of these. I found the recipe this morning on Food Network’s website. It seemed simple enough and I was happy to see that the recipe wouldn’t yield a ton of biscuits! I don’t have anything to compare these to but they are nice and light. Speaking of light, you don’t want to over work the biscuit dough and your wet ingredients should be pretty cold. While I prepped the dry ingredients, my buttermilk, butter and shortening were chilling out in the freezer. Thanks for reading, enjoy!

Southern Biscuits Ingredients – adapted from Alton Brown

  • 2 cups flour
  • 4 teaspoons baking powder
  • 1/4 teaspoon baking soda
  • 3/4 teaspoon salt
  • 2 tablespoons butter
  • 2 tablespoons shortening
  • 1 cup buttermilk, chilled

Directions –

Preheat oven to 450 degrees.

In a large mixing bowl, combine flour, baking powder, baking soda and salt. Using your fingertips, rub butter and shortening into dry ingredients until mixture looks like crumbs. (The faster the better, you don’t want the fats to melt.) Make a well in the center and pour in the chilled buttermilk. Stir just until the dough comes together. The dough will be very sticky.

Turn dough onto floured surface, dust top with flour and gently fold dough over on itself 5 or 6 times. Press into a 1-inch thick round. Cut out biscuits with a 2-inch cutter, being sure to push straight down through the dough. Place biscuits on baking sheet so that they just touch. Reform scrap dough, working it as little as possible and continue cutting. (Biscuits from the second pass will not be quite as light as those from the first, but hey, that’s life.)

Bake until biscuits are tall and light gold on top, 15 to 20 minutes.


Overnight Cinnamon Rolls

I love being able to make treats like these! I haven’t made them in at least a couple months…for good reason. They are too darn good! What I love about this recipe the most is that you prepare the dough the day before you want to bake them off, because who wants to wake up at 4am to have fresh from the oven cinnamon rolls at 10am?? Not this girl! Thanks for reading, enjoy!

Overnight Cinnamon Rolls – adapted from Alton Brown

Dough:

  • 4 large egg yolks, room temperature
  • 1 large whole egg, room temperature
  • 2 ounces sugar, approximately 1/4 cup
  • 3 ounces unsalted butter, melted, approximately 6 tablespoons
  • 6 ounces buttermilk, room temperature
  • 20 ounces all-purpose flour, approximately 4 cups, plus additional for dusting
  • 1 package instant dry yeast, approximately 2 1/4 teaspoons
  • 1 1/4 teaspoons kosher salt
  • Vegetable oil or cooking oil

Filling:

  • 8 ounces light brown sugar, approximately 1 cup packed
  • 1 tablespoon ground cinnamon
  • Pinch salt
  • 3/4-ounce unsalted butter, melted, approximately 1 1/2 tablespoons

Icing –

  • 2 1/2 ounces cream cheese, softened, approximately 1/4 cup
  • 3 tablespoons milk
  • 5 1/2 ounces powdered sugar, approximately 1 1/2 cups

Directions –

For the dough: in the bowl of a stand mixer with the whisk attachment, whisk the egg yolks, whole egg, sugar, butter, and buttermilk. Add approximately 2 cups of the flour along with the yeast and salt; whisk until moistened and combined. Remove the whisk attachment and replace with a dough hook. Add all but 3/4 cup of the remaining flour and knead on low speed for 5 minutes. Check the consistency of the dough, add more flour if necessary; the dough should feel soft and moist but not sticky. Knead on low speed 5 minutes more or until the dough clears the sides of the bowl. Turn the dough out onto a lightly floured work surface; knead by hand about 30 seconds. Lightly oil a large bowl. Transfer the dough to the bowl, lightly oil the top of the dough, cover and let double in volume, 2 to 2 1/2 hours.

Combine the brown sugar, cinnamon and salt in a medium bowl. Mix until well incorporated. Set aside until ready to use.

Butter a 9 by 13-inch glass baking dish. Turn the dough out onto a lightly floured work surface. Gently shape the dough into a rectangle with the long side nearest you. Roll into an 18 by 12-inch rectangle. Brush the dough with the 3/4-ounce of melted butter, leaving 1/2-inch border along the top edge. Sprinkle the filling mixture over the dough, leaving a 3/4-inch border along the top edge; gently press the filling into the dough. Beginning with the long edge nearest you, roll the dough into a tight cylinder. Firmly pinch the seam to seal and roll the cylinder seam side down. Very gently squeeze the cylinder to create even thickness. Using a serrated knife, slice the cylinder into 1 1/2-inch rolls; yielding 12 rolls. Arrange rolls cut side down in the baking dish; cover tightly with plastic wrap and store in the refrigerator overnight or up to 16 hours.

Remove the rolls from the refrigerator and place in an oven that is turned off. Fill a shallow pan 2/3-full of boiling water and set on the rack below the rolls. Close the oven door and let the rolls rise until they look slightly puffy; approximately 30 minutes. Remove the rolls and the shallow pan of water from the oven.

Preheat the oven to 350 degrees F.

When the oven is ready, place the rolls on the middle rack and bake until golden brown, or until the internal temperature reaches 190 degrees F on an instant-read thermometer, approximately 30 minutes.

While the rolls are cooling slightly, make the icing by whisking the cream cheese in the bowl of a stand mixer until creamy. Add the milk and whisk until combined. Sift in the powdered sugar, and whisk until smooth. Spread over the rolls and serve immediately.